People think planting sunflower seeds is foolproof. You push a seed into the ground, water it, and wait.
But a surprising number of first-time growers end up with seeds that never sprout, seedlings that fall over, or plants that stay small and weak.
The good news? Every one of those problems is avoidable.
This post walks you through planting sunflower seeds the right way, from choosing the right variety to harvesting the seeds at the end of the season.
Follow each step, and you will have strong, tall sunflowers growing in no time.
Pick the Right Sunflower Variety First
The variety you choose affects everything: how deep you plant, how far apart you space them, how long they take to bloom, and what you end up using them for.
Here is a simple breakdown:
- Mammoth or giant varieties (such as Mammoth Grey Stripe) grow between 6 and 15 feet tall. They produce large seed heads and are ideal if you want seeds for roasting or feeding birds.
- Dwarf varieties stay between 1 and 3 feet tall. They grow well in pots and small garden spaces.
- Branching varieties produce multiple blooms per plant and make good cut flowers. These are the most common type for home gardens.
- Single-stem varieties produce one large flower per plant. They are better for tall borders and statement displays.
- Pollen-free varieties are a good option if you want cut flowers indoors without the mess.
Always read the seed packet before planting. It tells you the plant height, days to maturity, recommended spacing, and planting depth. This is the most important prep step that beginners skip.
When to Plant Sunflower Seeds
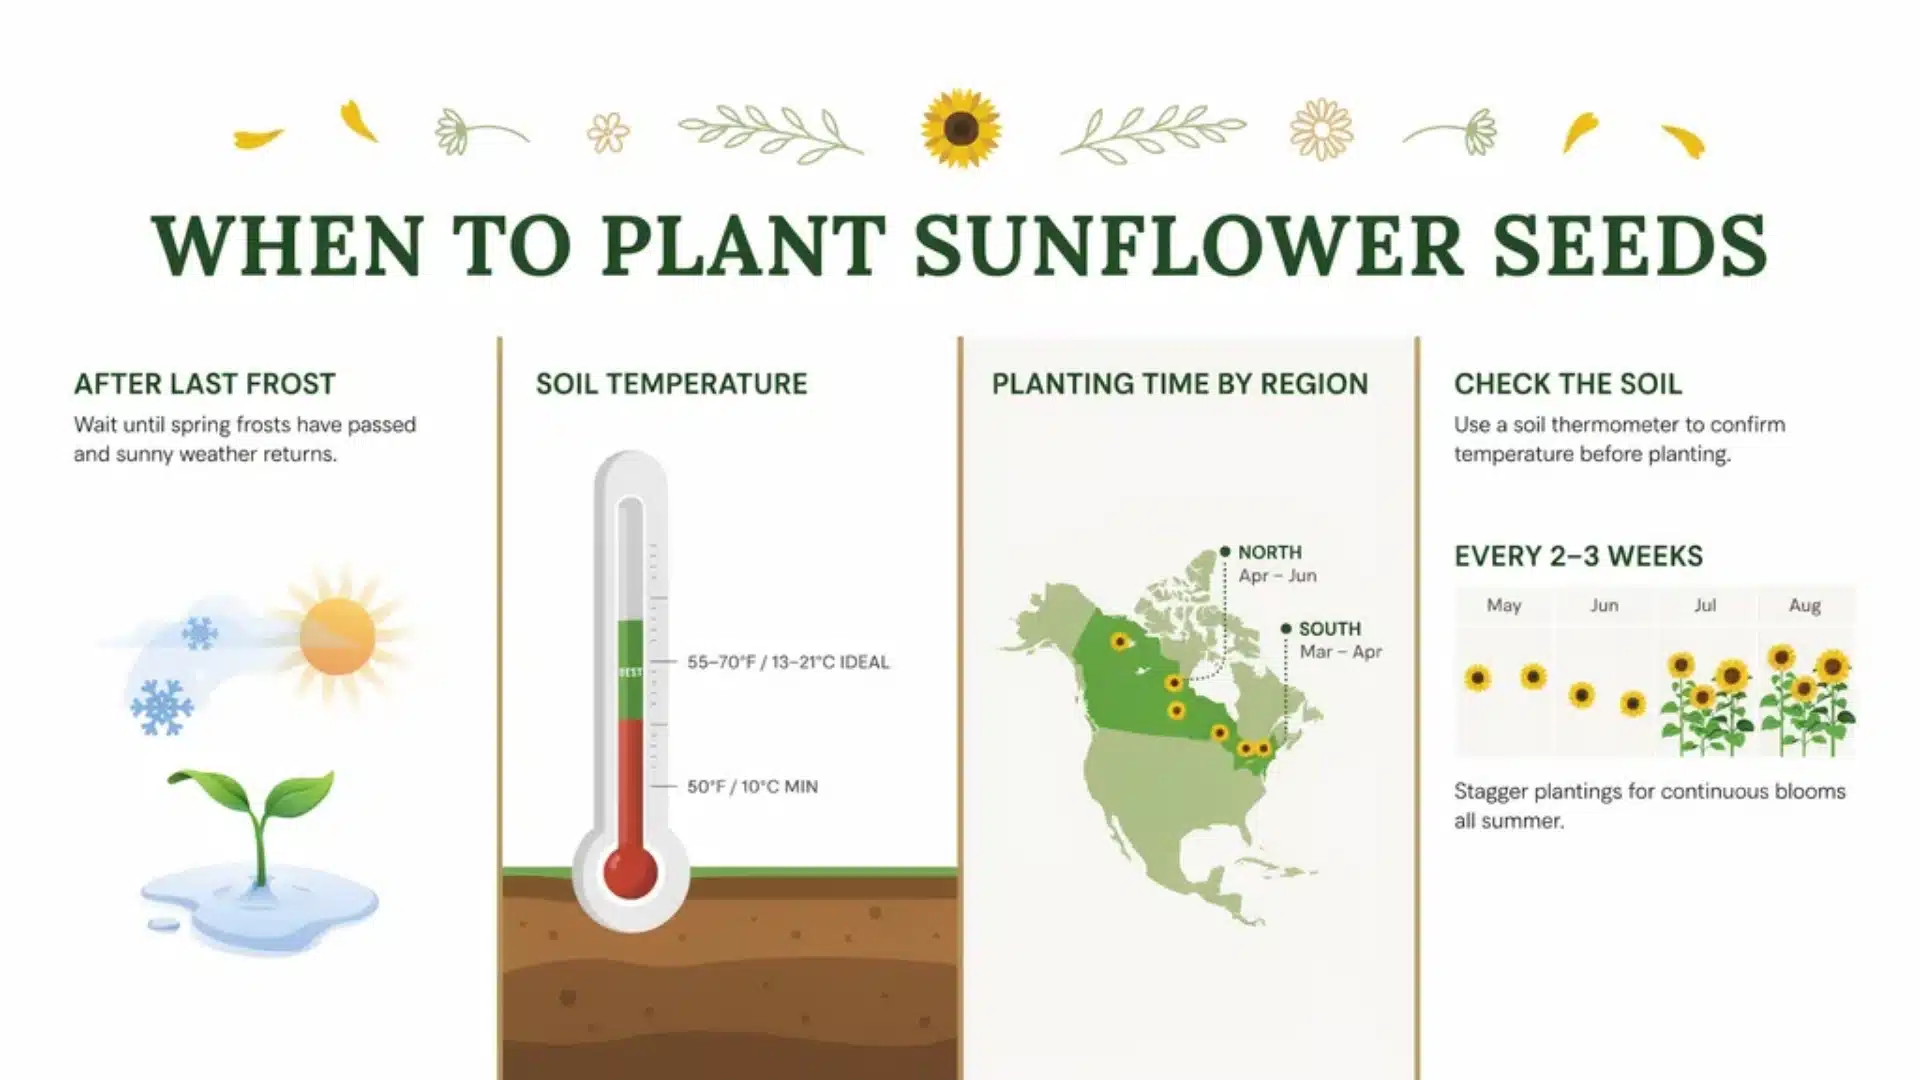
Sunflowers cannot handle frost. Plant them only after the last frost date in your area. But knowing the frost date alone is not enough; you also need to check your soil temperature.
- Soil must be at least 50°F (10°C) for seeds to germinate at all.
- The ideal soil temperature range for fast germination is 55°F to 70°F (13°C to 21°C).
- Seeds planted in cold soil go dormant. Germination slows down or stops completely.
Planting windows by region:
- Northern U.S. and Canada: April through mid-June
- Southern U.S.: mid-March through early April
Use a soil thermometer to check the temperature before planting. Guessing is one of the most common beginner mistakes. A thermometer costs very little and takes the guesswork out of timing.
You can also plant new batches of seeds every two to three weeks from May through August. This gives you blooms throughout the whole season rather than one big burst.
What You Need Before You Start
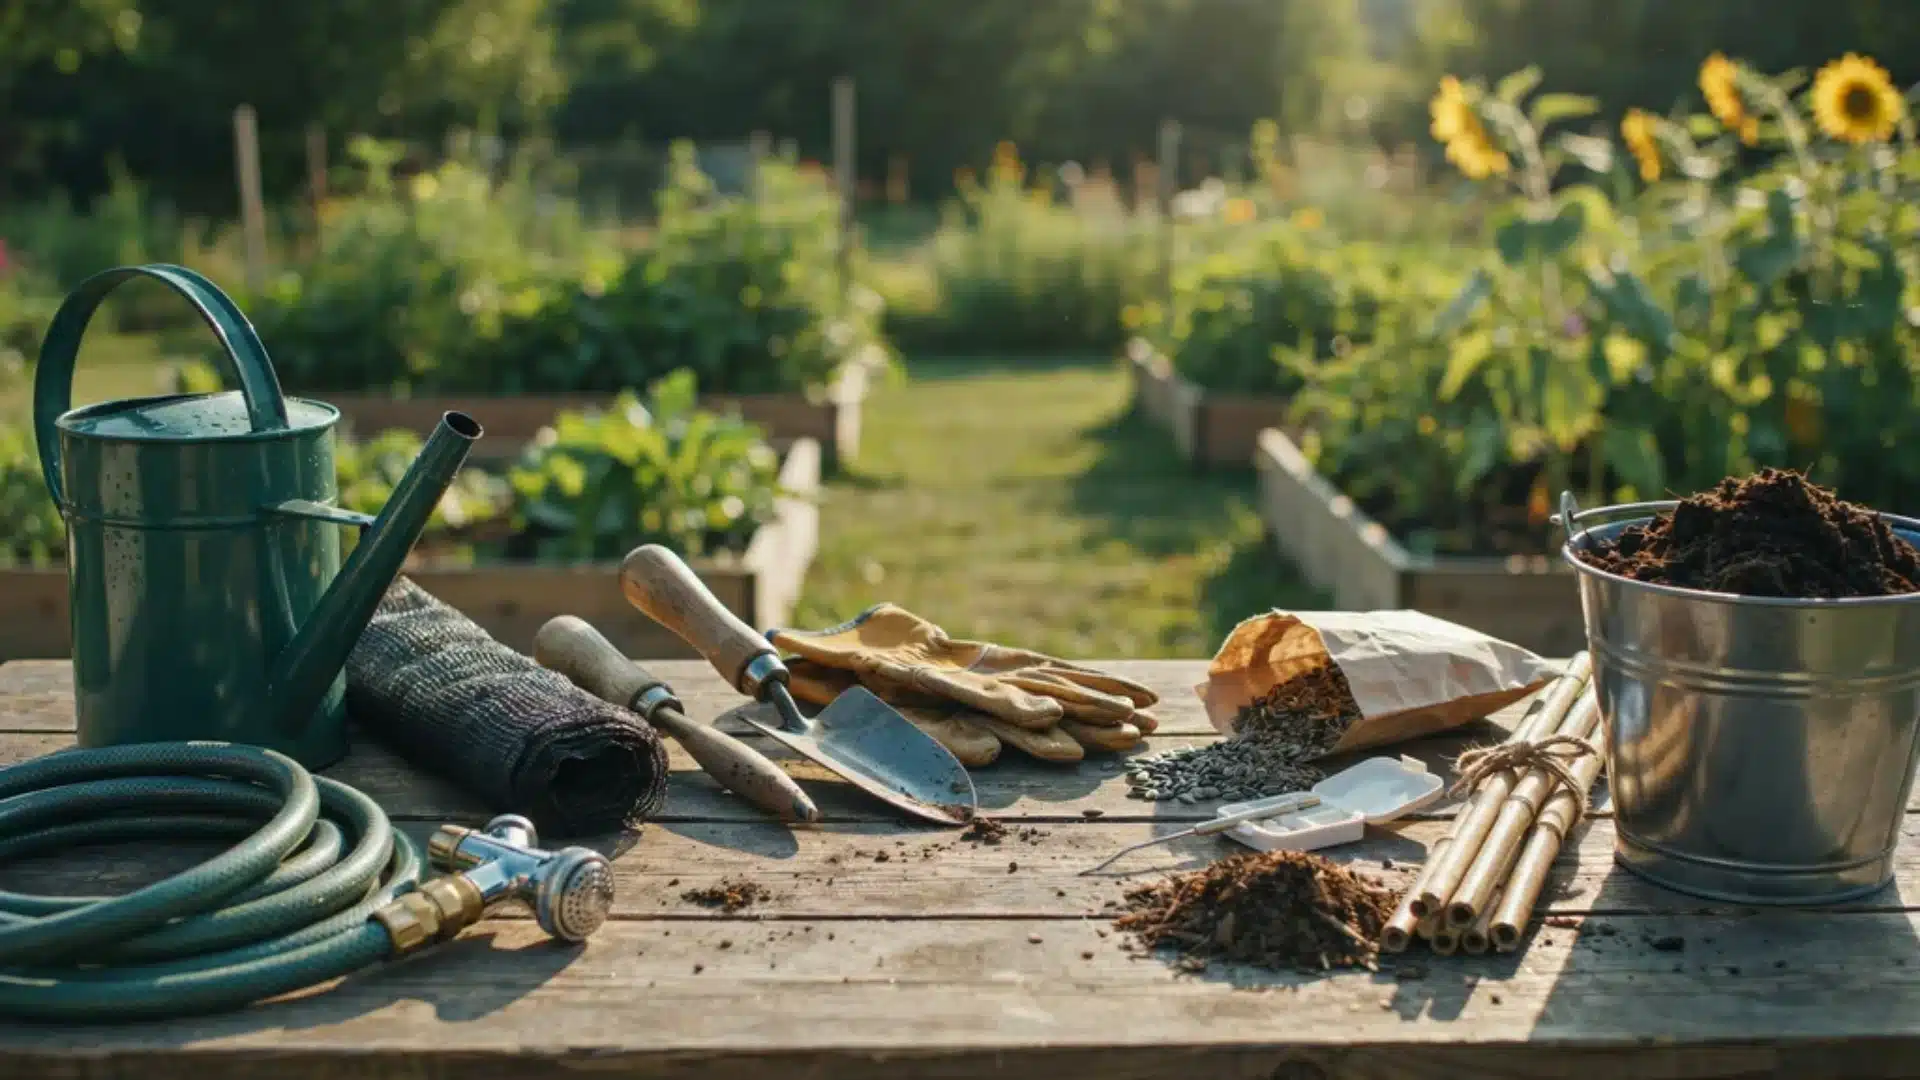
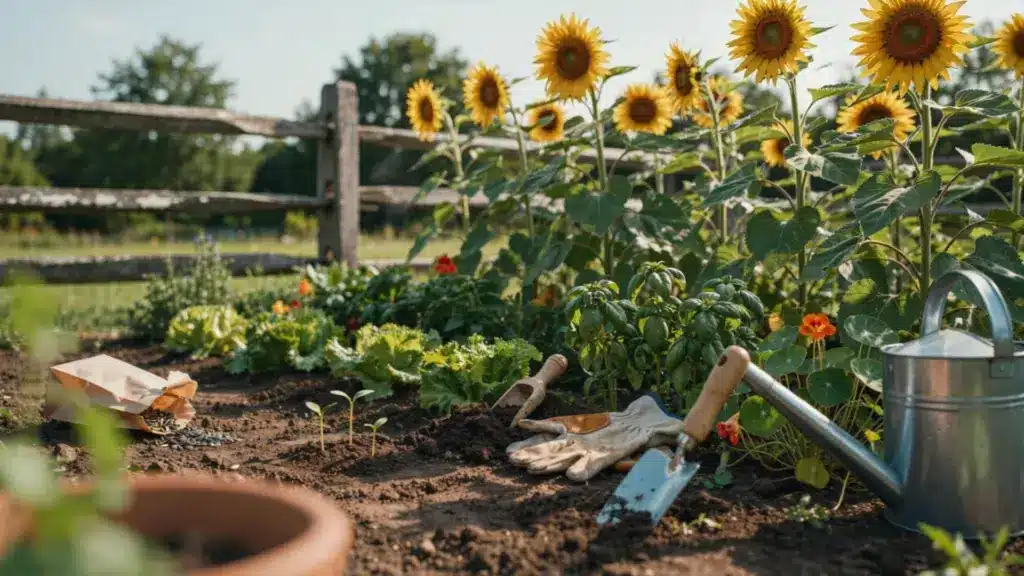
Before you plant a single seed, make sure everything is within reach. Having the right tools ready saves time and keeps the process smooth.
Get these ready before you touch the soil:
- Sunflower seeds (the variety of your choice)
- Trowel or dibber for making holes
- Compost or aged manure
- Watering can or garden hose with a gentle setting
- Soil pH test kit (optional but useful target pH 6.0 to 7.0)
- Organic mulch
- Garden stakes or nearby fence support (for tall varieties)
- Bird netting to protect seeds after planting
How to Prepare the Soil for Planting Sunflower Seeds
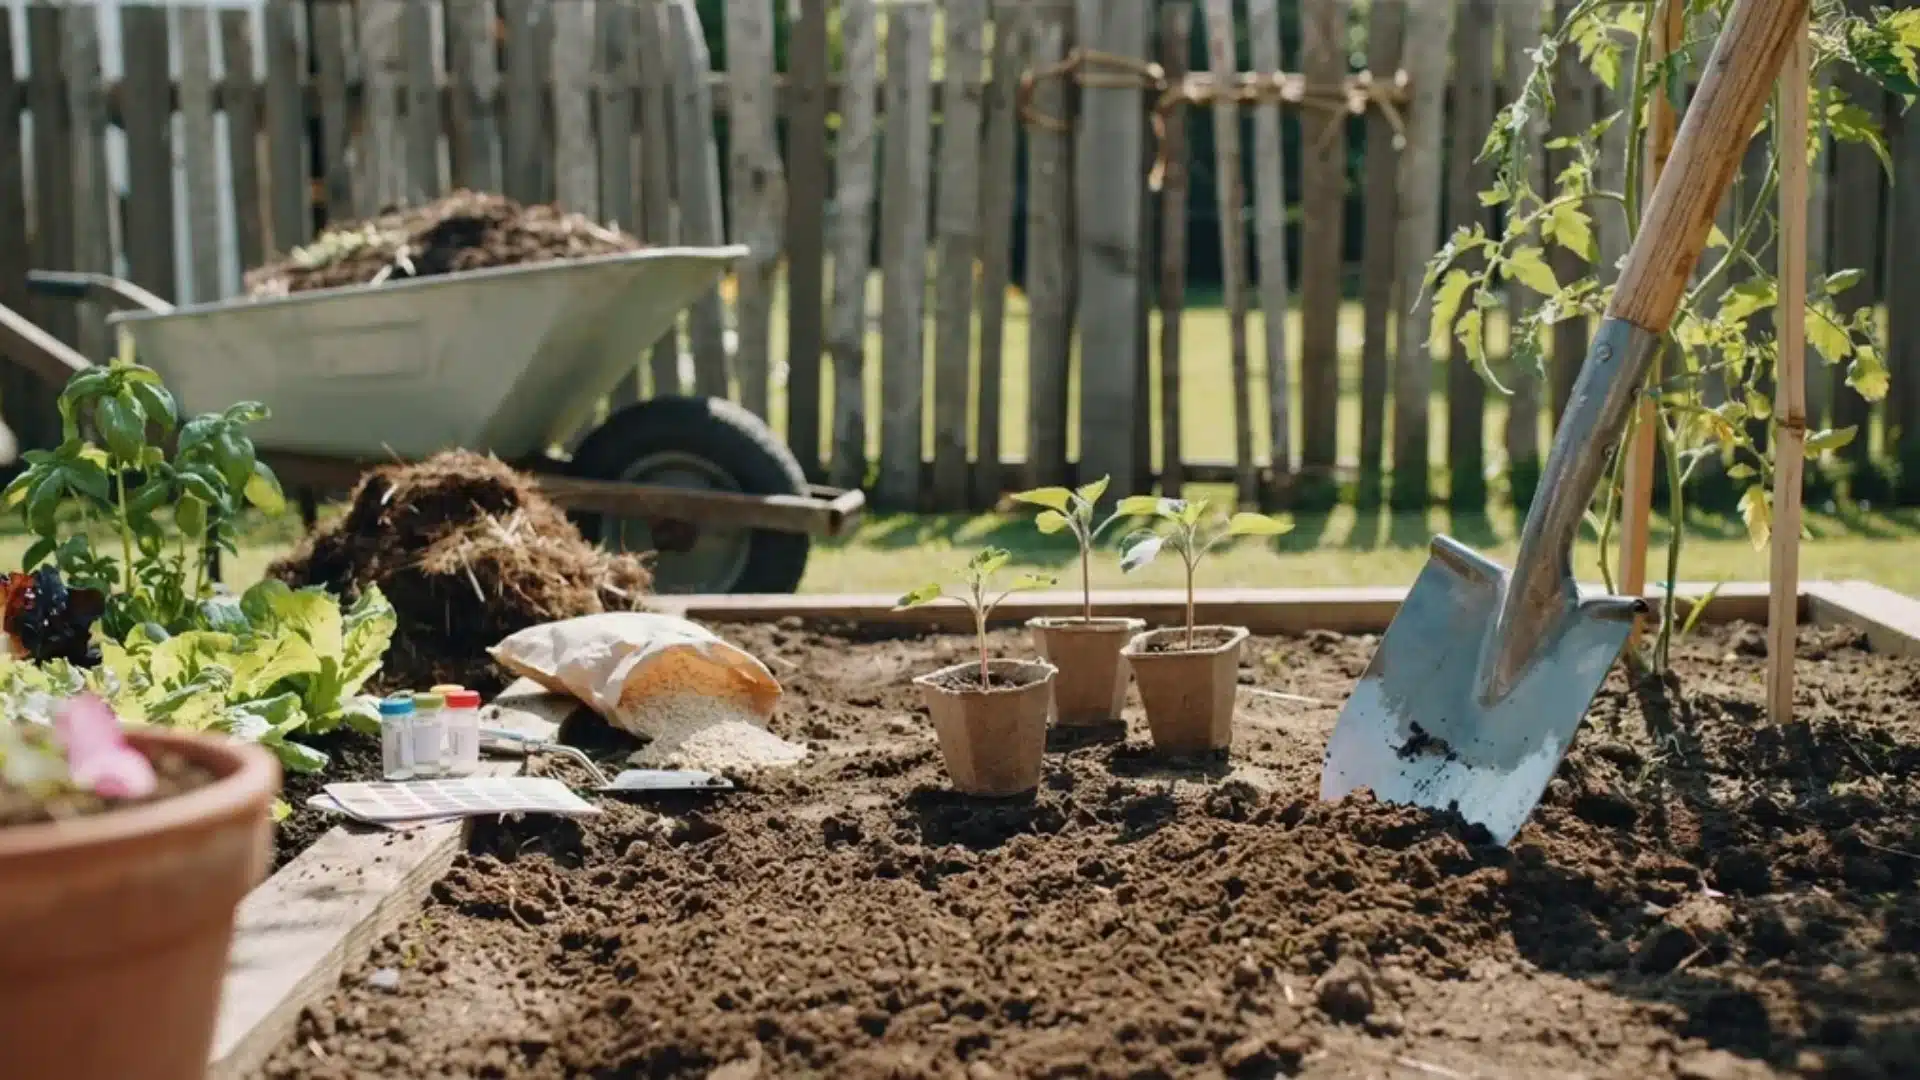
Good soil preparation makes the biggest difference in how well your sunflowers grow.
Choose the right spot first:
- Pick a location that gets at least 6 to 8 hours of direct sunlight daily
- Avoid spots where water pools after rain. Sunflowers need well-draining soil
- Plant near a fence or wall for tall varieties, which can topple in strong wind
- Keep away from large trees that block sunlight or compete for water
Prepare the soil:
- Sunflowers grow best in soil with a pH between 6.0 and 7.0. Test your soil if you are unsure.
- Dig the soil at least 12 inches deep to loosen any compaction
- Mix in a generous amount of compost or well-rotted manure
- If your soil is heavy with clay, add sand to improve drainage
- Amend the soil at least four to six weeks before planting for the best results
Sunflowers are heavy feeders. Rich, well-prepared soil means thicker stems, bigger flower heads, and more seeds.
How to Plant Sunflower Seeds Step by Step
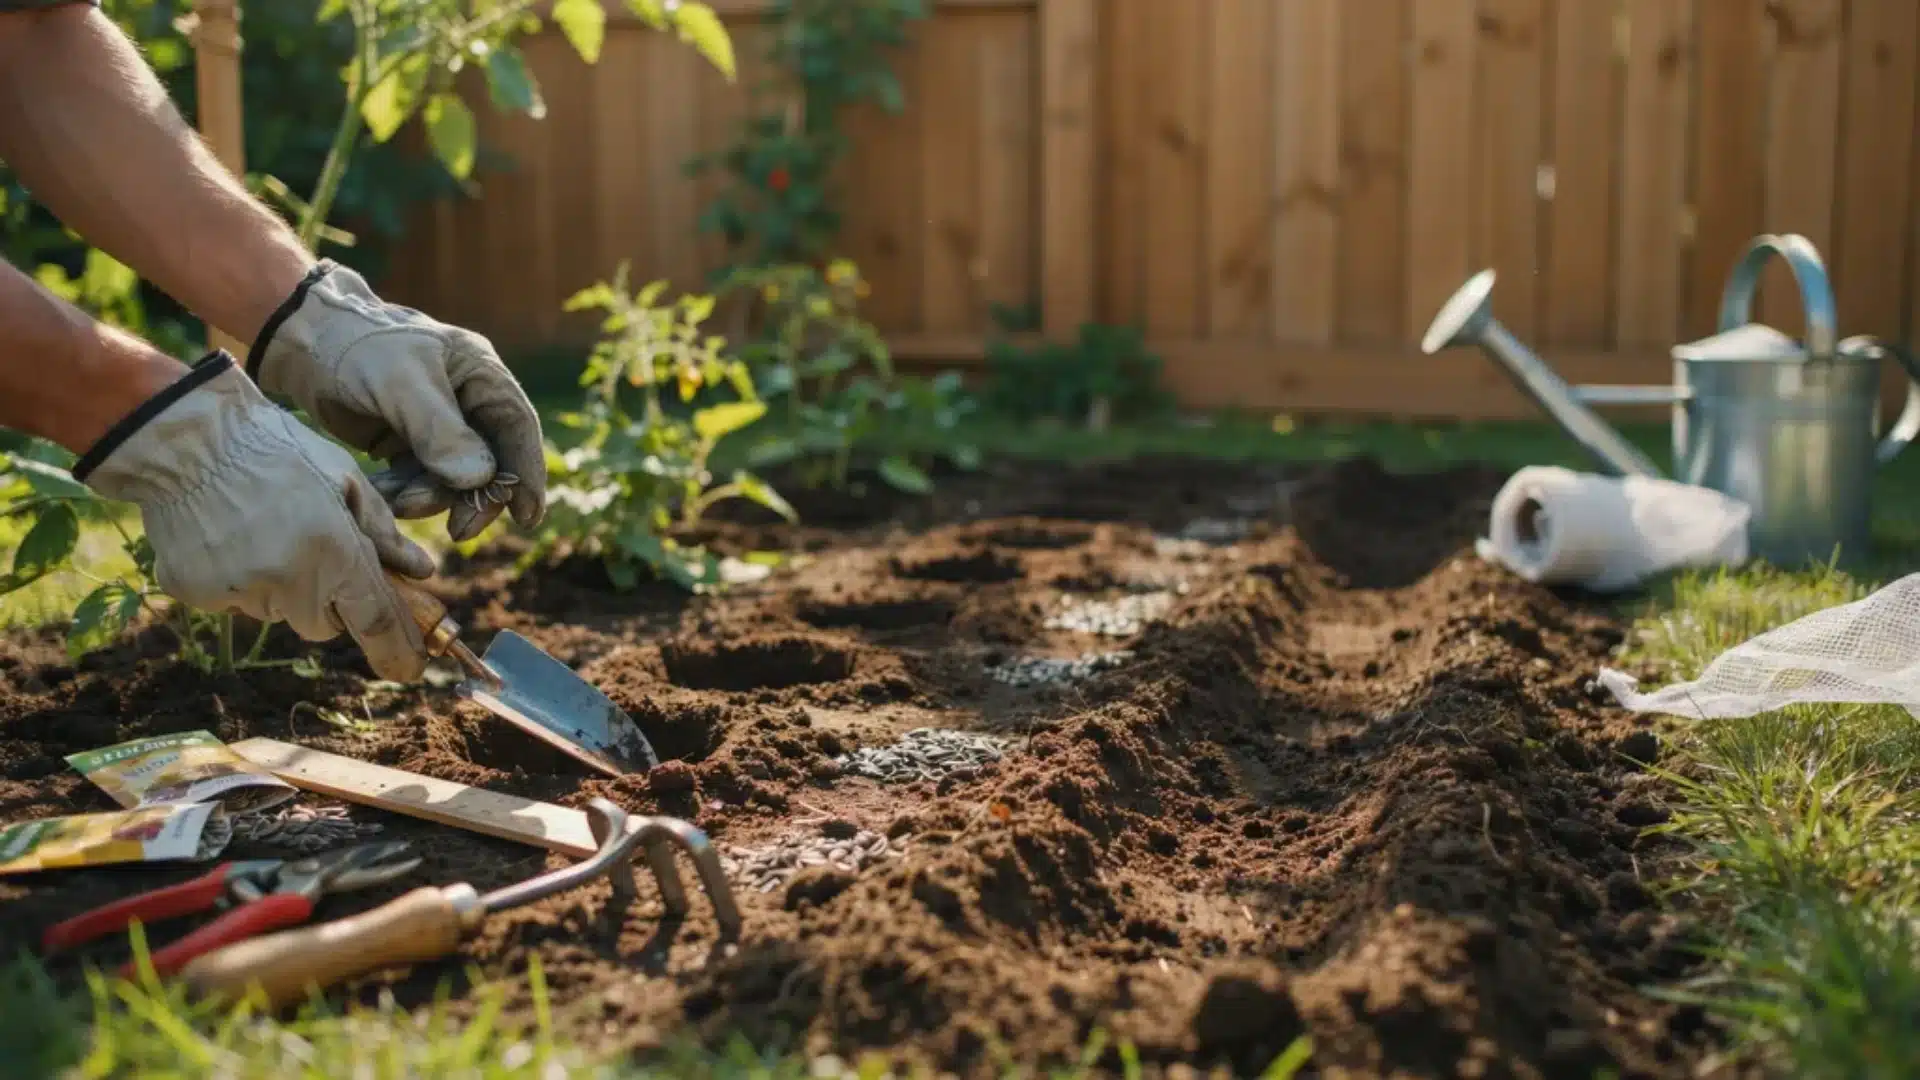
This is the core process. Follow each step in order.
Step 1 – Choose your spot: Full sun, sheltered from strong wind, well away from anything that casts shade during the day.
Step 2 – Loosen the soil: Dig at least 12 inches deep. Break up any clumps. Firm, compact soil stops roots from spreading.
Step 3 – Make the holes: Push seeds 1 to 1.5 inches deep into the prepared soil. Use a trowel or your finger to make each hole.
Step 4 – Space your seeds correctly:
- Small and dwarf varieties: 6 inches apart
- Tall and giant varieties: 12 to 24 inches apart
- Row spacing: 2 to 3 feet between rows
- The closer plants are spaced, the smaller the bloom. Wider spacing produces larger flower heads.
Step 5 – Plant two seeds per hole: Drop two seeds into each hole in case one does not germinate. Remove the weaker seedling once both have sprouted. This is called thinning out.
Step 6 – Press the soil down firmly: Good contact between the soil and the seed helps moisture reach the seed coat. Poor seed-to-soil contact leads to uneven sprouting.
Step 7 – Water gently but thoroughly: Soak the area around the seeds. Sunflowers need moisture to start the germination process. Do not leave the soil dry after planting.
Cover with bird netting: Birds and squirrels will dig for the seeds before they germinate. Lay netting flat over the planted area until seedlings are visible above ground.
Germination timeline: Seeds usually sprout within 7 to 10 days under warm, moist conditions.
Watering and Feeding Your Sunflowers After Planting
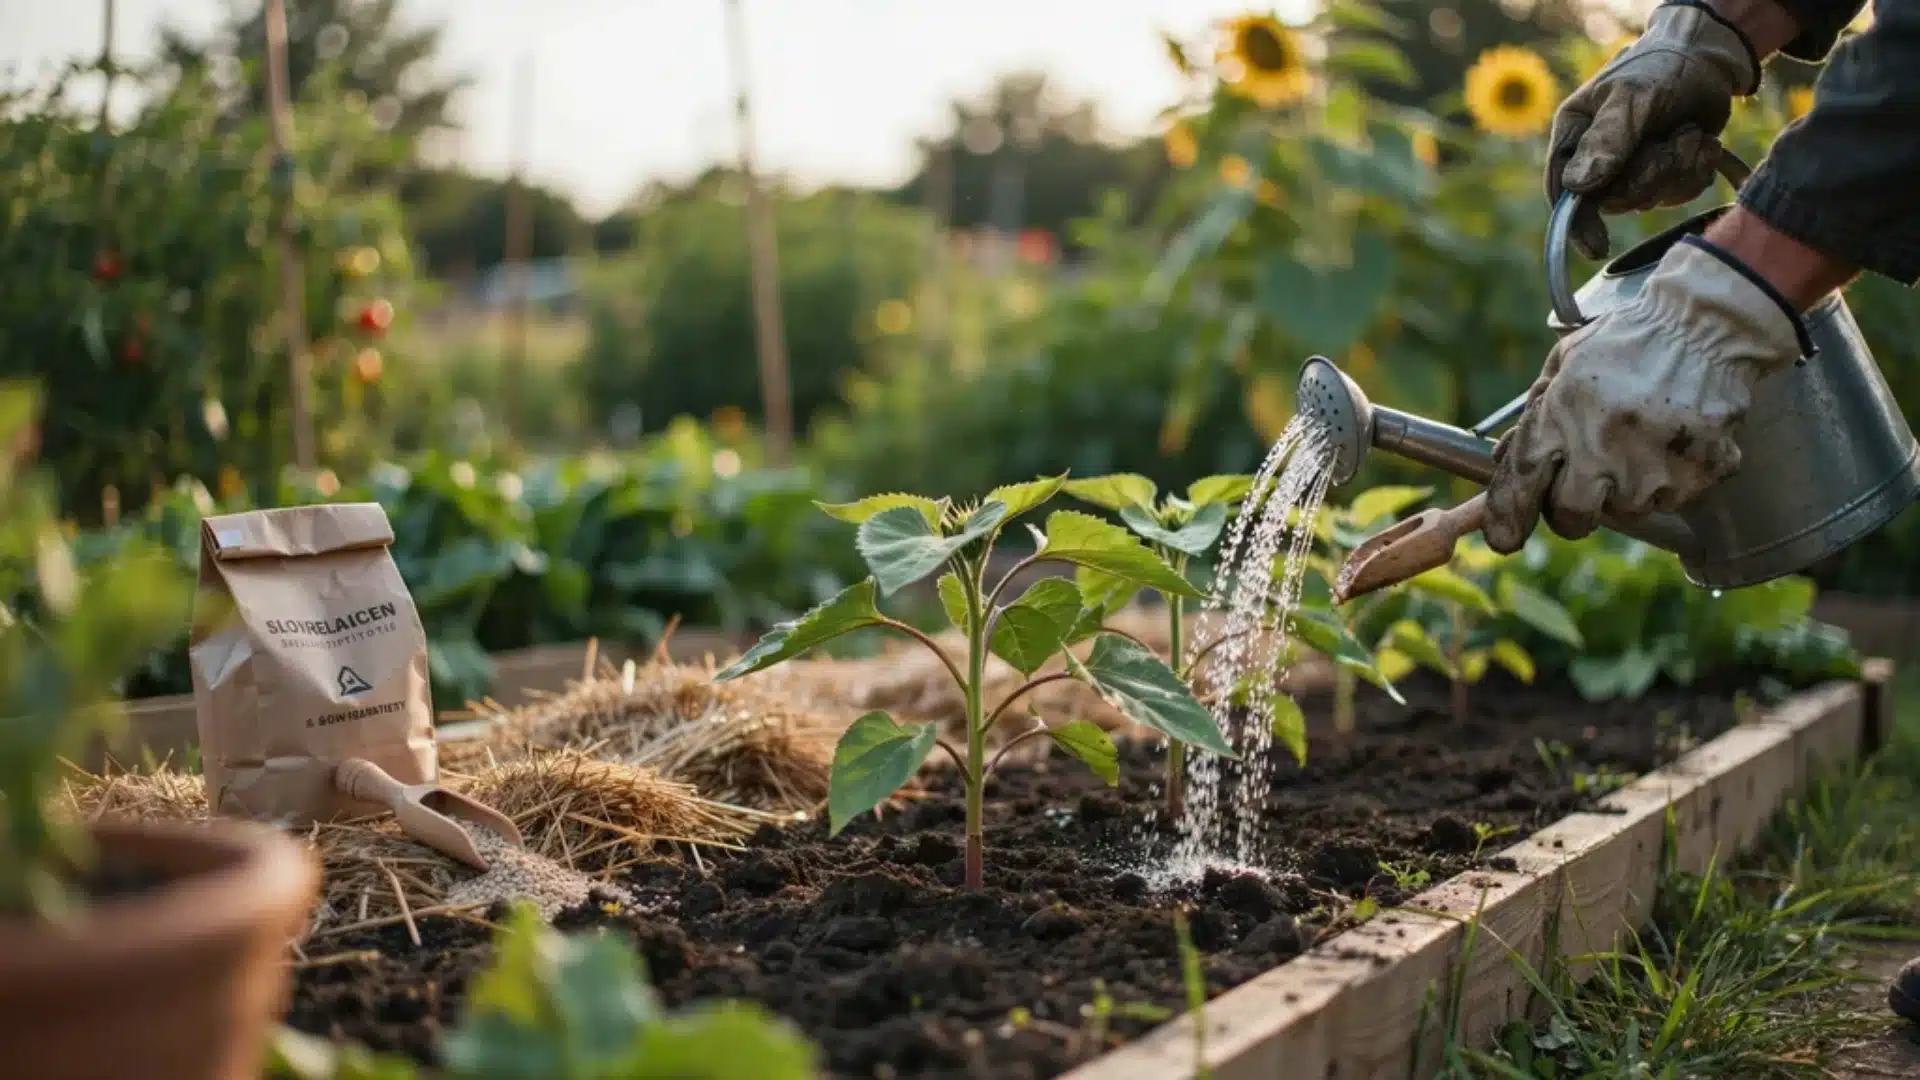
Where you water matters as much as how often you water:
- While plants are young, water 3 to 4 inches from the stem, not directly at the base. This stops stem rot.
- Young plants need regular watering to build a strong root system
- Once established, sunflowers only need about 1 inch of water per week
- Always water in the morning. Water sitting on leaves overnight creates conditions for fungal problems.
Feeding:
- Wait until the second set of leaves appears before adding any fertilizer
- Use a slow-release, balanced fertilizer at this stage
- Never place fertilizer directly into the planting hole it can burn the roots
- Too much nitrogen produces lots of leafy growth but fewer and smaller blooms
- Once flowers form, switch to a potassium-rich feed to support seed development
How to Harvest and Save Sunflower Seeds
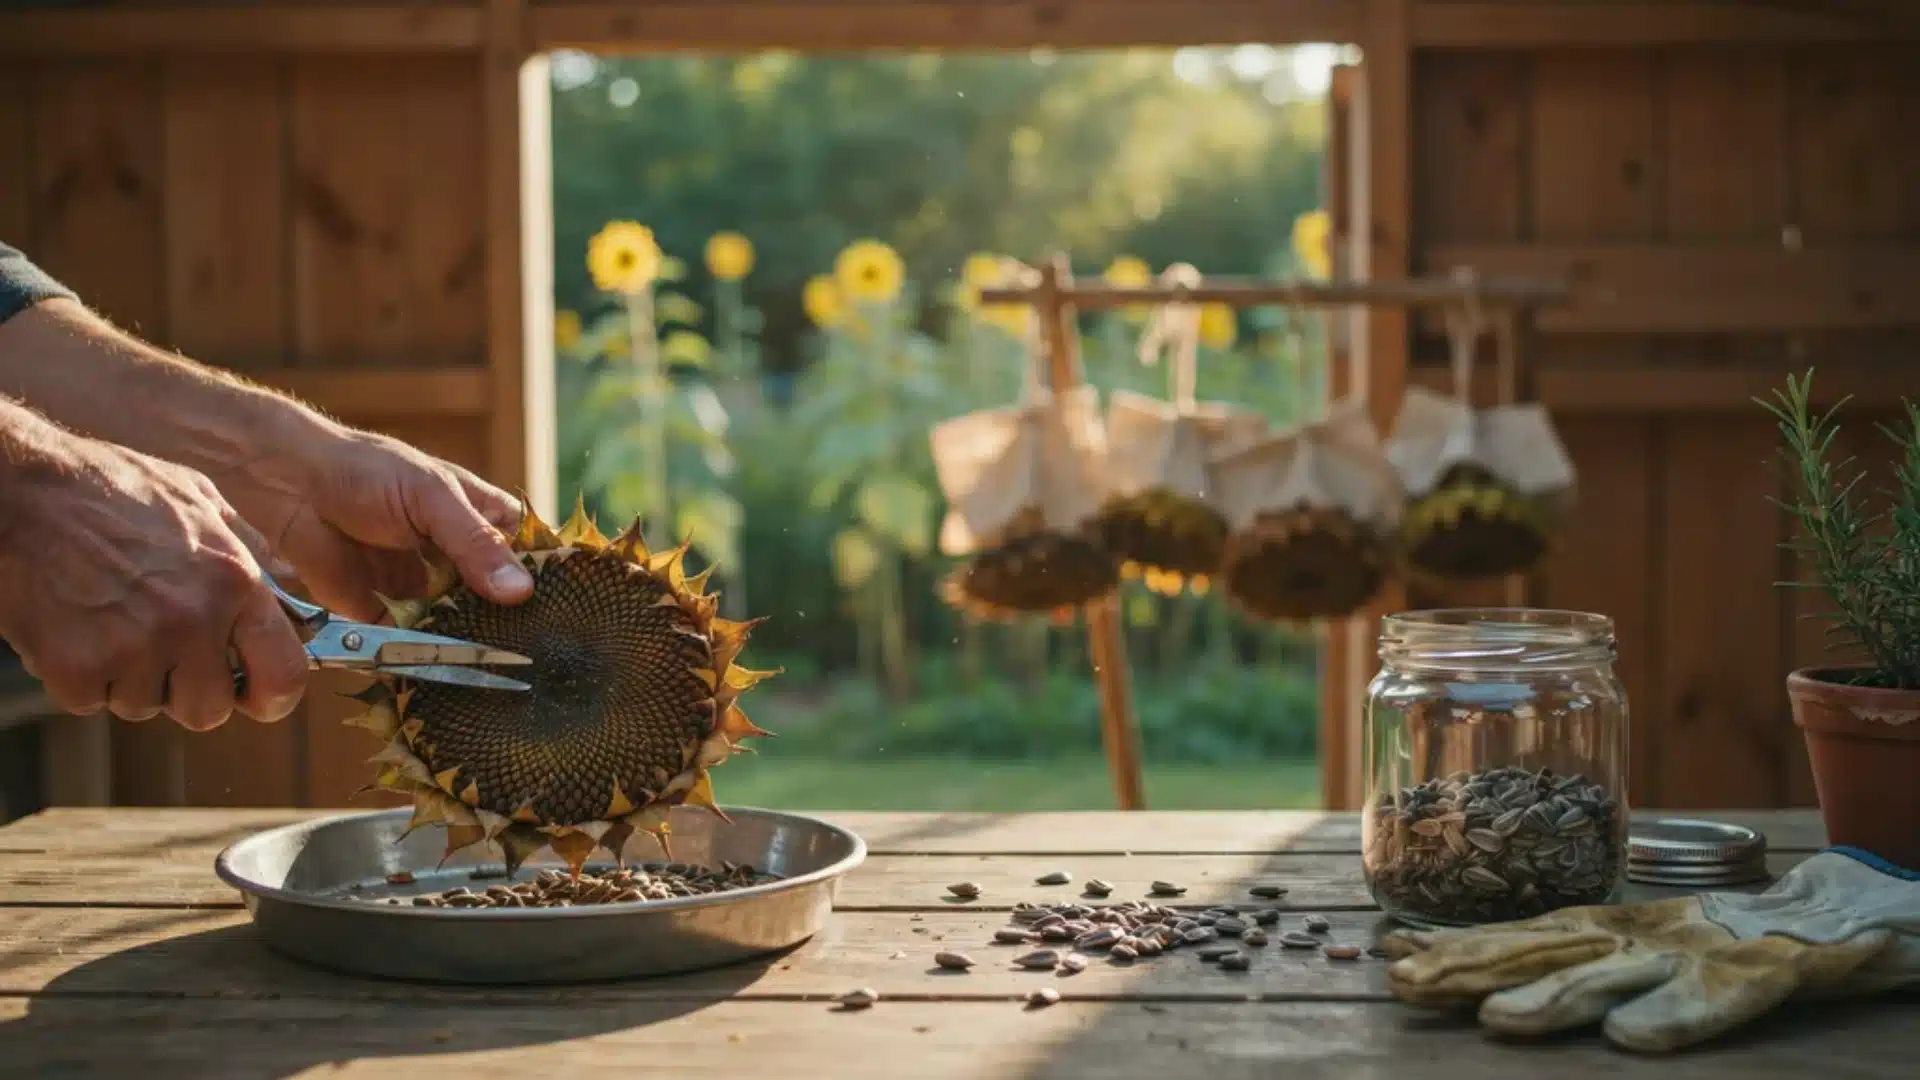
Learning how to plant sunflower seeds is only half the process. Saving seeds means you will have them again next year for free.
When to harvest:
- Watch for the back of the flower head to turn brown and dry
- The seeds should look plump and full
- Petals will have fallen off by this point
How to harvest:
- Cut the flower head off, leaving about 6 inches of stem
- Hang it upside down in a dry, cool, airy spot for about two weeks
- Once fully dry, hold the head over a tray and rub the seeds loose with your hands
- Place seeds in an airtight container and store in a cool, dry place
Set aside a few seeds to plant again next spring. Store the rest for snacking or for feeding birds in winter.
To protect seeds from squirrels and birds while they mature on the plant, cover the flower heads with a paper bag or a piece of cheesecloth once the petals fall. This keeps wildlife from getting to them before you do.
Common Problems and How to Fix Them
Even with the best preparation, things can still go wrong. Here are the most common issues gardeners run into when planting sunflower seeds, along with exactly what to do about each one.
1. Seeds not sprouting: Soil is too cold or too dry. Check the soil temperature and water consistently until germination.
2. Birds eating seeds: Seeds are exposed on the surface. Lay bird netting flat over the planted area until seedlings appear.
3. Slugs eating seedlings: Damp soil conditions attract slugs. Cover young plants with a cloche made from a two-liter plastic bottle.
4. Deer eating plants: The garden area is unprotected. Install fencing or apply deer repellent around the planting area.
5. Leggy, weak seedlings: The plant is not getting enough light. Move it to a sunnier spot as soon as you notice the problem.
6. Powdery mildew on leaves: Poor airflow and wet leaves create the right conditions for mildew. Water at the base of the plant and space plants further apart.
7. Tall plants falling over: No wind support in place. Stake each tall plant with a sturdy wooden post. Avoid thin canes; they cannot hold the weight of a fully grown sunflower.
8. Seeds not forming in flower heads: No pollinators were present during flowering. Check whether your variety is pollen-free, as those types will not produce seeds.
9. Regarding fungal diseases, downy mildew, powdery mildew, and rust can appear later in the season.
These often appear after your sunflowers have matured enough to survive. Remove affected leaves straight away to reduce spread. Good airflow and morning watering are the best preventive steps.
Conclusion
Knowing how to plant sunflower seeds correctly makes the difference between a garden full of tall, healthy blooms and a patch of seeds that never take off.
Start with the right variety, check your soil temperature before planting, space your seeds properly, and give young plants the water and light they need.
The steps are straightforward once you know them. Give it a go this season and let us know in the comments how your sunflowers turn out.
Frequently Asked Questions
Can I Just Scatter Sunflower Seeds?
Yes, you can scatter sunflower seeds, but you will get a much better germination rate with a little prep. Simply throwing them on an undisturbed lawn or hard dirt leaves them exposed to birds, squirrels, and drying out.
What Is the Downside to Growing Sunflowers?
Growing sunflowers can be challenging because they are allelopathic; their roots and leaves secrete natural chemicals that stunt or kill nearby plants, especially beans, potatoes, and garlic.
Is September Too Late to Plant Sunflowers?
In colder regions where frost arrives early, September is generally too late to start seeds.