Quick Answer: To install patio pavers, excavate 7 to 9 inches deep, compact a 4- to 6-inch gravel base, screed a 1-inch sand layer, then set the pavers and lock them in with edge restraints and polymeric sand. DIY installation runs $5 to $10 per square foot, versus $10 to $17 for professional work.
$10,000. I’ve quoted clients that number for a paver patio and watched their faces fall. The materials alone cost a fraction of that. Most of what you’re paying for is labor.
Do the work yourself, and your total drops to $5-$10 per square foot. The process has a set order, and skipping a step means the patio sinks or cracks within a season.
Get it right, and it holds for 20 to 30 years with very little upkeep. It’s the same order I follow whether I’m setting a stone wall or a patio: prep decides everything.
This post covers the full step-by-step process, real cost figures, and the mistakes I see most often on a first patio.
How Do You Install Patio Pavers from Start to Finish?
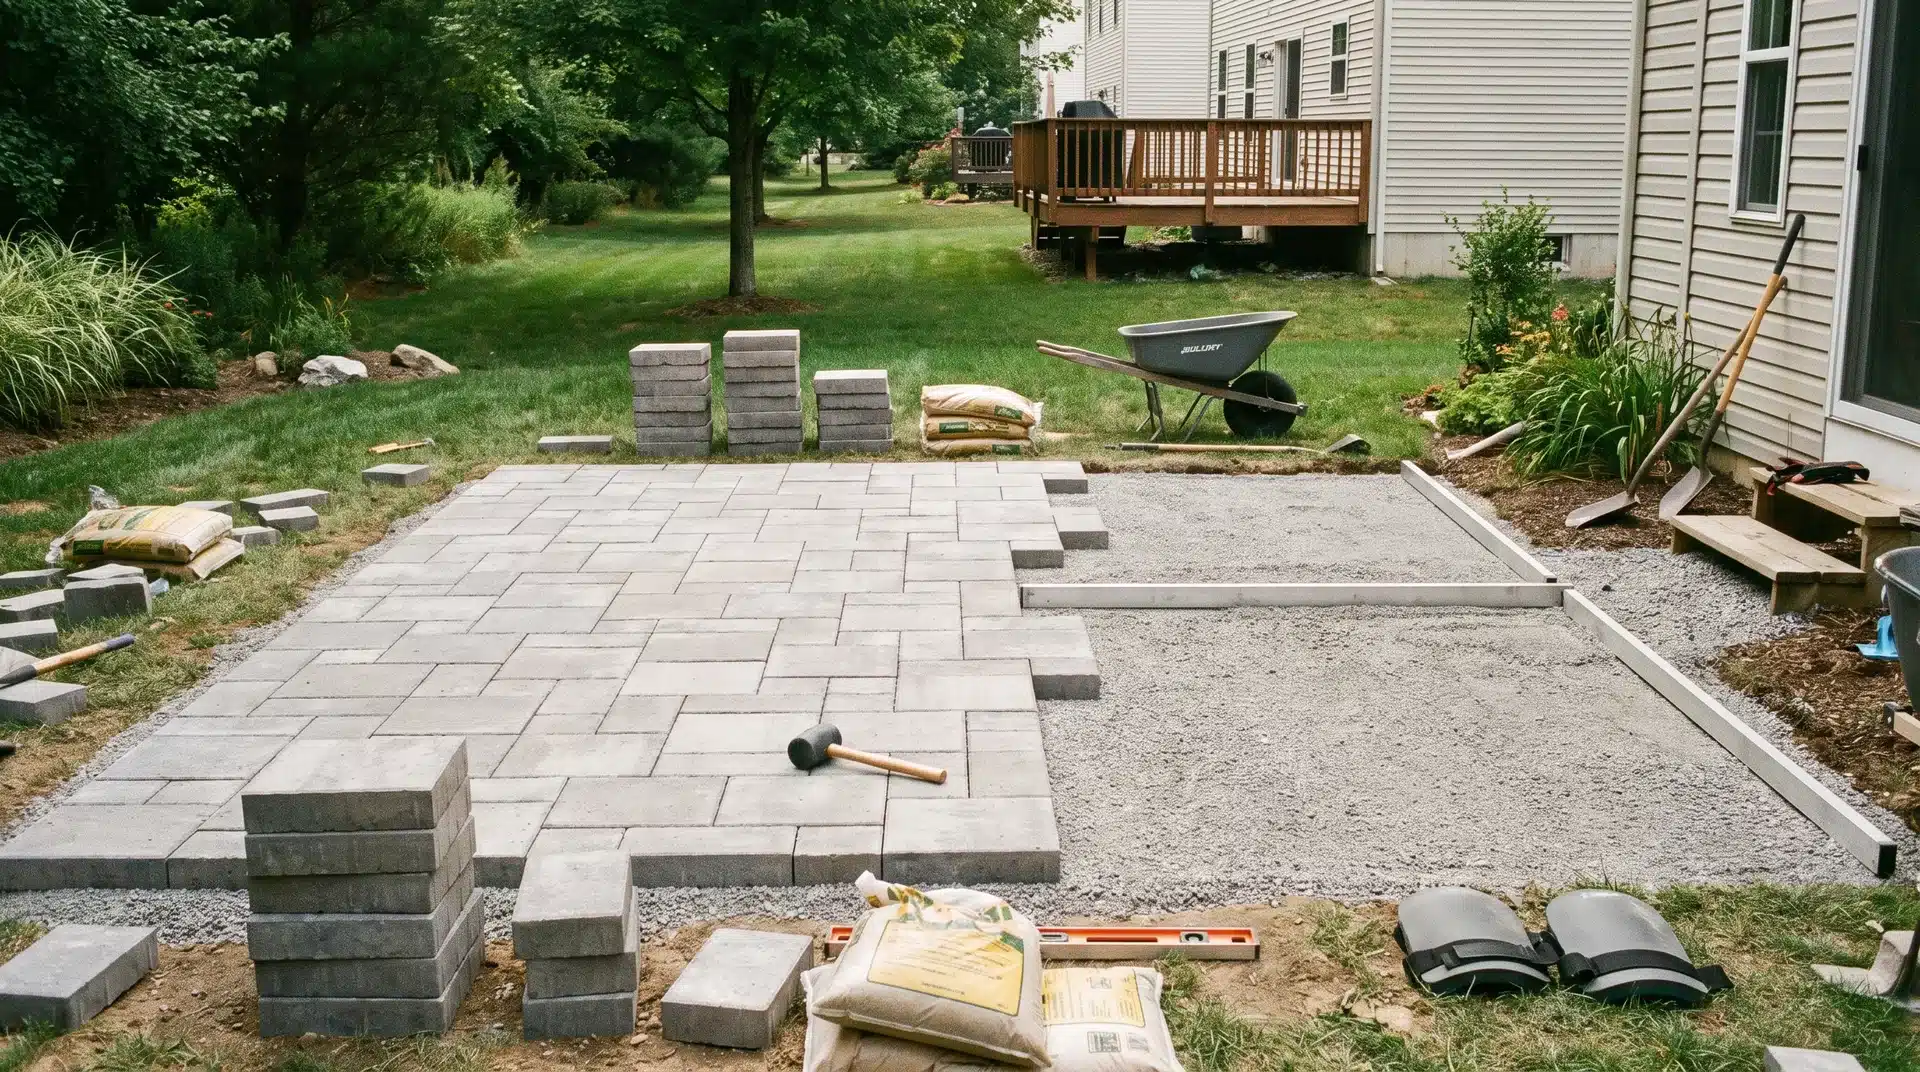
Every layer matters here, from preparing the ground to securing the final paver:
- Plan and measure the patio area. Mark the perimeter with stakes and string.
- Call 811 to have underground utility lines marked before you dig.
- Excavate to a total depth of 7-9 inches, depending on paver thickness.
- Compact the soil with a hand tamper or plate compactor.
- Add and compact the gravel base in 2- to 3-inch layers until it is 4 to 6 inches deep.
- Screed a 1-inch sand layer using PVC pipes and a straight board.
- Set the pavers starting from the most visible corner and working outward.
- Cut edge pavers with a masonry saw or angle grinder as needed.
- Install edge restraints along all open sides and secure with spikes.
- Fill the joints with polymeric sand, compact again, and mist with water.
How Much Does Installing Patio Pavers Cost?
Most people only budget for the pavers. That’s where the surprises start. Here’s a cost breakdown for a 200-square-foot DIY patio:
| Item | Estimated Cost |
|---|---|
| Pavers (concrete) | $400 to $800 |
| Crushed gravel base and sand | $280 to $440 |
| Plate compactor rental | $100 to $200 |
| Edge restraints and polymeric sand | $50 to $150 |
| Total (DIY) | $830 to $1,590 |
DIY installation runs $5 to $10 per square foot. Professional work runs $10 to $17 per square foot for the same area.
A few things affect your total. Concrete pavers cost $2 to $4 per square foot, while natural stone runs $8 to $30.
Pattern matters too: a simple running bond needs fewer cuts than herringbone. Some areas also require a permit before you dig, so check with your local building department first.
If pavers feel like more than you want to take on right now, I’ve also put together a set of gravel patio options that cost less and go in faster.
What Do You Need Before You Start?
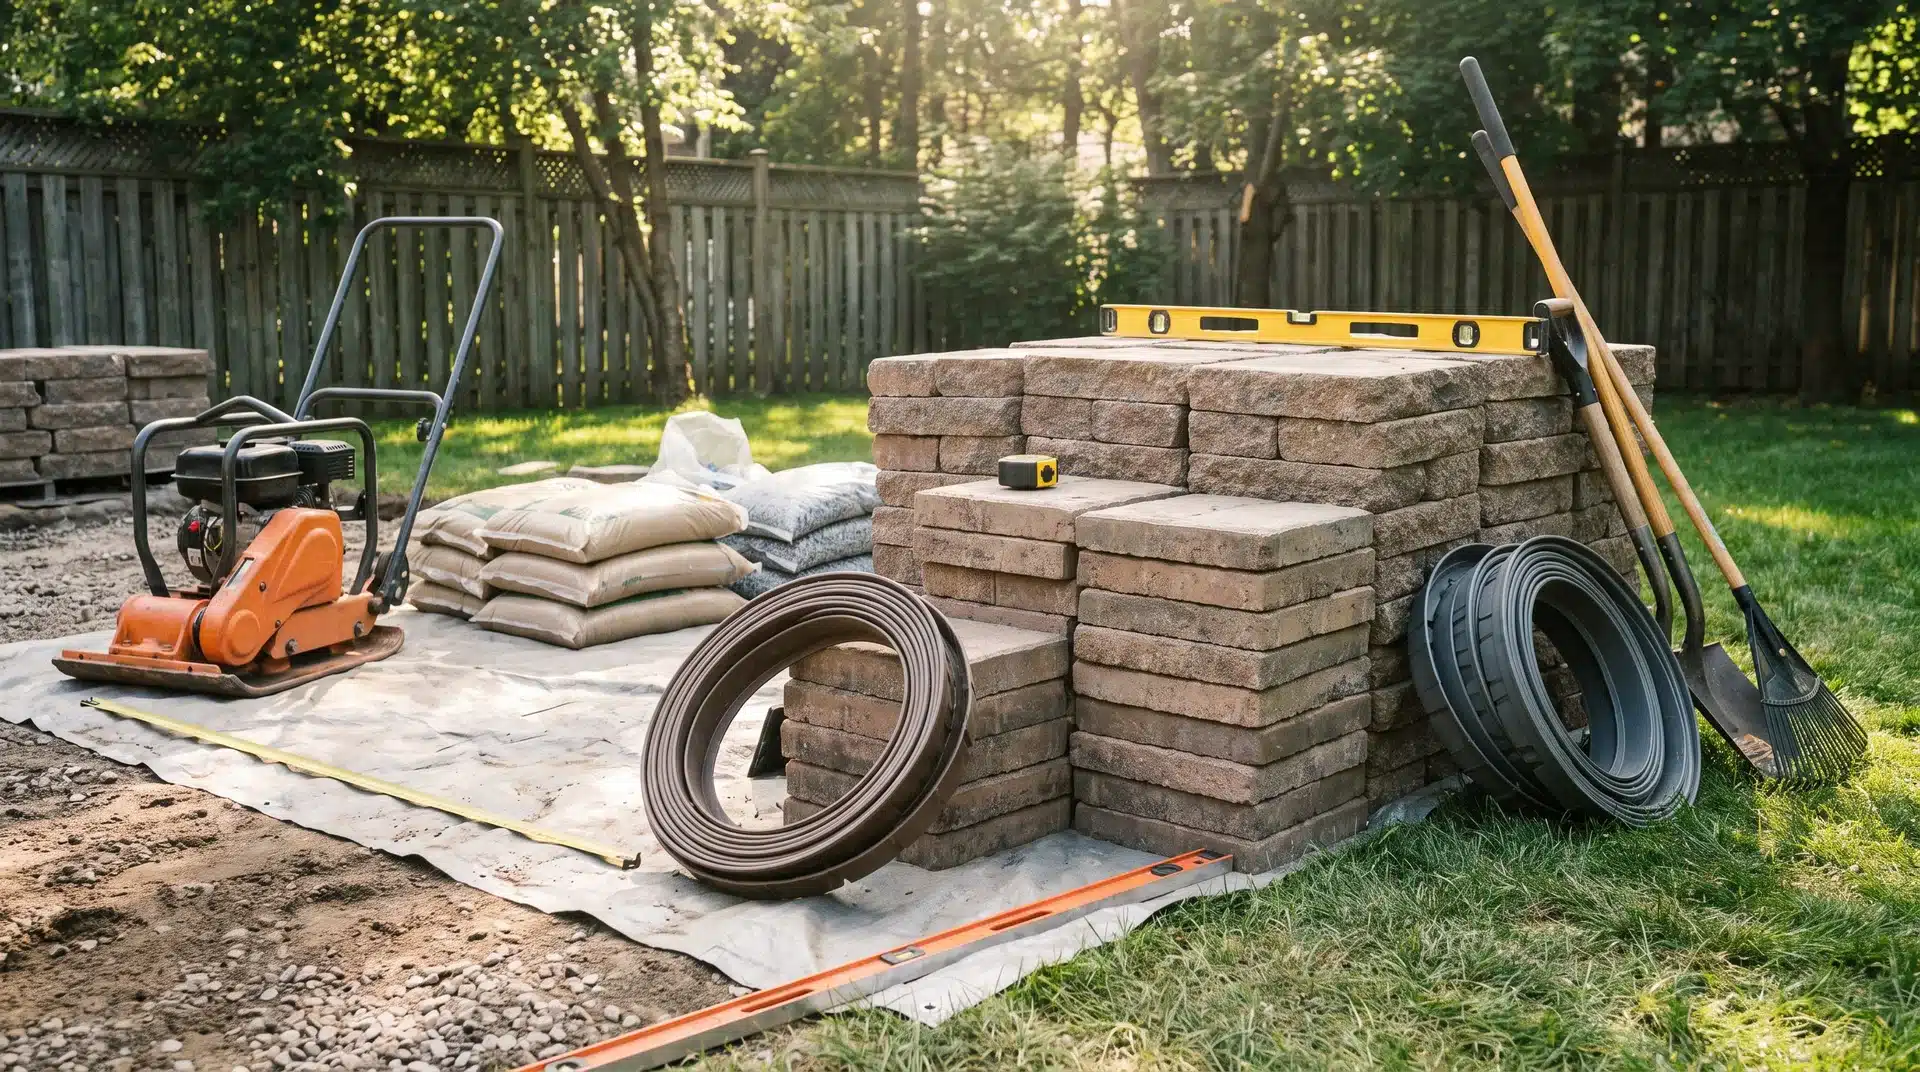
Gather your tools and materials before you begin so you don’t have to make a second trip to the store.
Tools you’ll need:
- Tape measure
- Stakes and mason’s line
- Spray paint for marking
- Shovel or sod cutter (rental)
- Landscape rake
- Plate compactor (rental, roughly $100 per day)
- Rubber mallet
- Push broom
- 4-foot level
- Straight 2×4 board
- Two lengths of 1-inch PVC pipe
Materials you’ll need:
- Patio pavers
- Crushed gravel paver base
- Coarse leveling sand
- Polymeric joint sand
- Plastic edge restraints with spikes
- Marking paint
Order 10% more pavers than your total square footage. Cuts and breakage happen, and buying a second batch later can mean a color mismatch.
How Do You Plan and Measure the Patio Area?
A few minutes of careful measuring now save hours of rework later.
Measure the length and width of your planned patio, then multiply them to get the square footage. A 12×16 patio needs 192 square feet of coverage.
Before you dig, contact 811 to have underground utility lines marked. It’s a free service required before excavation in many U.S. states.
Mark the perimeter with stakes and a mason’s line, set at the finished patio height.
The patio needs to slope away from your house, so aim for a 1-inch drop every 8 feet to keep water from pooling near your foundation.
Then mark the outer edges with spray paint so you know exactly where to dig.
How Do You Excavate and Prepare the Ground?
This step is the hardest on your body, so work at a steady pace. Dig out the grass and soil to the correct total depth: paver thickness, plus 4 to 6 inches for the gravel base, plus 1 inch for sand.
Most concrete pavers run 2 to 2.5 inches thick, so plan to dig 7 to 9 inches total, and 6 inches beyond your marked edges on all sides to leave room for edge restraints.
Check your slope as you dig. Tape a 1-inch wood block to one end of a 4-foot level. When the bubble reads center, the ground has the right drop.
I check this at several points, not just once, then firm up the soil with a hand tamper or plate compactor before adding any base material.
How Do You Lay and Compact the Gravel Base?
The gravel base is what keeps your pavers from sinking or shifting. I’ve torn out more than one patio that skipped this step, so don’t rush it.
Add crushed gravel in 2- to 3-inch layers. Dump one layer, wet it lightly, then run the plate compactor over it several times before adding the next.
Your finished compacted base should be 4 to 6 inches deep, or the full 6 inches if you’re in a region with harsh winters, like Minnesota, Wisconsin, or New York.
Freeze-thaw cycles put extra pressure on a shallow base, and that’s what causes pavers to crack and heave over time.
Walk across the finished base. It shouldn’t shift underfoot. If it gives, compact it again. A thin base is the single biggest reason paver patios fail in the first few years.
How Do You Screed the Sand Bed?
The sand layer creates the flat surface your pavers sit on, so get it right and everything after it falls into place.
Place two lengths of 1-inch PVC pipe across the compacted gravel, spaced 6 to 8 feet apart, and pour coarse leveling sand between and around them to a depth of about 1 inch.
Drag a straight 2×4 across both pipes in one slow, smooth pass. The pipes set the depth, and the board skims off the extra sand. Pull the pipes out, fill the grooves with loose sand, and smooth by hand.
Don’t step on the screeded sand once it’s level. Walking on it creates low spots that only show up after the pavers go down, so work backward toward the outer edge as you go.
How Do You Set and Align the Pavers?
I always start at the most visible corner, usually where the patio meets the house or where the eye lands first from the yard, and work outward from there.
Set each paver straight down into the sand, keeping it snug against the last one. Never drag a paver across the surface, since dragging pulls sand out of position and leaves uneven spots behind.
Use a rubber mallet to tap pavers flush if needed, and check alignment with a level every three or four rows. Catching a crooked row early is far easier than fixing it after twenty.
For cuts at the edges, mark the line with a pencil and a straight edge, then cut with a masonry saw or an angle grinder and a diamond blade.
Always wear safety glasses, gloves, and ear protection when cutting. A simple running bond requires far fewer cuts than herringbone, making it the smarter call for a first project.
How to Install Edge Restraints and Fill the Joints
Edge restraints and joint sand are the last two pieces, and both matter more than most first-timers expect.
Snap plastic edge restraints along all open edges and push them tight against the outermost pavers, then hammer spikes through the pre-drilled holes.
Without them, the border pavers slowly push outward over time, and once one shifts, the rest follow.
Pour polymeric sand over the surface and sweep it into the joints, then run the plate compactor over the patio once more to force sand deep into the joints.
Add a second thin layer, sweep again, and mist lightly with a garden hose to activate the bonding agent. Let the patio dry for 24 hours before walking on it.
Mistakes to Avoid When Installing Patio Pavers
I’ve fixed enough patios to know exactly where they go wrong.
- Skipping the slope: water that can’t drain away pools near your foundation and damages both the patio and the home.
- Using too little gravel: a thin base can sink after one or two winters.
- Stepping on screeded sand: low spots stay invisible until the surface looks wavy once the pavers go down.
- Using regular sand instead of polymeric: regular sand washes out with every rain, while polymeric hardens and holds its position.
- Skipping edge restraints: even one missing section can shift the entire edge over time.
- Buying exactly enough pavers: order 10% more, since a broken paver or a bad cut leaves you short at the worst moment.
Should You Seal Patio Pavers After Installation?
Sealing isn’t required, but it protects the work and stretches out the life of the surface.
Wait at least 90 days after installation so pavers can settle and cure, then apply a paver sealer with a paint roller in thin, even coats, working in small sections so it doesn’t dry before you spread it.
Sealing blocks stains, slows color fading in direct sun, and it cuts down on weeds in the joints, too.
Product costs $0.20 to $0.50 per square foot, and most people reapply every 2 to 4 years, depending on foot traffic and climate. It’s a strong investment for concrete and natural stone.
For porcelain, check with the manufacturer first, since some don’t need it.
What Comes After the Patio Is Down?
Once the patio’s set, most of the people I design for ask about shade next, and a pergola built onto the house is usually the next project.
A gravel-based fire pit setup off to one side is another common next step for cooler evenings, and if the patio backs up to planting beds, framing them with a raised garden bed keeps soil from washing onto the pavers after a hard rain.
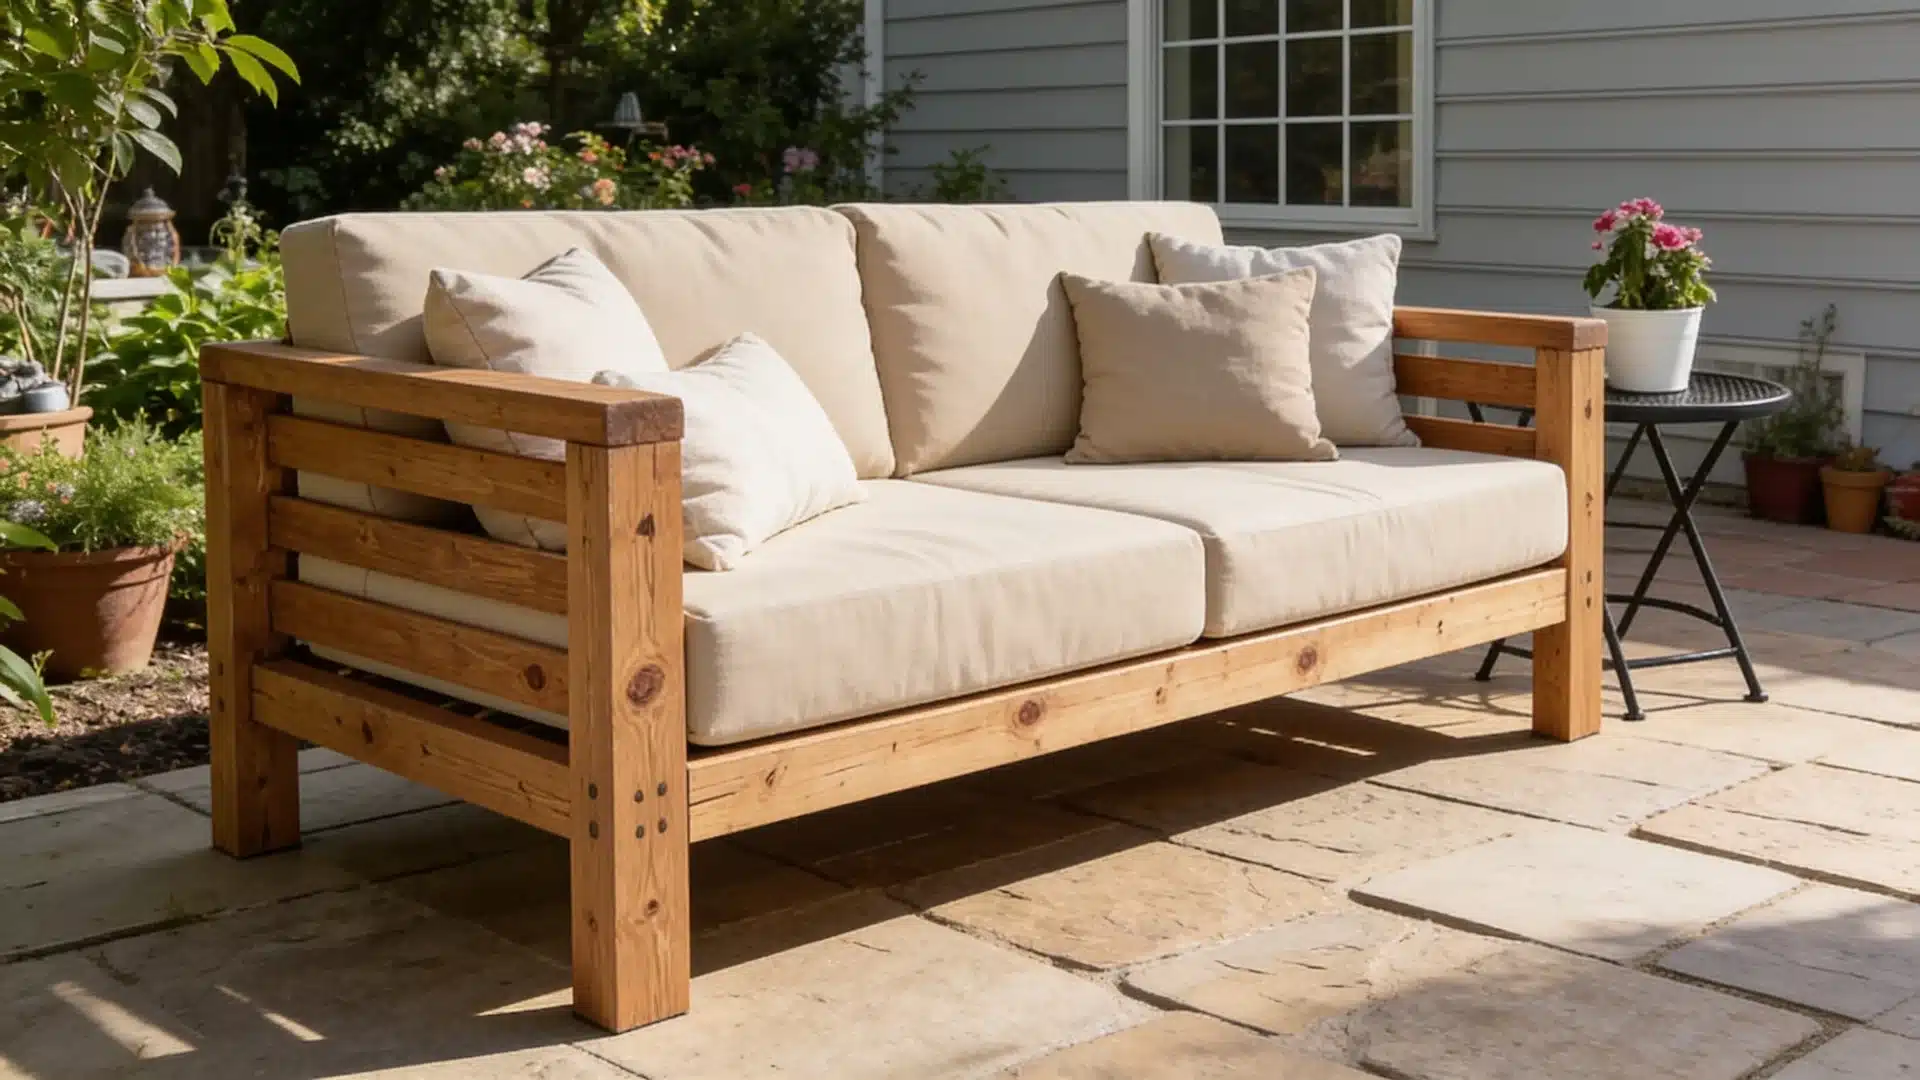
Once the hardscaping’s done, it’s worth furnishing it properly. Building your own homemade patio furniture gets you a setup that fits the space without the retail markup.
The Patio Holds When the Steps Do
A paver patio doesn’t fail because the pavers are bad. It fails because a step was skipped: the slope is ignored, the gravel base goes in thin, regular sand replaces polymeric, or edge restraints are left off one side.
Any one of those turns a 20-year patio into a two-year repair job.
Follow the steps in order and the result speaks for itself: a solid, level surface that holds through freeze-thaw cycles, heavy rain, and years of foot traffic. I’ve built enough of these to know the order matters more than the materials.
Pick your pattern and get started. Which layout are you going with? Drop it in the comments.
Frequently Asked Questions
Can I Lay Pavers Directly on Dirt?
No. Without a compacted gravel base, pavers shift and settle unevenly as moisture moves through the soil beneath them.
Do I Really Need Sand Under Pavers?
Yes. A layer of bedding sand levels the surface and keeps pavers aligned, which spreads weight evenly for a more stable installation.
How Much Does a 20×20 Concrete Paver Patio Cost?
At 400 square feet, budget roughly $2,000 to $4,000 for DIY materials and rentals, or $4,000 to $6,800 for professional installation.
Is It Better to Lay Pavers on Concrete or Sand?
Sand is the standard for patios. It allows drainage and lets pavers shift slightly during freeze-thaw cycles rather than crack.