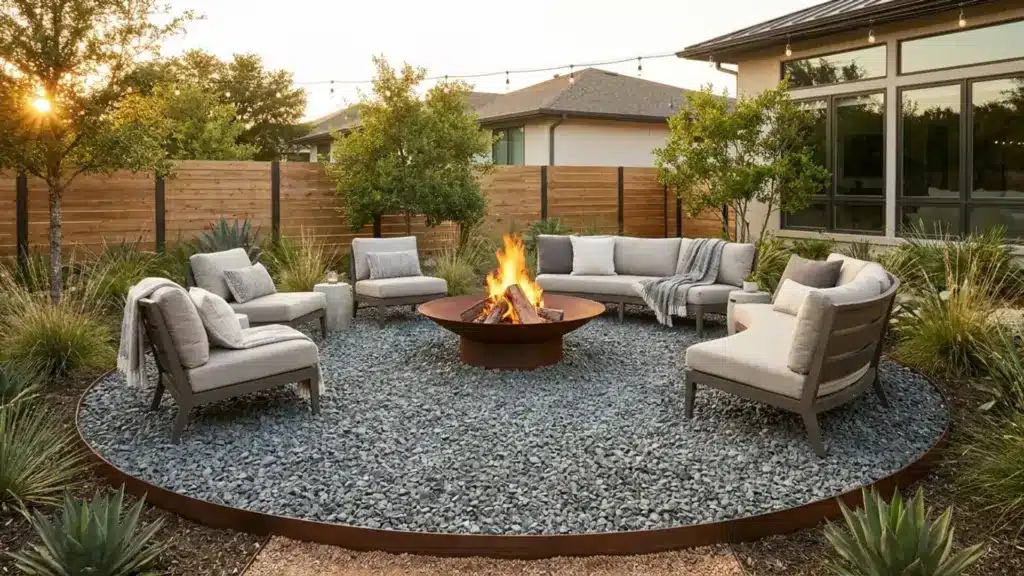
I built my first gravel seating area around a client’s fire pit on a shoestring budget, and we almost made the mistake that ruins these projects: shoveling leftover pea gravel straight into the pit itself.
That one habit is where most problems in gravel fire pit areas start. Gravel around your fire pit and gravel inside it follow completely different rules.
This post covers which gravel holds up best in a fire pit seating area, which types to avoid the flames, how deep to lay it, and how to build the whole space yourself.
Is a Gravel Fire Pit Area a Good Idea?
Yes. A gravel fire pit area is one of the more affordable ways to set up a backyard gathering spot, and it holds up better than most people expect.
Here is why gravel works so well:
- It does not catch fire: Unlike mulch or dry grass, gravel will not ignite from a stray spark or ember.
- It drains well: Water flows straight through, so the seating area stays dry after rain.
- It gives chairs a solid surface: A properly compacted gravel base holds furniture steady. I have never had a client’s chair sink into a gravel pad once it was compacted correctly.
- It keeps weeds down: Gravel blocks sunlight from reaching the soil below.
- It costs less than pavers or concrete: A gravel pad typically runs 40 to 60 percent less than a paved alternative.
If the seating area is going to double as a bigger patio, a gravel patio layout extends the same material past just the fire pit.
Gravel pads usually skip the permit process too. Since they count as non-permanent, most municipalities treat them differently from concrete slabs or pavers.
I still call before I dig, and you should check your own local rules before you start.
The Most Important Safety Rule: Around the Pit, Not Inside It
Gravel works well as a surface around the fire pit. It is not safe inside the fire pit.
When rocks sit outside and get wet, they trap moisture in tiny crevices. Put those same rocks directly under a flame, and that trapped moisture turns to steam.
Steam expands to roughly 1,700 times the volume of liquid water. That pressure builds inside the rock until it cracks or explodes, sending sharp fragments outward.
Rocks can reach that failure point at temperatures as low as 300 to 400 degrees Fahrenheit, which a wood-burning fire pit passes easily.
What to put inside the fire pit instead:
- Sand: fire-rated silica sand is the most common and safest base layer in a wood-burning pit.
- Fire bricks: built to handle repeated high heat without cracking.
- Lava rock: its open, porous structure lets moisture escape gradually rather than build pressure, making it a solid choice for gas fire pits.
- Fire glass: tempered, high-heat-rated, no explosion risk.
Skip river rock, sandstone, pea gravel, and regular crushed stone inside the fire pit itself. Save those for the seating area around it.
Best Gravel for a Fire Pit Seating Area
Not every gravel performs the same around a fire pit. The choice affects comfort, stability, drainage, and how long the surface holds up. Here is what I reach for, depending on the job.
1. Crushed Limestone
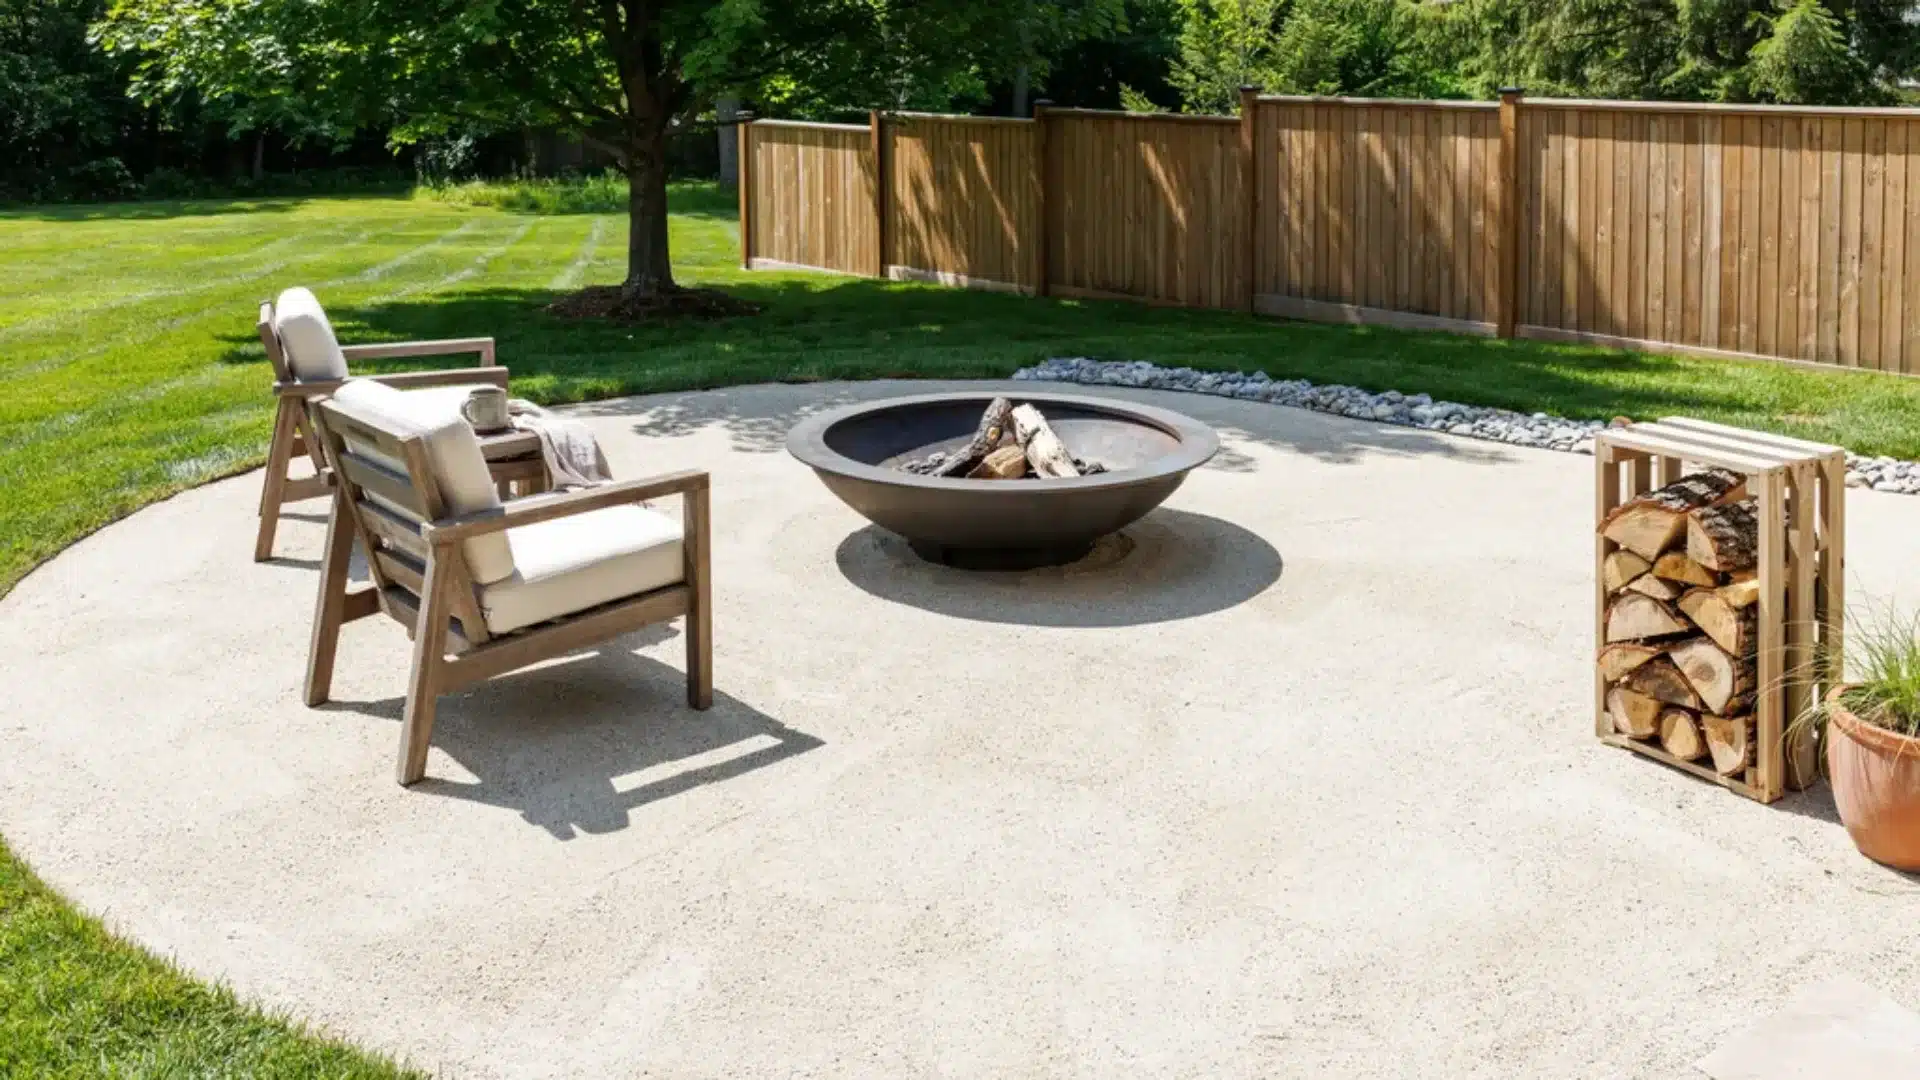
Crushed limestone is what I use under most seating areas I build. It compacts tightly, drains well, and gives chairs, wood racks, and other heavy items a base that does not shift.
The 3/4-inch size is the one I default to.
Best for: high foot traffic, moveable chairs, heavier outdoor furniture.
Keep it outside the fire pit only. It traps moisture and carries the same explosion risk as any other dense stone placed under flame.
2. Pea Gravel
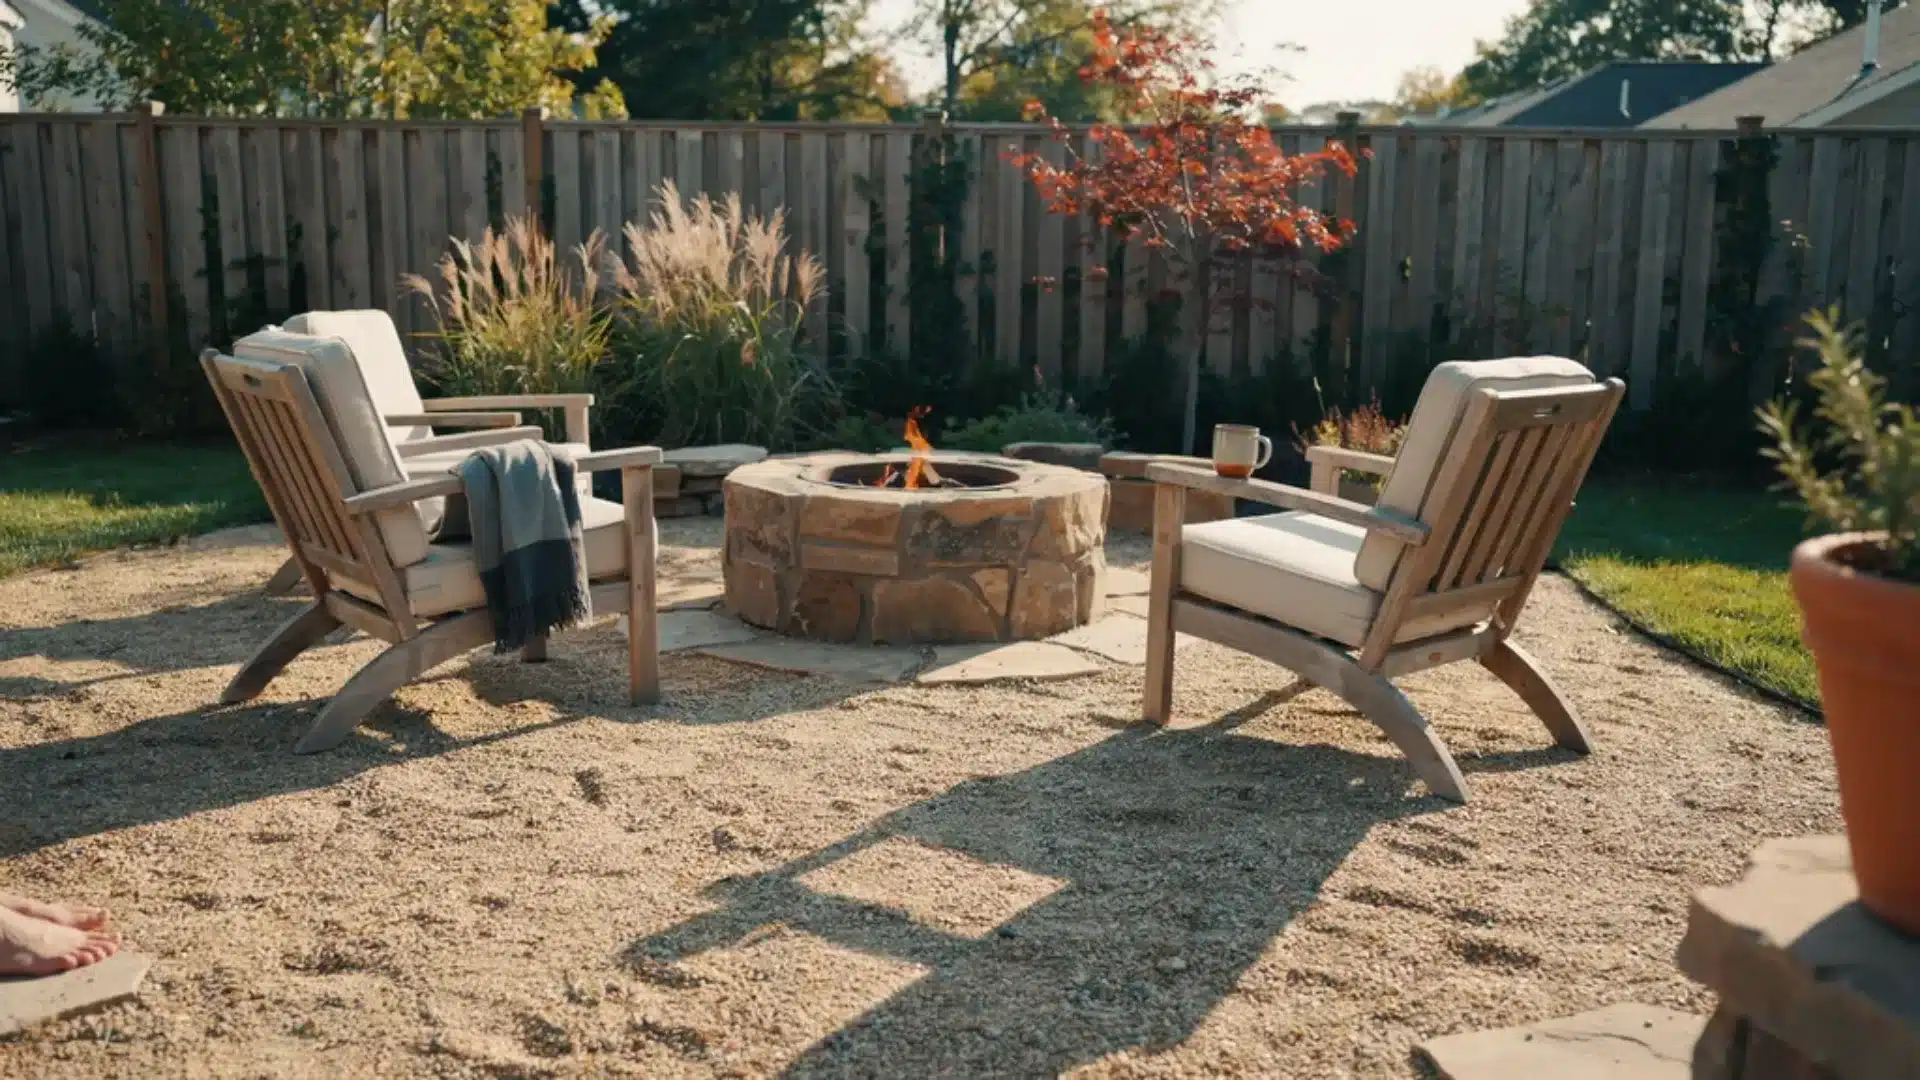
Pea gravel is smooth, comfortable underfoot, and looks natural in a backyard setting. The stones run roughly 1/4 to 3/8 inch across.
Because it is rounded rather than angular, it does not compact as tightly as crushed stone, so chairs and heavier furniture can shift on it over time.
Best for: fixed or semi-permanent seating, barefoot use, low-traffic zones.
Keep it at 2 to 3 inches deep over a compacted base. Anything deeper than that starts to feel unstable underfoot.
3. Decomposed Granite
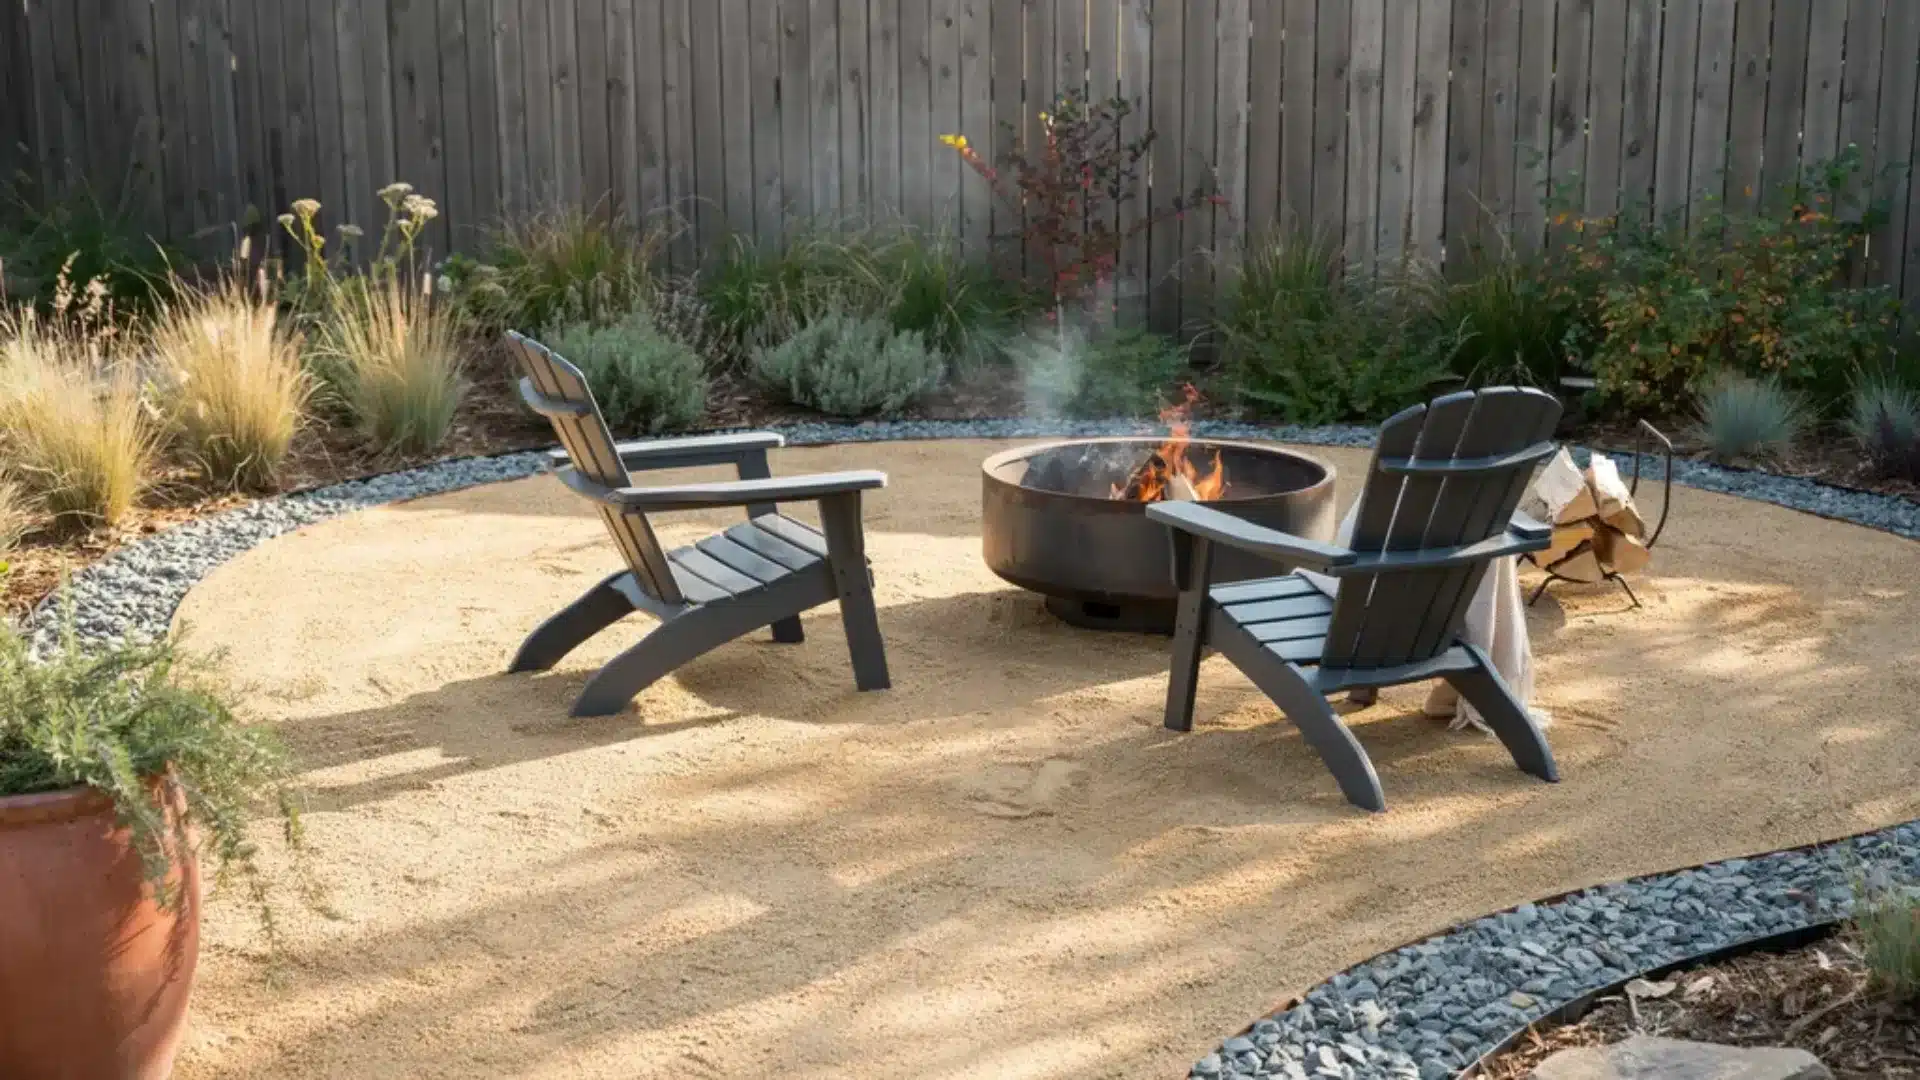
Decomposed granite is inexpensive, easy to work with, and fits most landscape styles. It compacts into a stable, permeable surface that handles casual foot traffic well.
It also holds more moisture than other gravel types, which can bring on moss and weeds if you skip the landscape fabric during installation.
Best for: low-traffic areas, natural-looking setups, budget builds.
Plan on topping it up every two to three years as it wears down.
4. Angular Crushed Stone
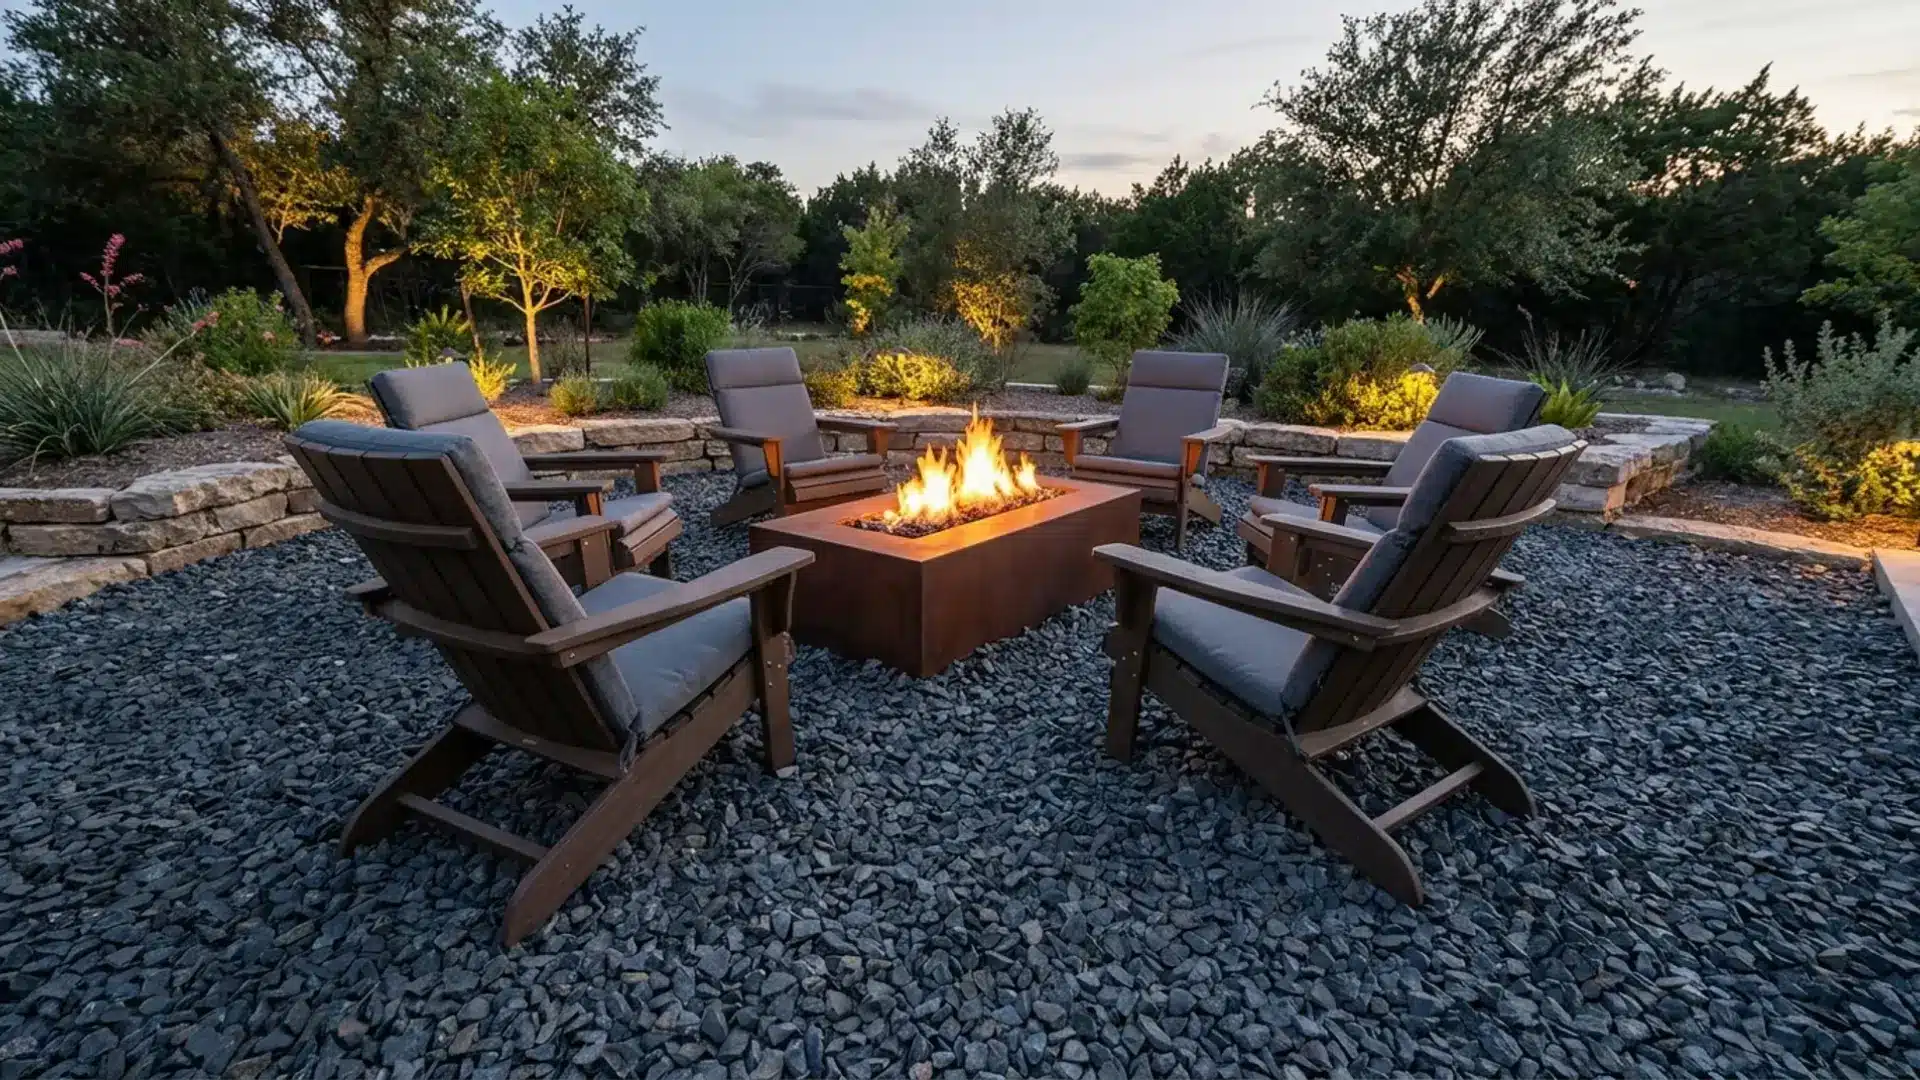
Angular crushed stone has sharp, jagged edges that lock together once compacted, which makes it more stable than rounded gravel under repeated use.
I reach for this one on any project where chairs get moved around a lot or foot traffic is heavy.
Best for: busy seating areas, moveable furniture, long-term durability.
Note: Skip river rock, sandstone, and any rock pulled straight from a stream or beach. Buy from a landscape supplier, not a natural water source.
How Big Should Your Gravel Fire Pit Area Be?
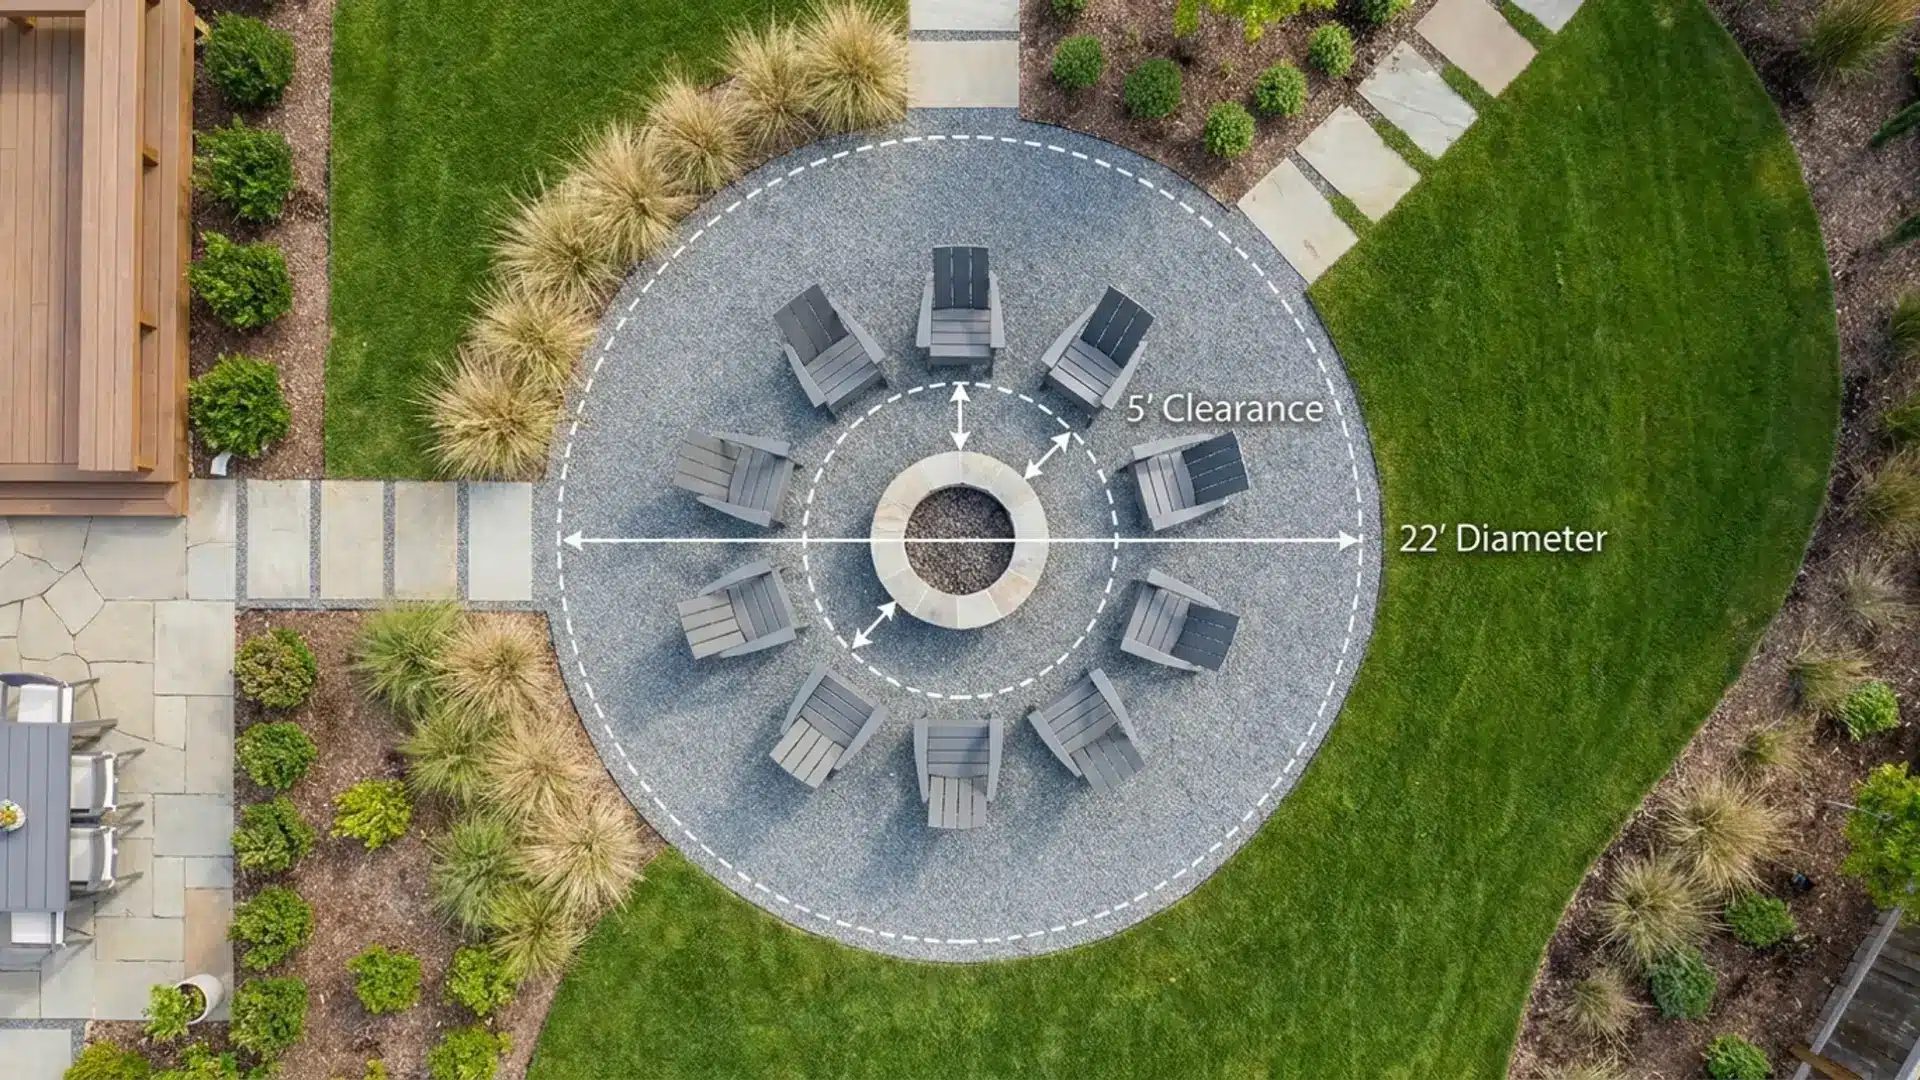
Size is the thing most people underplan for. A gravel fire pit area that is too small leaves chairs sitting on the edge of the gravel, which defeats the purpose of building it.
Here is what I use as a starting point on my own layouts:
- The gravel surface should extend 5 to 6 feet beyond the fire pit in every direction.
- A 14- or 16-foot-square pad is the minimum for most standard fire pits, which typically run 3 to 5 feet in diameter.
- For 6 to 10 people, a 20- to 25-foot-diameter circle gives everyone room to sit, move around, and pull back from the heat.
I always sketch a rough backyard layout before I mark anything with paint, especially once a fire pit has to share space with chairs, a wood rack, a side table, and a cooler. It is far easier to make the area bigger before you dig than after.
How Deep Should the Gravel Be?
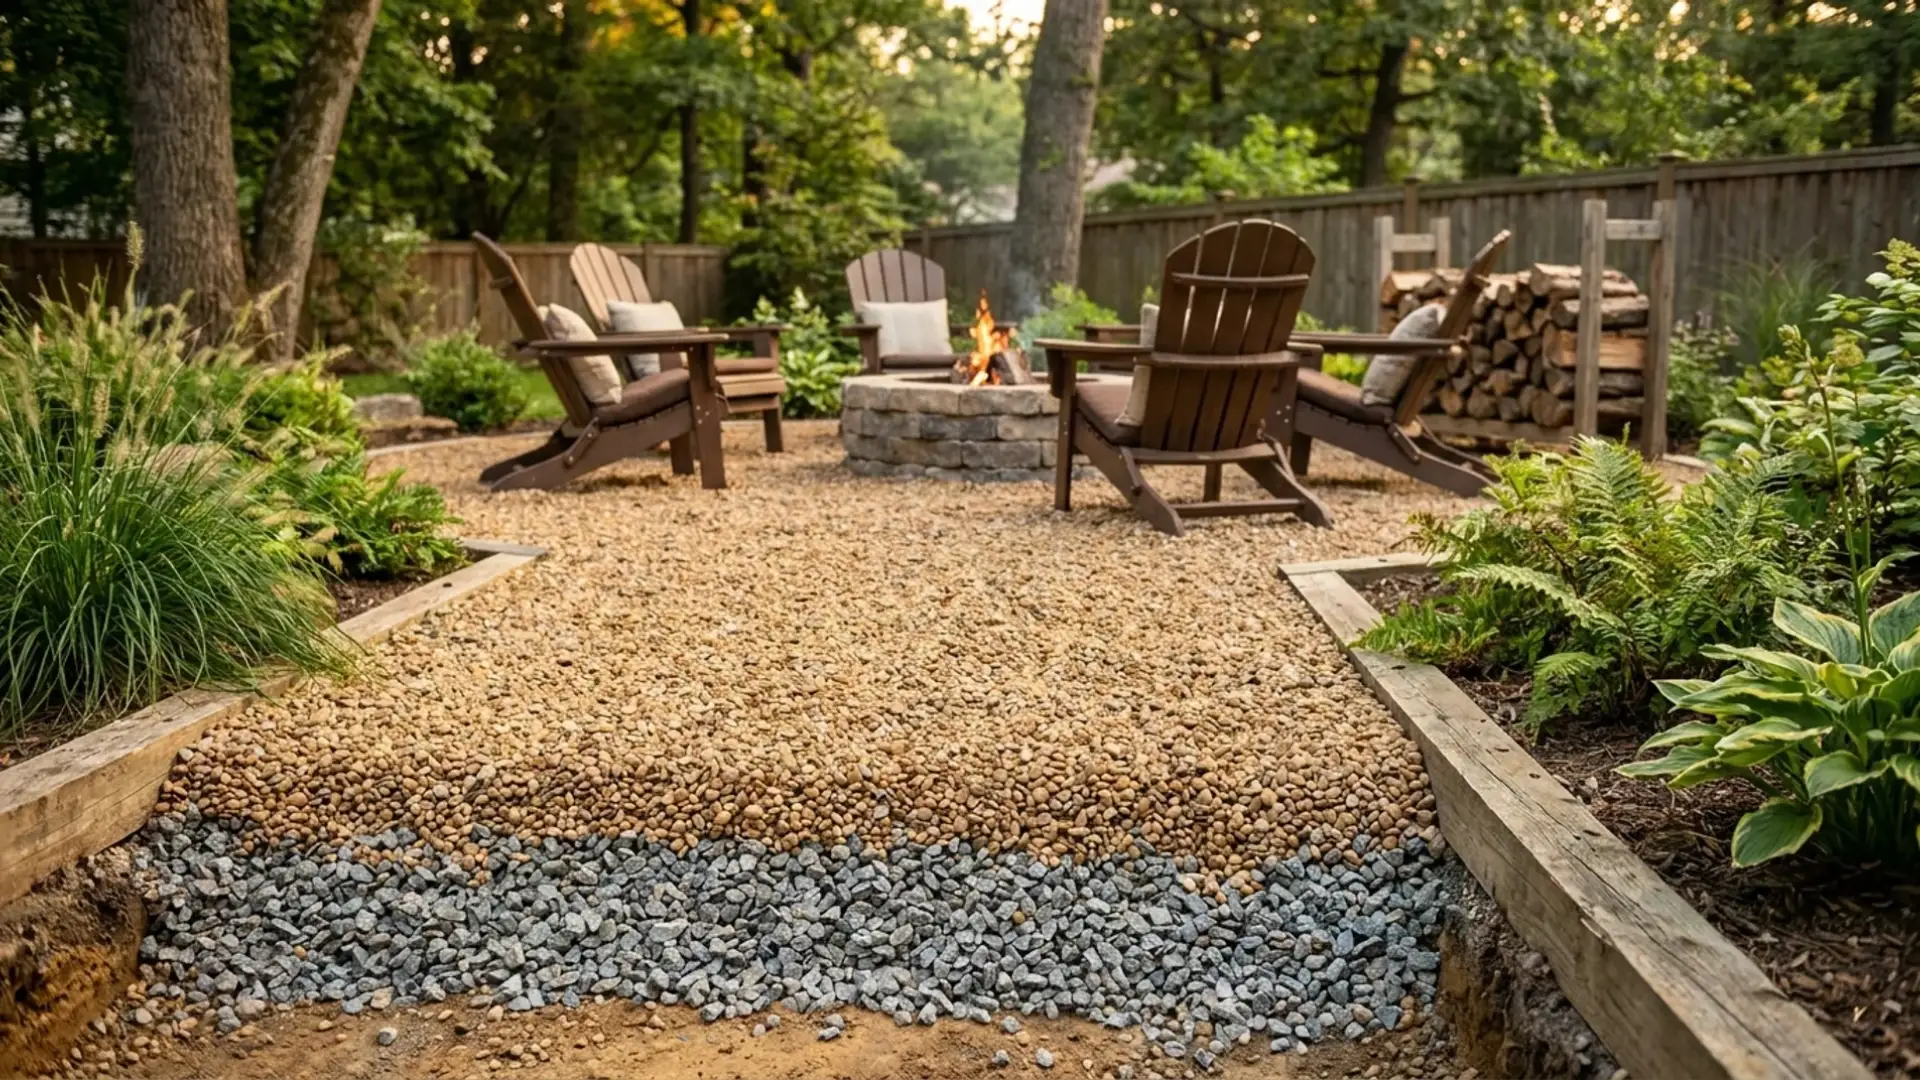
Depth affects how stable the surface feels underfoot and how long it holds up.
- Minimum depth: 4 inches. At this depth, crushed stone locks together tightly enough to support seating, wood racks, and foot traffic without shifting.
- Two-layer build: 2 to 3 inches of compacted crushed stone as the base, then 2 inches of pea gravel or decomposed granite on top. This pairs the stability of angular stone with a softer top layer.
- Sloped ground: measure the depth needed at the high side (4 inches minimum) and the low side, then average the two numbers to get the volume for the whole pad.
How to Build a Gravel Fire Pit Area: Step by Step
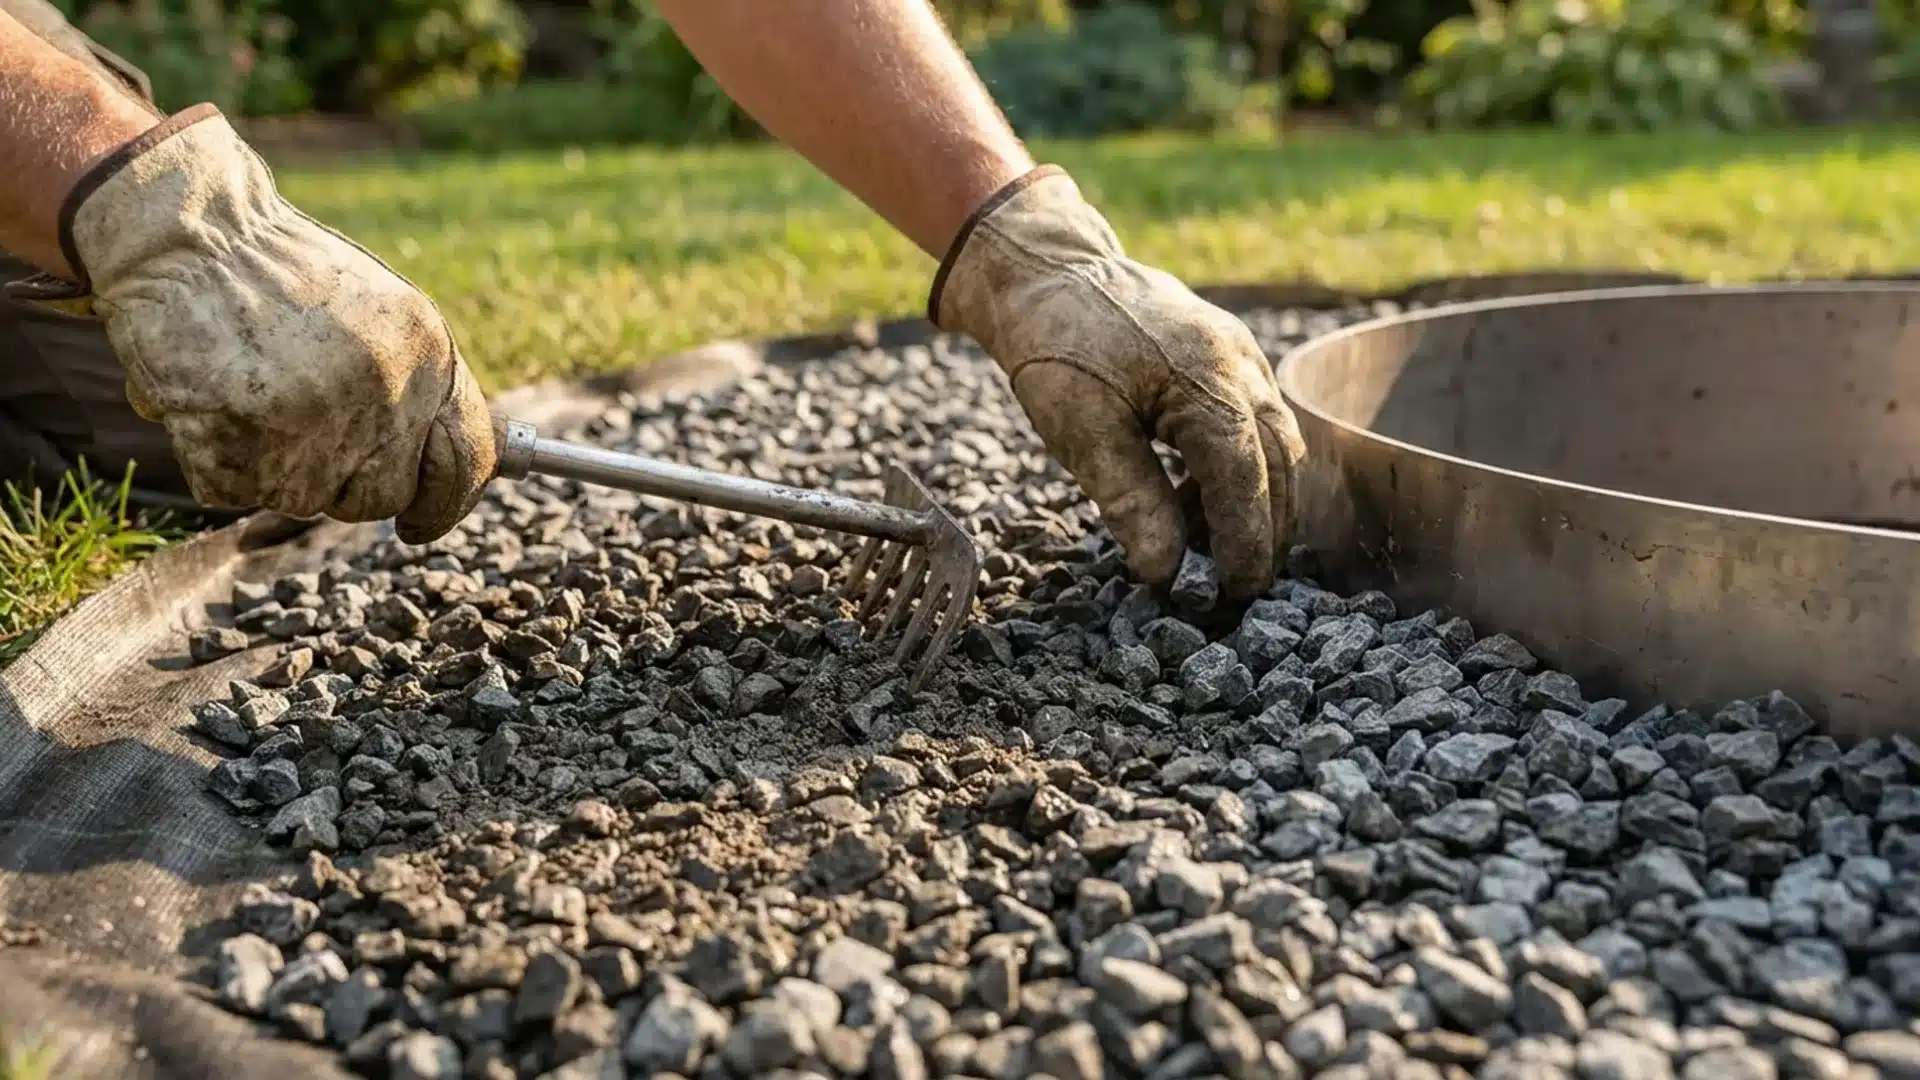
This is a realistic weekend project. You do not need specialty tools or a construction background, just a plan and a free Saturday.
Step 1: Choose your spot: Pick a flat area at least 10 feet from your home, fences, trees, and overhanging branches. Avoid any low spot where water tends to collect.
Step 2: Mark the area: Use spray paint or stakes and string to outline the space. For a circle, tie string to a center stake, measure out the radius, and walk it around.
Step 3: Check local rules: Call your municipality before you dig. Most areas waive permits for a gravel pad, but fire pit rules vary by city and cover pit size, setback distance, and open burning.
Step 4: Excavate: Dig down 4 to 6 inches across the marked area. Clear out grass, roots, and loose soil. Slope the base slightly away from the house so water drains outward.
Step 5: Lay landscape fabric: Roll woven fabric over the excavated area. Overlap seams by at least 6 inches and pin every 3 feet. This blocks weeds without blocking drainage.
Step 6: Add and compact the base layer: Spread the crushed stone base evenly with a rake, then run a plate compactor or hand tamper over it until it is firm and level.
Step 7: Add the top layer: For a two-layer build, add pea gravel or decomposed granite over the compacted base. Rake it smooth and check the depth at a few points.
Step 8: Install edging: Set metal edging, large stones, or a timber border around the perimeter. This keeps gravel out of the lawn and gives the space a finished edge.
Step 9: Place the fire pit: Set it in the center, on a concrete pad or flagstone base flush with the surrounding gravel. Never set it directly on pea gravel with nothing underneath.
Gravel vs. Other Fire Pit Surfaces
Before committing to gravel, it helps to see it next to the alternatives.
Concrete: A solid, poured surface with maximum stability. It does not drain and costs the most to install.
Pavers: Pre-cut stone or brick units laid in a pattern. Pavers look polished and drain reasonably well, though installing patio pavers takes more time and a more exact base than gravel does.
Mulch: Shredded wood or bark used as ground cover. It is cheap and easy to spread, but it catches fire easily and breaks down fast.
Sand: A loose, fine-grain material that drains well but shifts under furniture and needs frequent raking to stay level.
Here is a quick comparison:
| Surface | Cost | Drainage | Stability | Maintenance | Fire-Safe |
|---|---|---|---|---|---|
| Gravel | Low | Excellent | Good | Low | Yes |
| Concrete | High | Poor | Excellent | Low | Yes |
| Pavers | High | Good | Excellent | Medium | Yes |
| Mulch | Low | Poor | Poor | High | No |
| Sand | Low | Good | Poor | High | Yes |
How to Keep Your Gravel Fire Pit Area in Good Shape
A gravel fire pit area asks for a little upkeep. It is low-maintenance, not zero-maintenance.
1. Rake monthly: Raking keeps the surface level and stops low spots from collecting water.
2. Clear debris in the fall: Leaves and other organic matter break down on top of gravel, creating soft, weedy patches.
3. Top up every 2 to 3 years: Gravel settles and gets displaced over time. Order 10 to 15 percent extra when you first install, so you already have material on hand when it is time to refresh the top layer.
4. Check edging each season: Edging loosens over winter. Reset any section that has shifted so the gravel stays contained.
5. Cover the fire pit when not in use: This keeps the interior materials dry and cuts down on moisture problems the next time you light it.
Building a Space That Lasts
A well-planned gravel fire pit area gives you a dry, stable space to gather in for years.
The choice of gravel matters more than most people plan for. Crushed limestone or angular stone for stability, pea gravel for comfort underfoot, and nothing porous anywhere near the flame.
Get the depth right, lay the fabric, and set solid edging, and this is a project you will only build once. If you would rather skip the yearly gravel top-ups altogether, a DIY outdoor fireplace gets you the same gathering spot as a permanent, built structure.
Have a gravel fire pit area of your own? Tell me what depth and gravel type worked for you in the comments.
Frequently Asked Questions
What Is the Best Surface for a Fire Pit Area?
Crushed limestone or angular crushed stone works best around the pit itself. Both are compact, tight, drain well, and hold chairs steady without shifting underfoot.
Can You Put Pea Gravel Around a Fire Pit?
Yes, pea gravel works well in the seating area. Never put it, or any gravel, directly inside the fire pit itself, since trapped moisture can cause it to crack.
Do You Need Landscape Fabric Under a Gravel Fire Pit Area?
Yes. Landscape fabric blocks weeds from growing up through the gravel while still allowing water to drain into the soil below.
How Big Should a Fire Pit Be for 10 People?
For 6 to 10 people, look for a fire pit 42 to 60 inches across, paired with a 20- to 25-foot seating area.