Ever notice how patio furniture always seems to give out right when the weather finally gets good? It usually comes down to cheap materials that were never built to handle real sun, rain, or temperature swings in the first place.
And it cost more than my actual couch inside the house. That’s when I decided to try diy patio furniture on my own, even though I had no woodworking background and only basic tools in my garage.
I want to walk you through everything I learned along the way. You’ll get real project ideas, wood advice, and a clear cost breakdown.
I’ll also cover the mistakes I made so you can skip them. By the end, you’ll know where to start and how to keep your finished pieces looking good for years.
Why Build Your Own Patio Furniture
You save real money when you build instead of buying. Store-bought outdoor sets often use average materials at a high price. When you build your own diy patio furniture, you control the quality of every plank and screw.
You also get full creative freedom. You can design a piece that fits your exact patio size. You can pick your own paint color, shape, and finish.
This kind of customization is hard to find in stores, and it’s part of the bigger porch vs patio decision that shapes how you use the space in the first place.
You get better quality control too. Many mass-produced outdoor pieces use thin wood or weak joints. When you build it yourself, you decide how strong each joint needs to be.
Tools and Materials for DIY Patio Furniture
Before you start any diy patio furniture project, gather your tools first.
Basic tools include:
- A tape measure for accurate cuts
- A circular saw or jigsaw for cutting wood
- A drill for holes and screws
- Sandpaper or an electric sander
- Clamps to hold pieces steady while you work
- Safety gloves, glasses, and ear protection
Common materials include:
- Cedar, teak, or pressure-treated pine boards
- Screws, nails, or brackets
- Outdoor sealant, stain, or paint
Keep your workspace organized. It makes the whole build faster and safer.
You don’t need to buy every tool at once. Start with the basics and add specialty tools as your projects grow.
Once your seating is sorted, some people also tackle installing patio pavers underneath, which gives the whole space a finished base to work from.
Choosing the Right Wood for Your DIY Patio Furniture
Your wood choice affects how long your furniture lasts outside. Each type has its own strengths.
Cedar is a softwood known for its natural oils that resist rot, insects, and decay without any chemical treatment.
Pressure-treated pine is a softwood infused with chemical preservatives under pressure to resist moisture, rot, and insects.
Teak is a dense tropical hardwood with natural oils that make it highly resistant to weather, water, and decay.
A quick reference table:
| Wood Type | Durability | Maintenance | Best For |
|---|---|---|---|
| Cedar | Naturally resists rot and insects | Needs occasional sealing | Wet or humid climates, warm natural look |
| Pressure-Treated Pine | Resists moisture and pests once treated | Needs paint or sealant regularly | Tight budgets, painted or stained furniture |
| Teak | Resists weather without any treatment | Very low, occasional oiling | Long-term durability, minimal upkeep |
Think about your local weather before you choose. Cold, snowy regions call for wood that doesn’t soak up much water, so teak or cedar work best.
Dry, sunny areas are more forgiving, but you’ll still want a sealant to prevent cracking over time.
Your choice of wood shapes the entire look and feel of your diy patio furniture, so take your time on this step.
Step-by-Step Process for Building DIY Patio Furniture
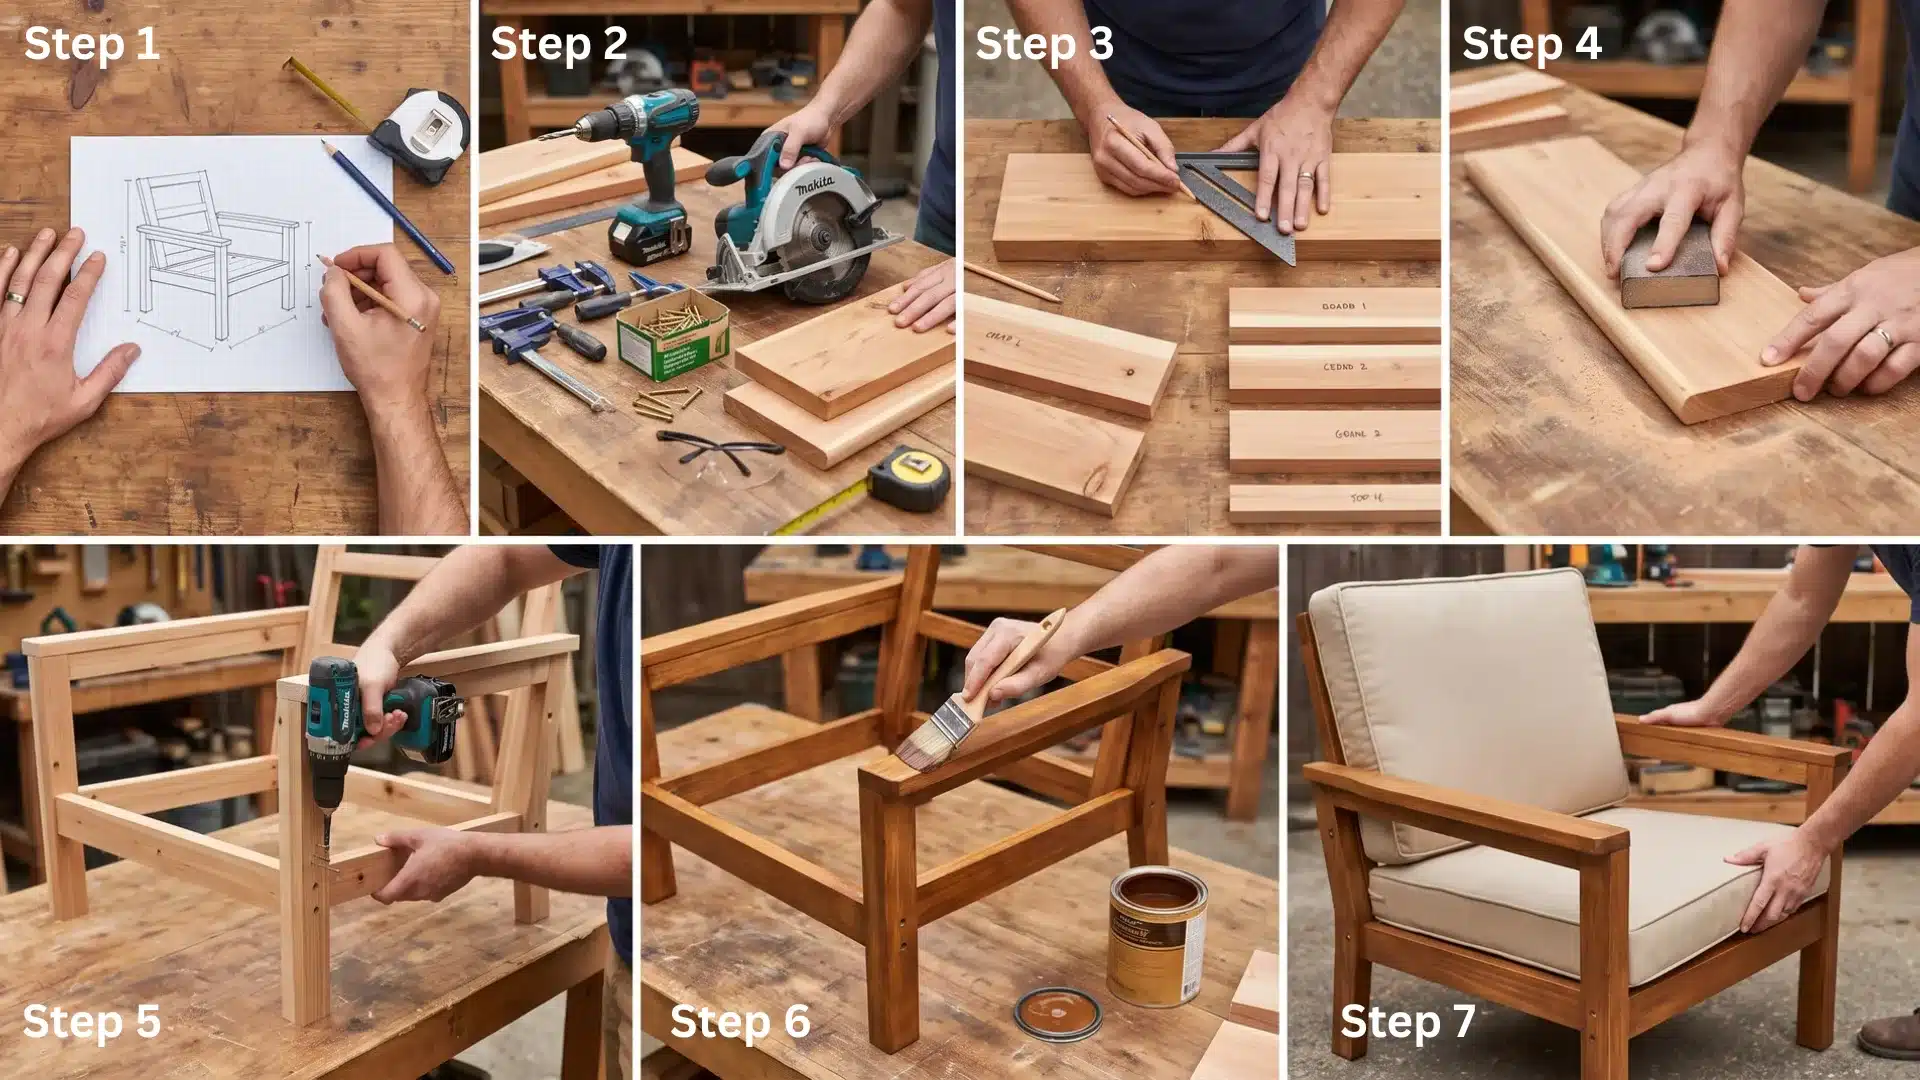
Every diy patio furniture project follows roughly the same process, no matter which piece you’re building. Here’s how I approach each build from start to finish.
Step 1 – Pick Your Project and Sketch a Plan: Choose a simple piece for your first build, and sketch rough dimensions on paper before you touch any wood.
Step 2 – Gather Your Tools and Materials: Collect your saw, drill, sander, and clamps, along with the wood type that fits your climate and budget.
Step 3 – Measure and Cut Your Pieces: Measure every board twice before you cut. Label each piece as you go so nothing gets mixed up during assembly.
Step 4 – Sand All Surfaces: Sand every edge and surface smooth. This step prevents splinters and helps your finish coat go on evenly later.
Step 5 – Assemble the Frame: Join your pieces using screws or brackets. Work on a flat surface and check that everything sits level before you tighten anything fully.
Step 6 – Seal, Stain, or Paint: Apply your chosen finish once the frame is fully assembled. Let each coat dry completely before adding another layer.
Step 7 – Add Cushions and Final Touches: Fit your outdoor cushions once the finish has cured. Check every joint one last time before you move your furniture outside.
Keep Up With Simple Maintenance: Clean surfaces with mild soap and water each season, and reseal cedar yearly or teak every one to two years. Wipe cushions dry after rain to keep your finished piece looking good for years.
7 DIY Patio Furniture Ideas to Try
You don’t need advanced skills to get started. Try these ideas in order, starting with the simplest build and working your way up as your confidence grows.
1. Adirondack Chair
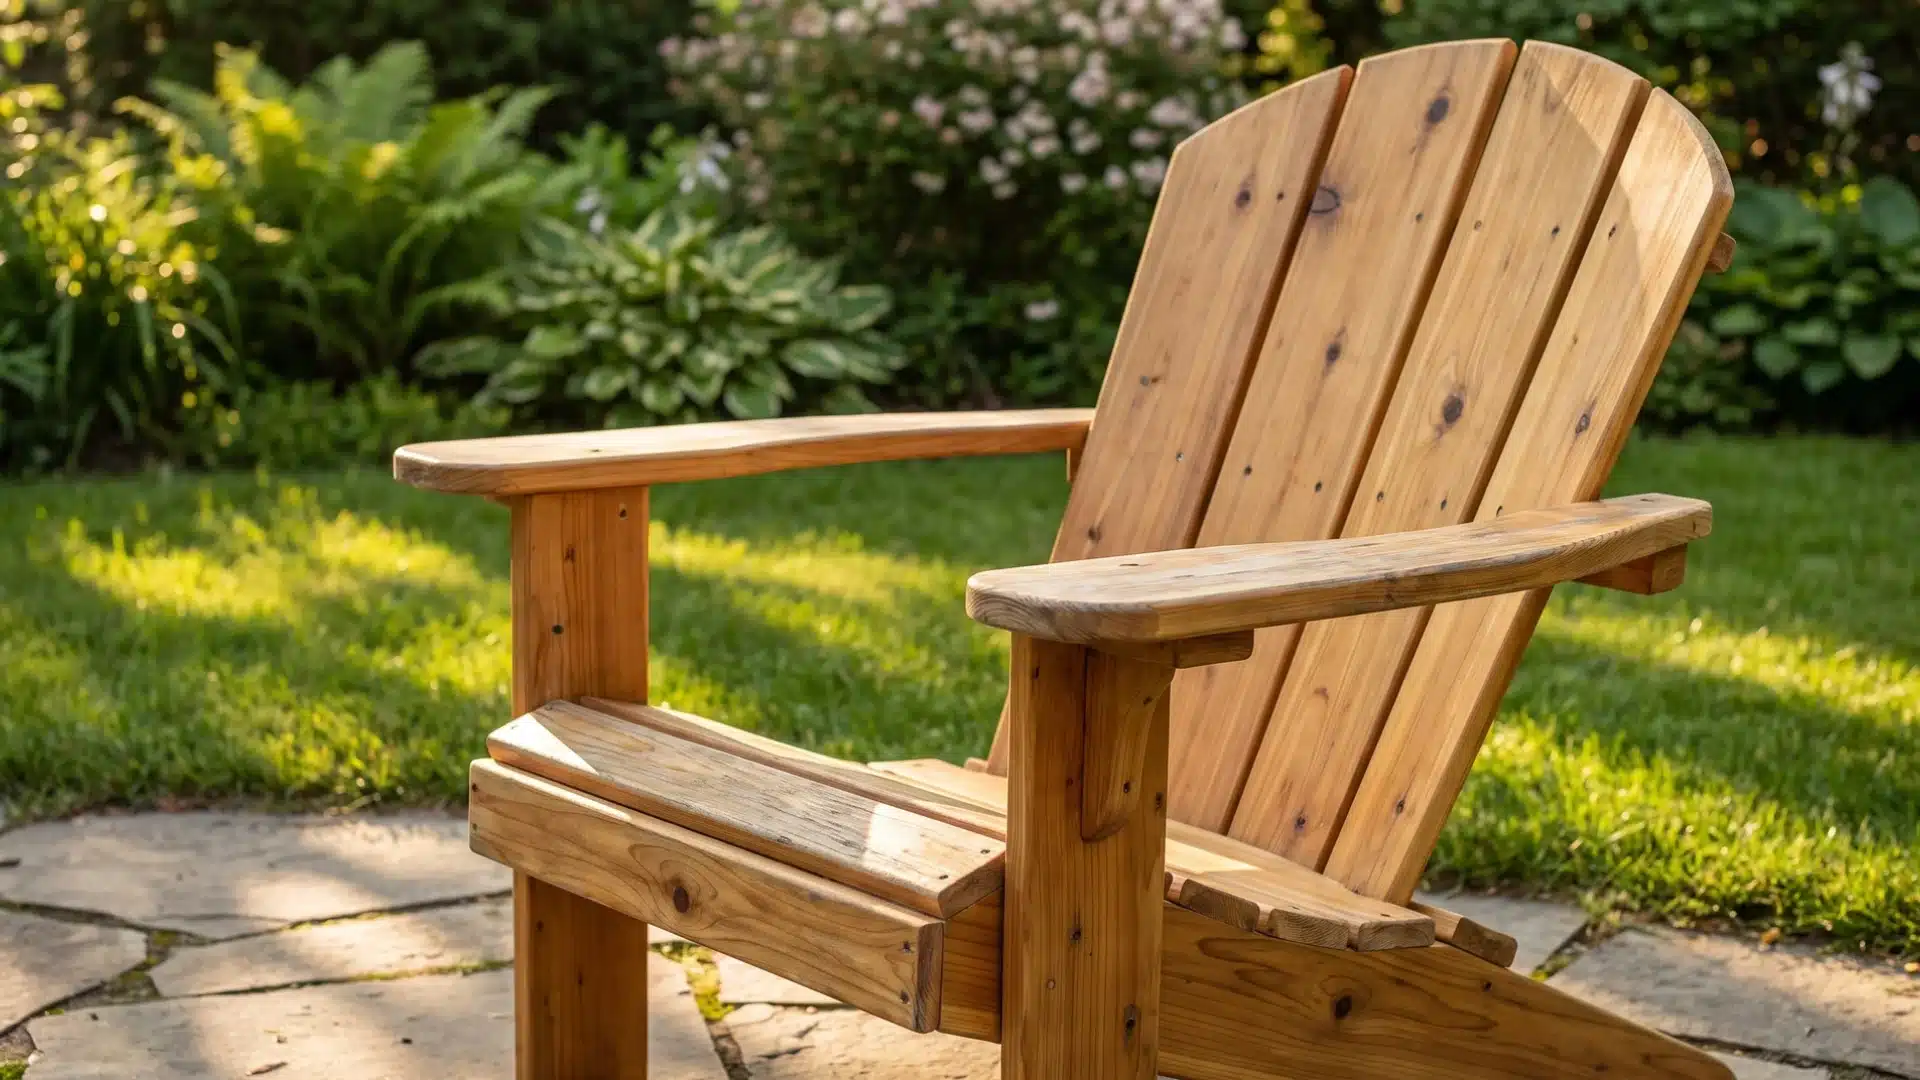
Adirondack chairs are a classic patio piece and a great first project. They have wide armrests and a slanted back for comfort.
Cedar works great here since these chairs sit outside year-round.
Start by cutting your seat and back slats, then attach the armrests last once the frame feels sturdy.
2. Patio Bench

Benches offer flexible seating for tight spaces. They also pair well with a fire pit or garden corner.
A simple bench only needs two side supports and a row of seat slats, which makes it an easy second project.
3. Patio Table
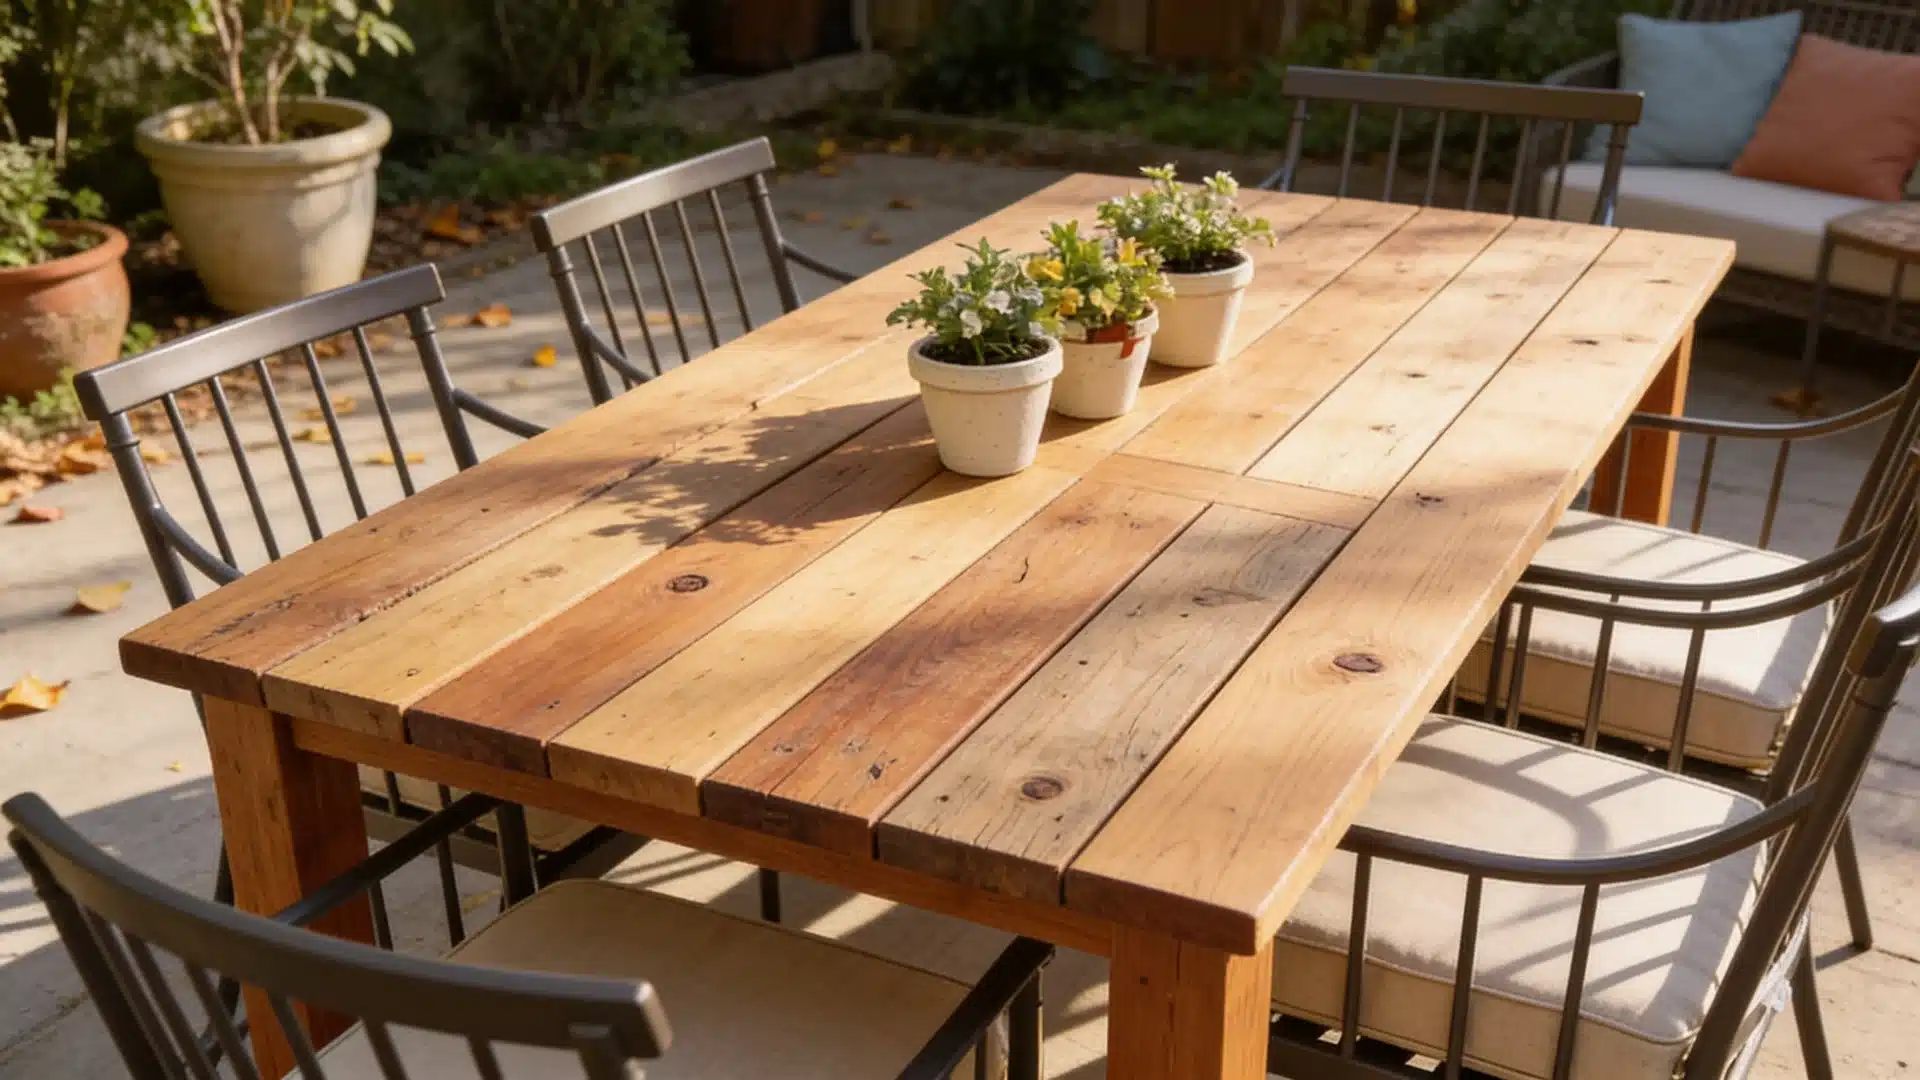
Patio tables are another great starting point. You can build one from leftover decking boards.
A basic table only needs a flat top and four sturdy legs, so it teaches you basic joinery without much risk.
4. Outdoor Sofa
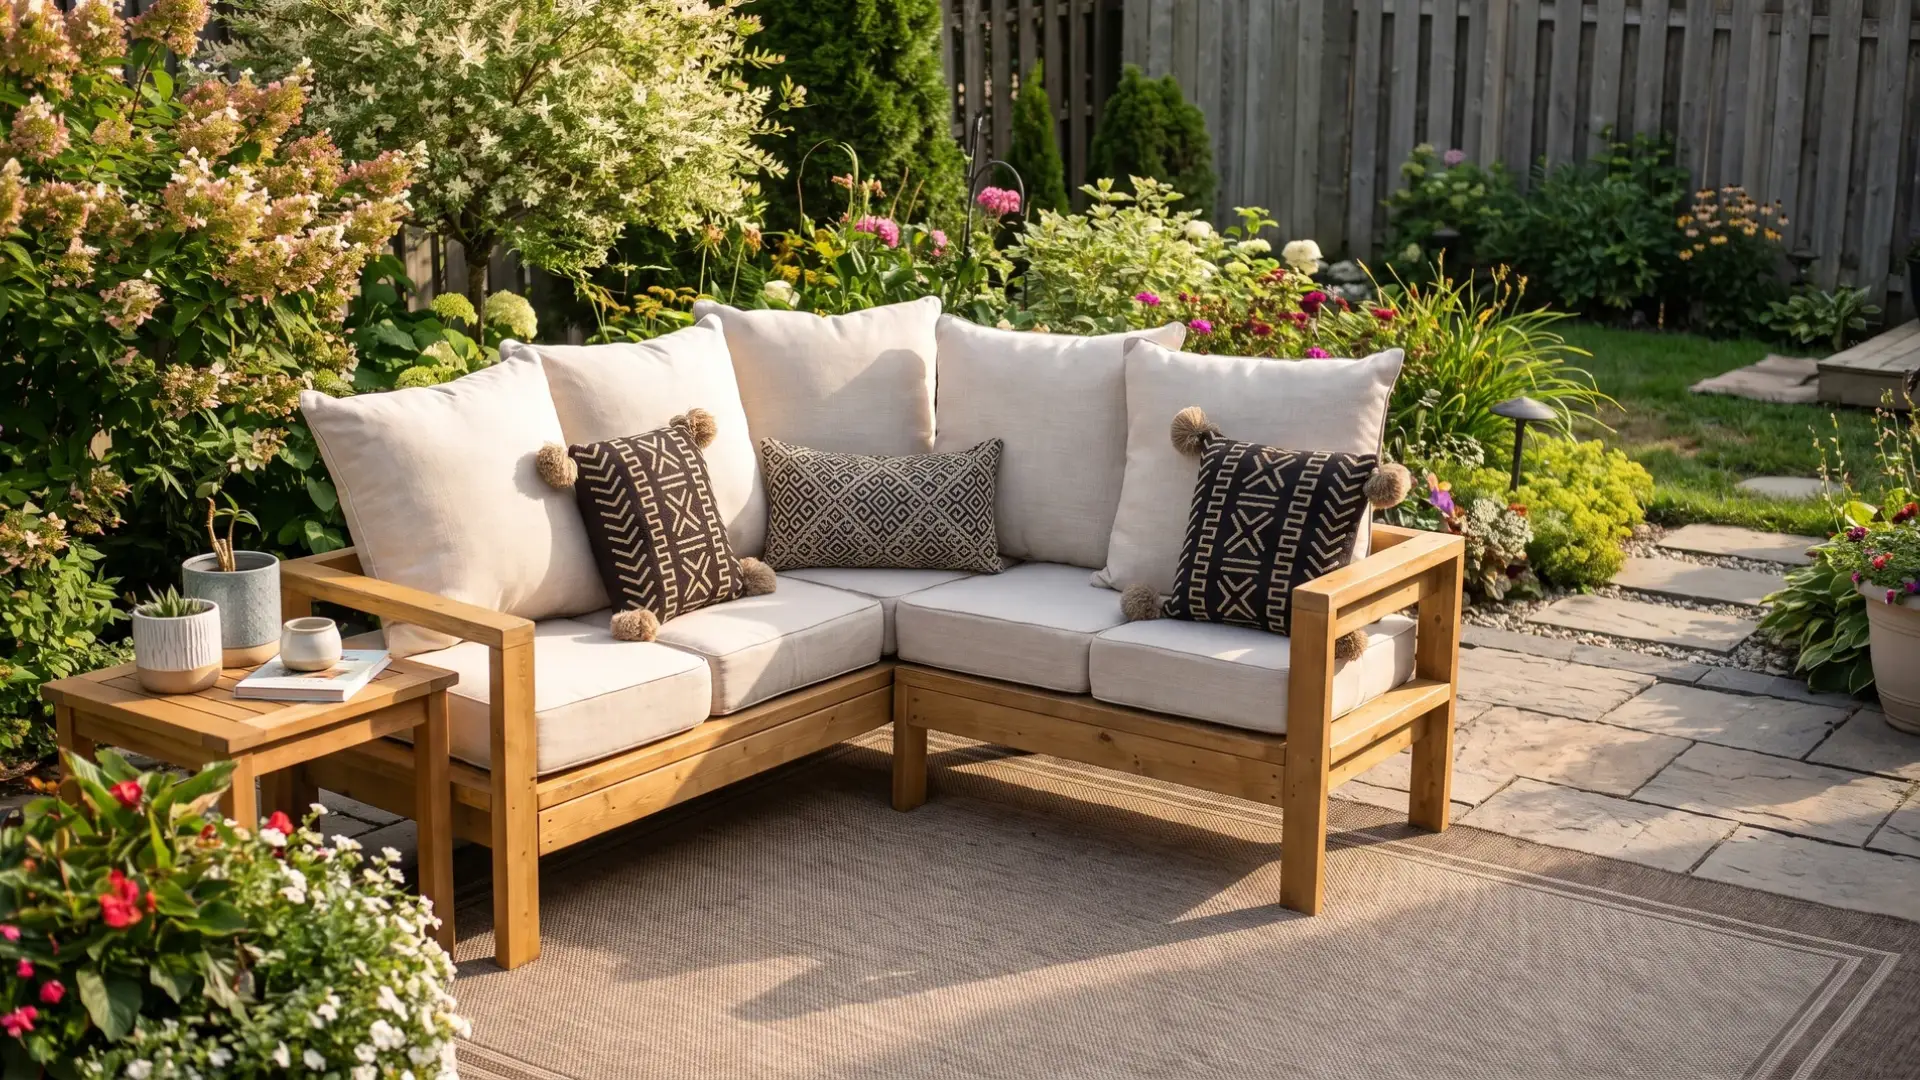
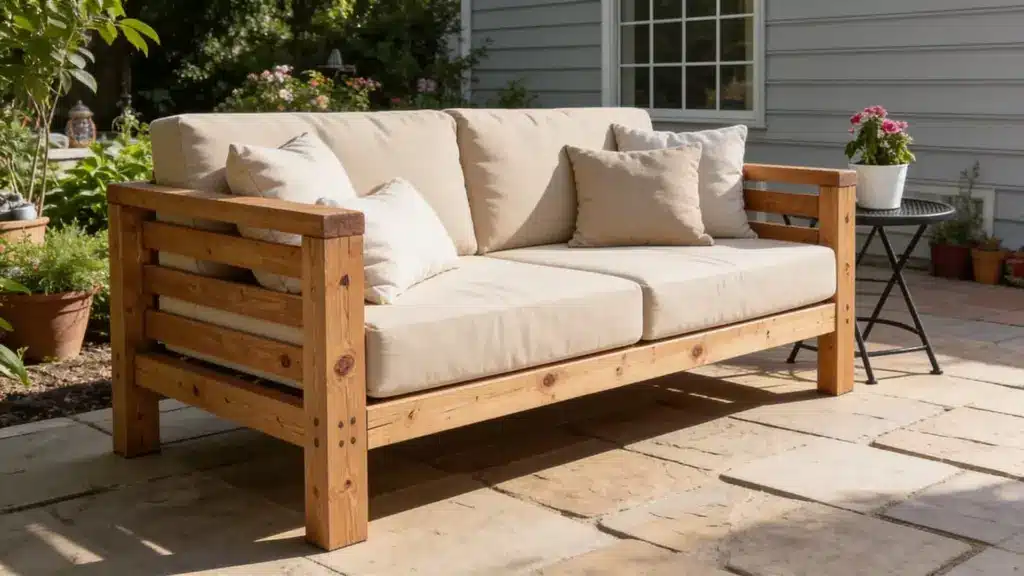
Outdoor sofas can be built from simple 2×4 lumber. Many builders finish a full couch for under $250 in materials.
Add outdoor cushions, and it looks just like a store-bought piece. This project takes longer, so save it for once you’ve built a chair or table first.
5. Pallet Daybed
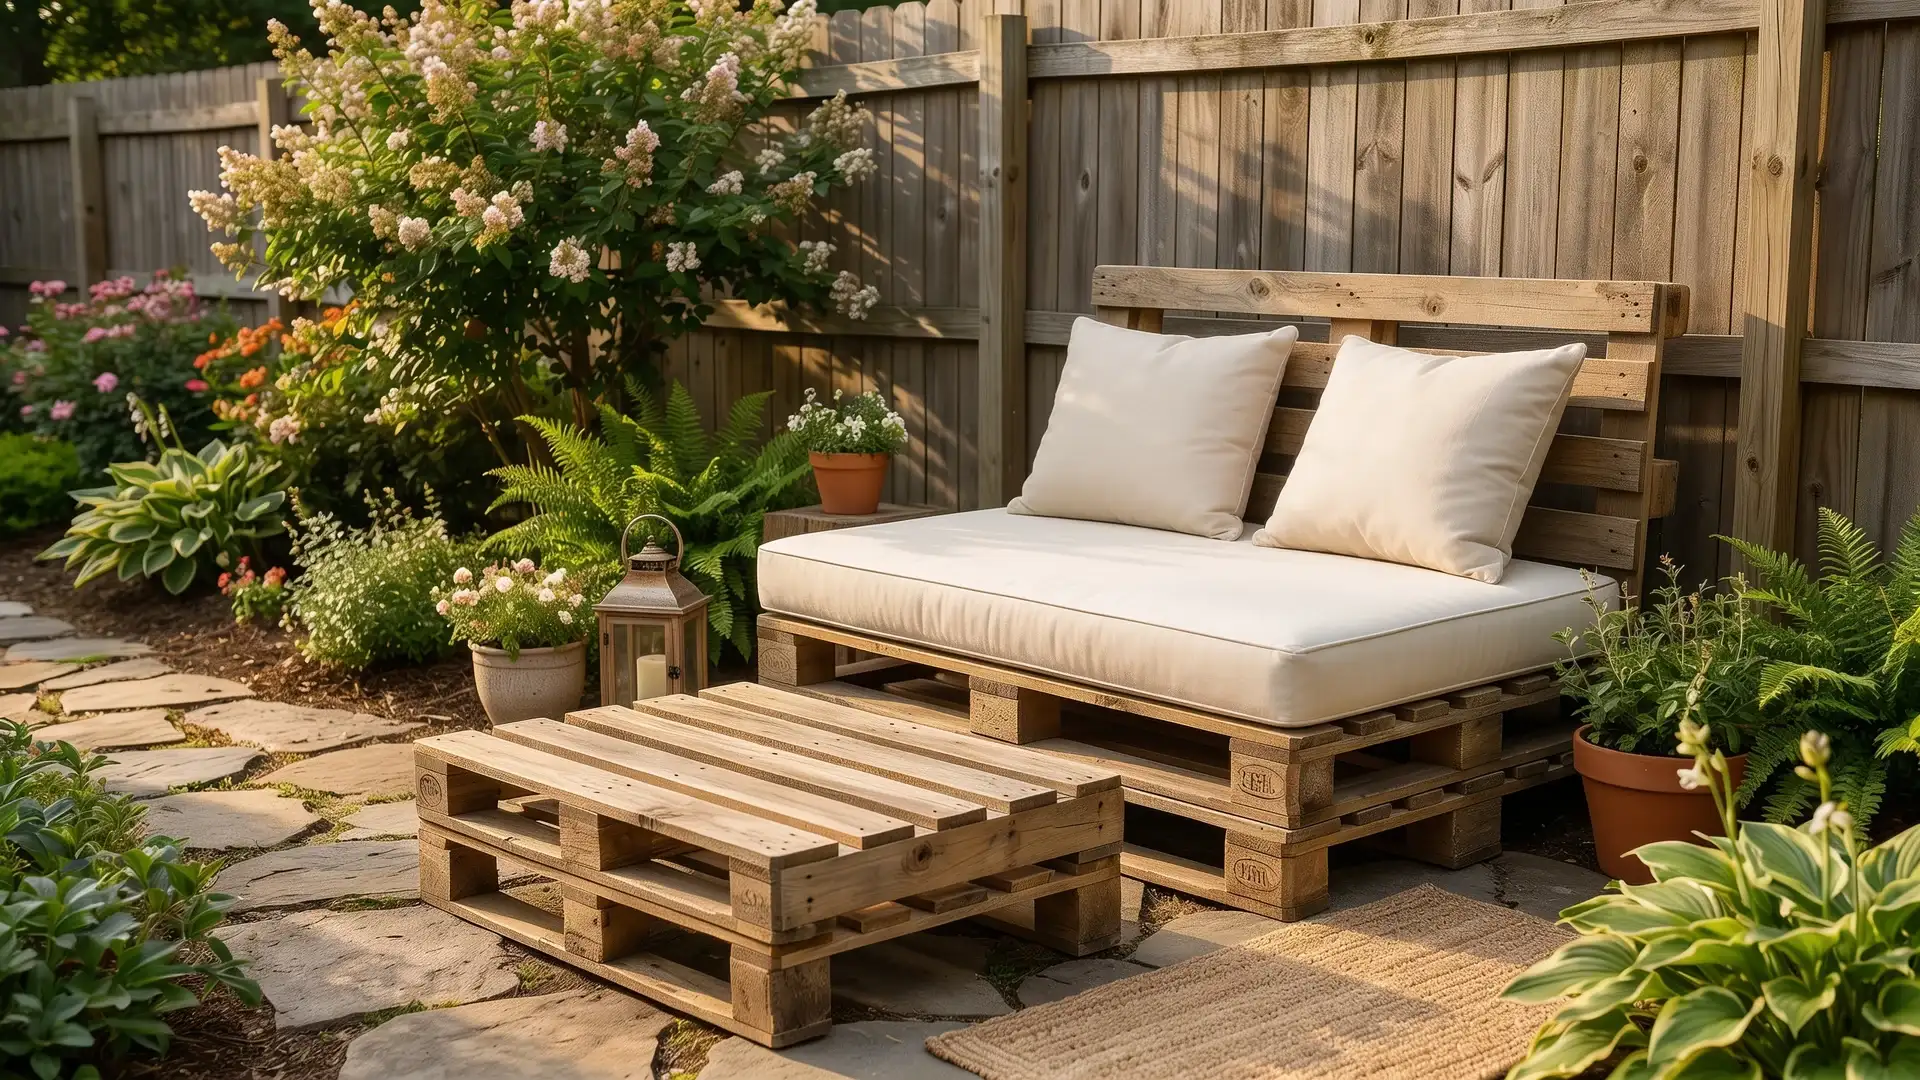
Wooden pallets are a favorite among DIY builders. You can turn stacked pallets into a daybed with just a few boards and screws.
Pallet wood is often free or very cheap to find, which makes this one of the most budget-friendly builds on this list.
6. Pallet Side Table
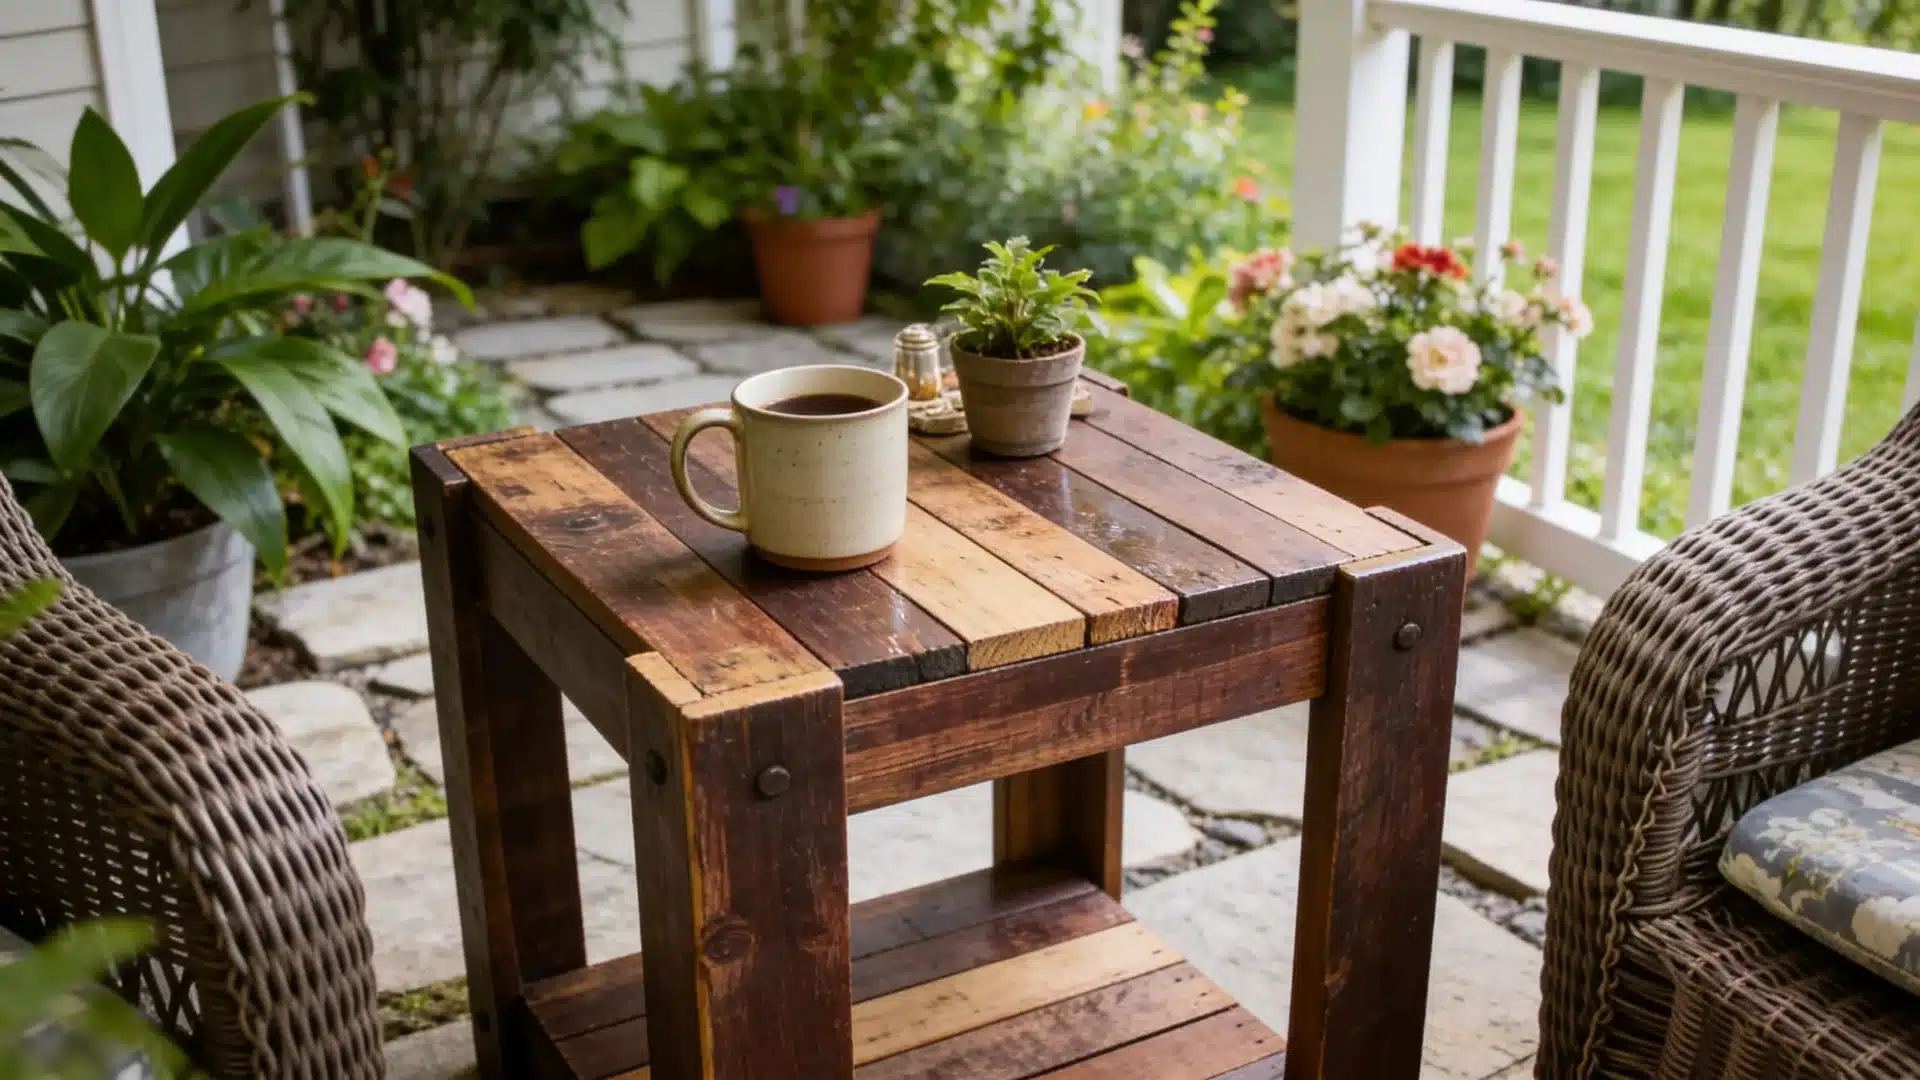
If a full daybed feels like too much, start smaller with a pallet side table. Cut one pallet down to size, sand the edges, and add a coat of sealant.
It’s a quick weekend project that still teaches you real cutting and finishing skills.
7. Refinished Metal Chairs
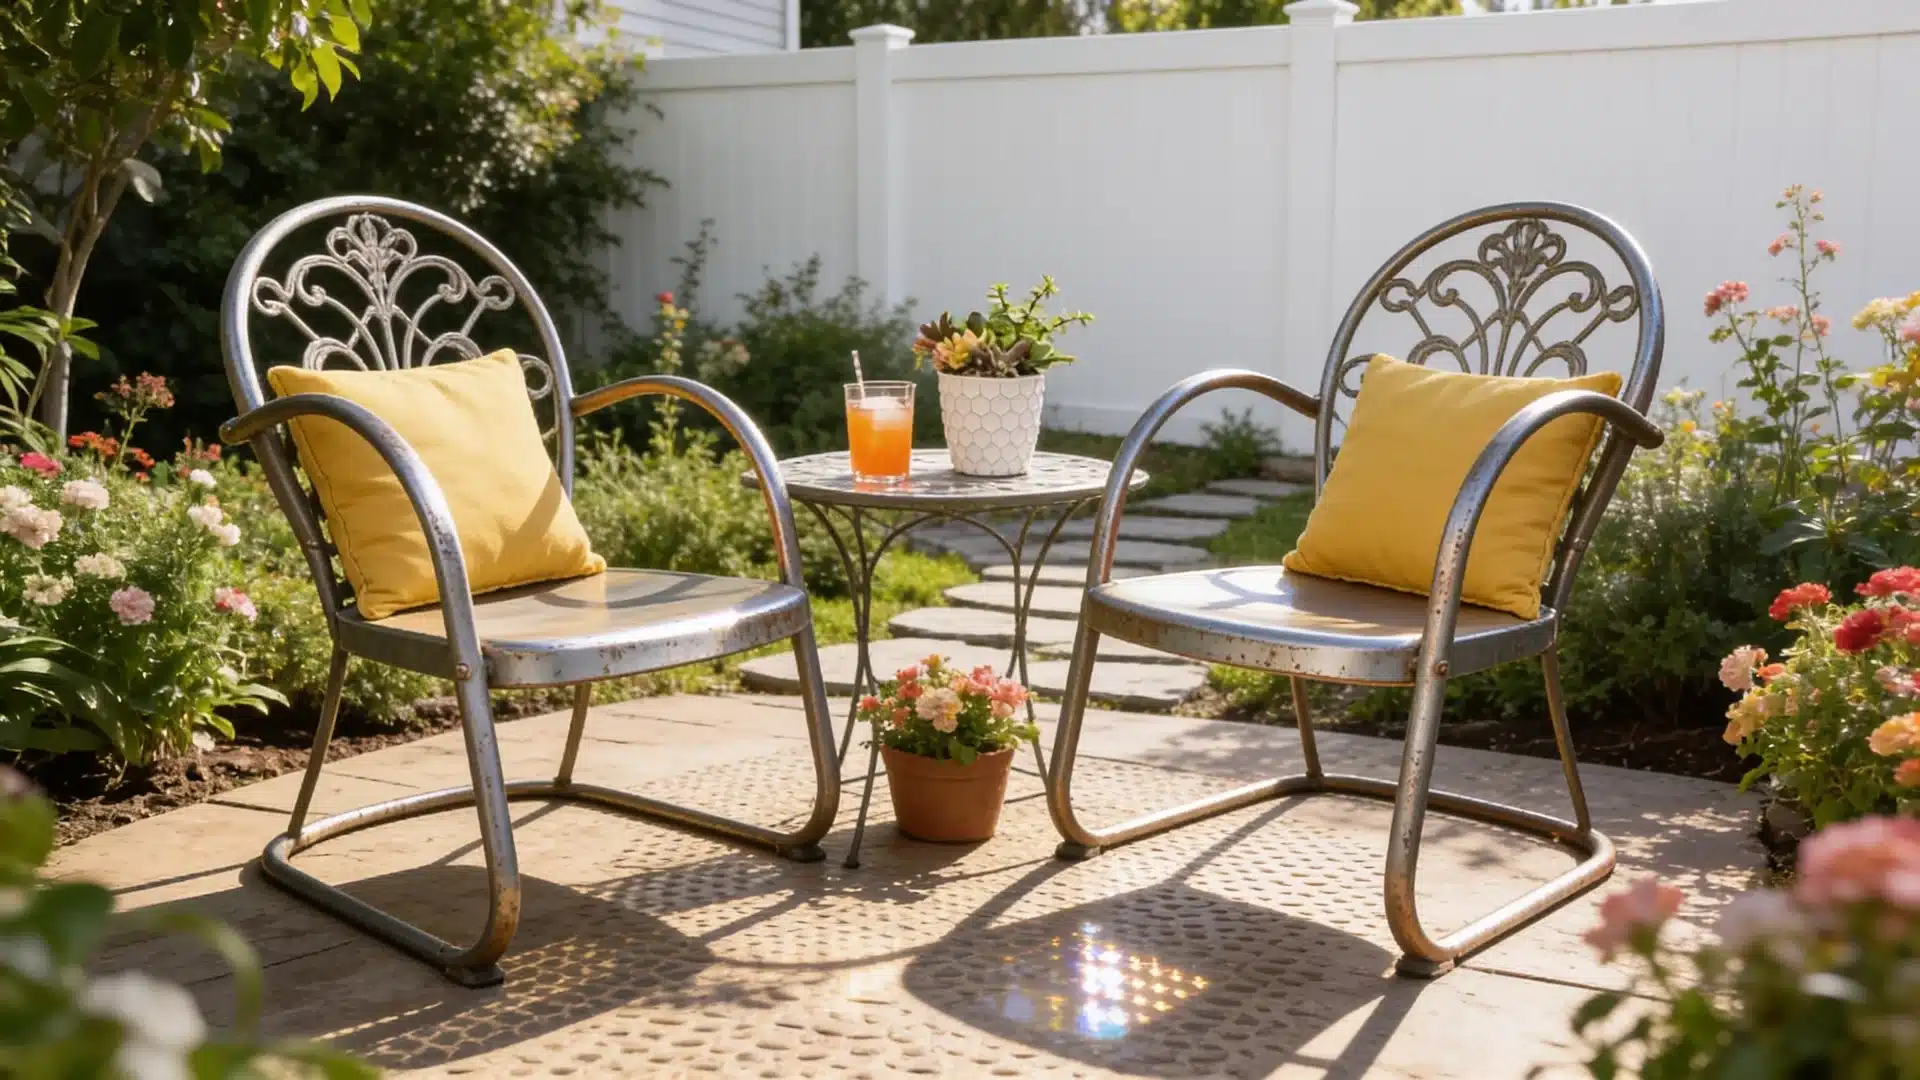
Old metal furniture with rust can get a second life outdoors. Scrape off the rust, add a fresh coat of paint, and it looks new again.
This method works well for old chairs or small tables you already own, and it costs far less than building from scratch.
Upcycling your diy patio furniture reduces waste and stretches your budget even further. Check yard sales, flea markets, and curbside pickups before you buy new lumber.
Start with one project from this list, and once you finish it, the next build feels much easier.
Weatherproofing Your DIY Patio Furniture
A good finish protects your work and makes it last. Skipping this step is one of the most common mistakes.
Seal cedar or teak with an oil-based finish to keep its natural color. Reapply every one to two years for the best protection.
Paint or stain pressure-treated pine after it fully dries. Wet treated wood can take several weeks to dry before it accepts paint well.
Always apply finish in dry weather. Give each coat enough time to cure before you use the furniture.
Skipping this step is the biggest mistake I see in new diy patio furniture builds. A few extra hours spent sealing and staining can add years to your furniture’s life, so don’t rush past it to use your new piece sooner.
Ready-Made vs DIY Patio Furniture: Cost Comparison
Here’s a simple breakdown based on common project costs.
| Furniture Type | DIY Cost (materials) | Typical Store Price |
|---|---|---|
| Outdoor Couch | $30 to $250 | $600 and up |
| Patio Chair | $20 to $60 | $150 and up |
| Patio Table | $50 to $150 | $300 and up |
Your final cost depends on wood type and finish choices. Even with fabric and foam added, building your own set usually costs far less than buying new.
These numbers can shift based on where you shop for lumber and fabric. But in almost every case, diy patio furniture ends up cheaper than a comparable store-bought set.
Anyone living in a patio home with a smaller yard tends to save even more, since the furniture stays modest in size and material use.
Safety Tips While Building DIY Patio Furniture
Your safety matters more than speed. Take a few extra minutes before every cut.
Wear gloves and safety glasses whenever you cut or sand wood. Keep ear protection nearby if you’re using power tools for long periods.
If you handle pressure-treated wood, wash your hands after contact. Avoid burning treated wood scraps, since the chemicals can release harmful fumes.
Double-check your measurements before every cut. This one habit prevents most wasted materials and rushed mistakes.
Work in a well-lit space and keep your tools organized while you build. A cluttered workspace is one of the easiest ways to get hurt during a diy patio furniture project.
Trending DIY Patio Furniture Styles
A few looks keep showing up in backyards recently, and most of them are easy to recreate at home.
Modular seating is one of the biggest trends right now. Building separate cushioned cubes lets you rearrange your layout depending on the day, instead of committing to one fixed sofa shape.
Natural wood tones are also having a moment. Many builders are skipping heavy paint colors and letting cedar or teak show its grain through a clear oil finish instead.
Mixed materials are showing up more too, pairing wood frames with metal legs or rope detailing for a more textured look.
Curved edges on tables and benches are replacing sharp corners in a lot of new builds, giving furniture a softer, more relaxed feel.
Multi-purpose pieces are trending as well, like a bench with hidden storage or a coffee table that doubles as extra seating for guests.
Frequently Asked Questions
Is it cheaper to build your own outdoor furniture?
Yes, building your own outdoor furniture is usually much cheaper than buying high-quality, ready-made pieces.
What is the cheapest wood for outdoor furniture?
The cheapest wood for outdoor furniture is pressure-treated pine.
What is the least expensive way to build a patio?
The least expensive way to build a patio is a DIY pea gravel patio. You can create a 100-square-foot space for as little as $150 to $300 by avoiding expensive materials, excavation depths, and labor costs.
Conclusion
Building your own outdoor space feels different than just buying it off a shelf. Every diy patio furniture project I’ve built taught me something new about wood, tools, and patience.
You now have the wood guide, project ideas, cost breakdown, and safety steps to start your own build.
You don’t need years of experience, just a willingness to try, measure twice, and learn as you go. Pick one project, gather your tools, and give it a try this weekend.
Start small, stay patient with yourself, and let each finished piece build your confidence for the next one.
I’d love to hear which piece you build first, so drop a comment once you’re done.