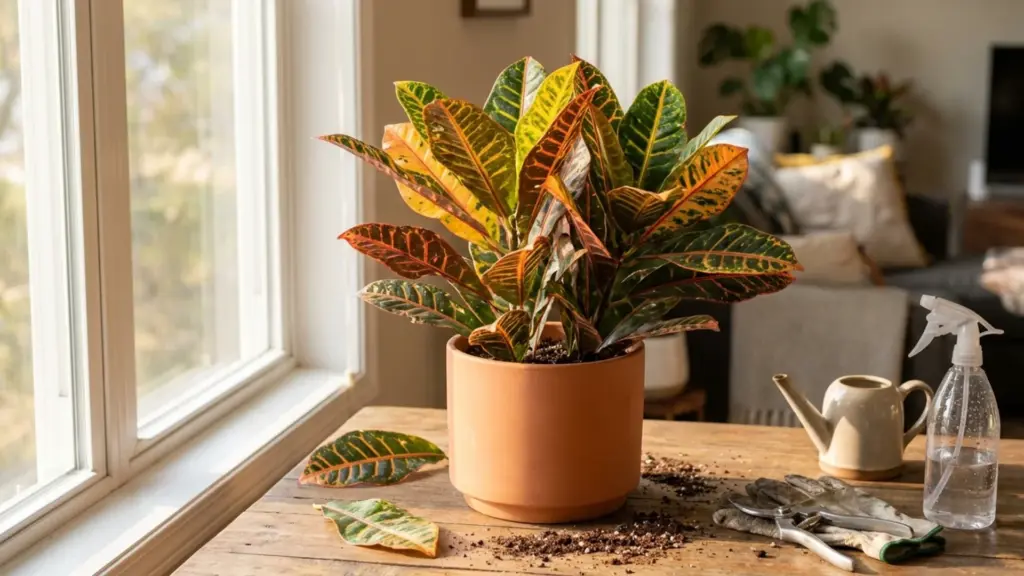
I bought my first croton for the color. Those wild red, orange, and yellow leaves sat in my cart before I’d read a single thing about it.
A week later, half of them were on my living room floor, and I stood there convinced I’d killed it. I hadn’t.
What I’d actually done was ignore everything a croton quietly needs. After years of trial and error and a few genuinely sad-looking plants, croton plant care finally clicked for me.
These tropical plants ask for a handful of specific things, and once I started giving them, my crotons rewarded me with color I still can’t stop staring at. Let me share what worked.
Getting to Know Your Croton
Croton is officially called Codiaeum variegatum, and it is native to the tropical regions of Southeast Asia and the western Pacific.
Once you learn that, almost every care rule below starts to make sense. This plant grew up in warmth and moisture, and it never lost the taste for it.
There are dozens of named types, and they look surprisingly different from each other. Popular ones include Petra, with its broad rainbow leaves, and Mammy, known for twisted, curling foliage.
Gold Star shows off narrow green leaves flecked with yellow, while Iceton starts warm yellow and matures to pink and deep red. Whichever variety you own, the care stays the same.
How Much Light Does a Croton Need?
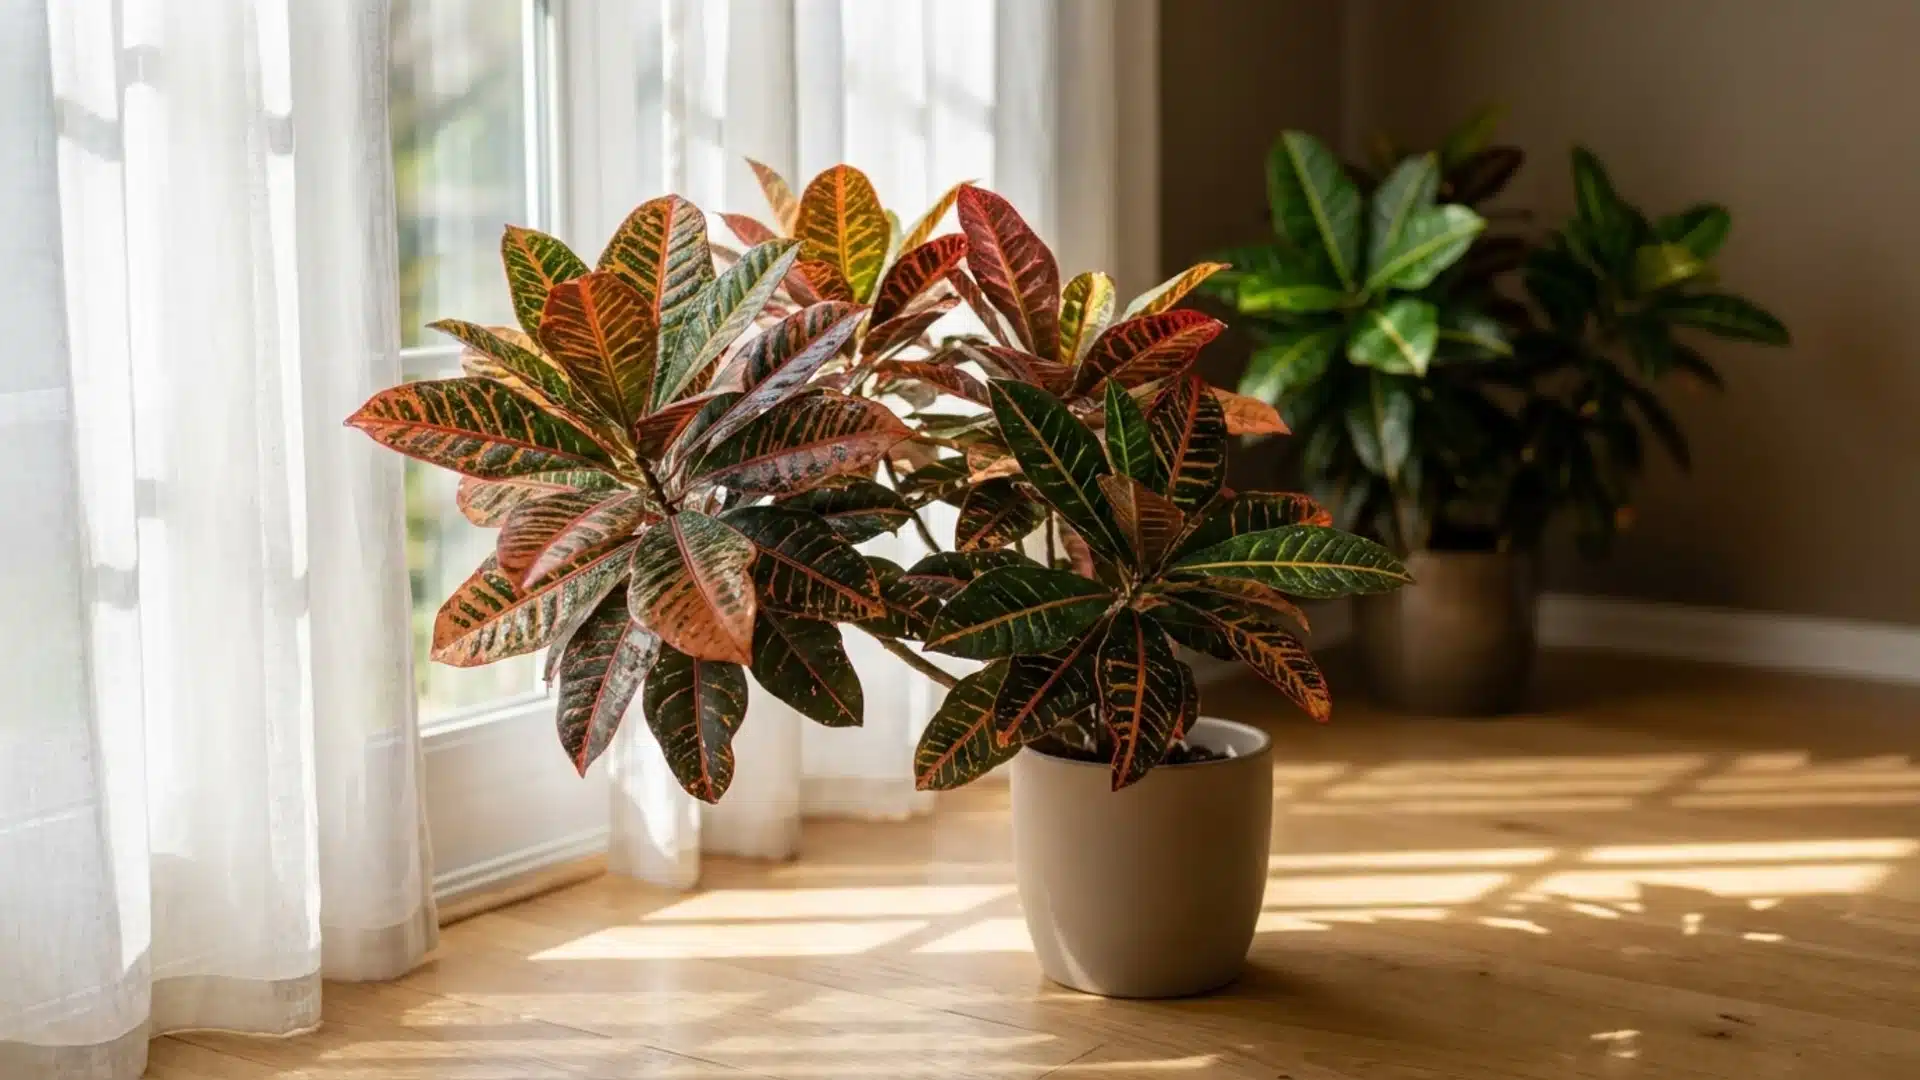
Give your croton bright, indirect light for at least six hours a day, and you’ll watch those famous reds and oranges pop.
Stick it in a dim corner, and the leaves slowly turn plain green, losing the variegation you paid for.
A spot near a window with a sheer curtain works beautifully. Your croton can handle a little morning sun, but harsh afternoon rays will scorch the leaves and leave crispy brown patches.
So aim for bright but filtered. When your plant looks dull and green, it’s almost always a light problem, and moving it to a brighter spot usually brings the color back within a few weeks.
How to Water a Croton Plant
Croton likes consistently moist soil, but it absolutely hates sitting in water. The rule that never fails is to water when the top 2 inches of soil feel dry to the touch.
When you water, soak the soil until liquid runs out the drainage holes, then pour off anything that collects in the tray after 30 minutes.
Roots left standing in water will rot, and root rot is a quiet killer that often looks like underwatering at first.
Let the soil dry out completely, though, and you risk drooping, limp leaves. So aim for that steady middle ground. Consistency matters more than volume, and your plant will tell you fast when you get it wrong.
Best Soil and Pot for Crotons
Crotons prefer soil on the slightly acidic side, roughly a pH of 5.5 to 6.5. Always choose a pot with drainage holes because no amount of careful watering can save a plant trapped in a soggy container.
When you size up, go only one or two inches wider than the current pot. A container that’s too big holds excess water and pushes roots to grow instead of the colorful leaves you actually want.
Temperature and Humidity Needs for Crotons
Remember that tropical background? This is where it really shows. Your croton is happiest between 60 and 85°F.
Once temperatures dip below 50°F, you can expect leaf drop and browning edges, so keep your plant away from cold drafts, open doors, and air conditioning vents.
Humidity matters as much. These plants love moist air, and dry indoor conditions often lead to brown leaf tips and yellowing. You have a few easy fixes to rotate through.
Mist the leaves regularly, set the pot on a pebble tray filled with water, or run a humidifier nearby. A naturally humid room like a bright bathroom makes a wonderful home for a croton, since it offers both moisture and light.
Feeding Your Croton
A well-fed croton grows faster and holds its color better. During the spring and summer growing season, feed your plant a balanced, water-soluble fertilizer.
Every two weeks works for heavy feeders, though every four to six weeks suits most crotons just fine. As growth slows in the fall and winter, cut back to roughly once every 8 weeks, or stop entirely.
Be careful not to overdo it. Too much fertilizer causes a buildup of salts in the soil, which can make leaves wilt and drop.
You might even spot a white crusty coating on the soil or pot, a clear sign you’ve overfed. When you’re unsure, feed less rather than more. If your tap water runs hard, filtered or distilled water can help prevent that mineral buildup, too.
Pruning and Repotting of Crotons
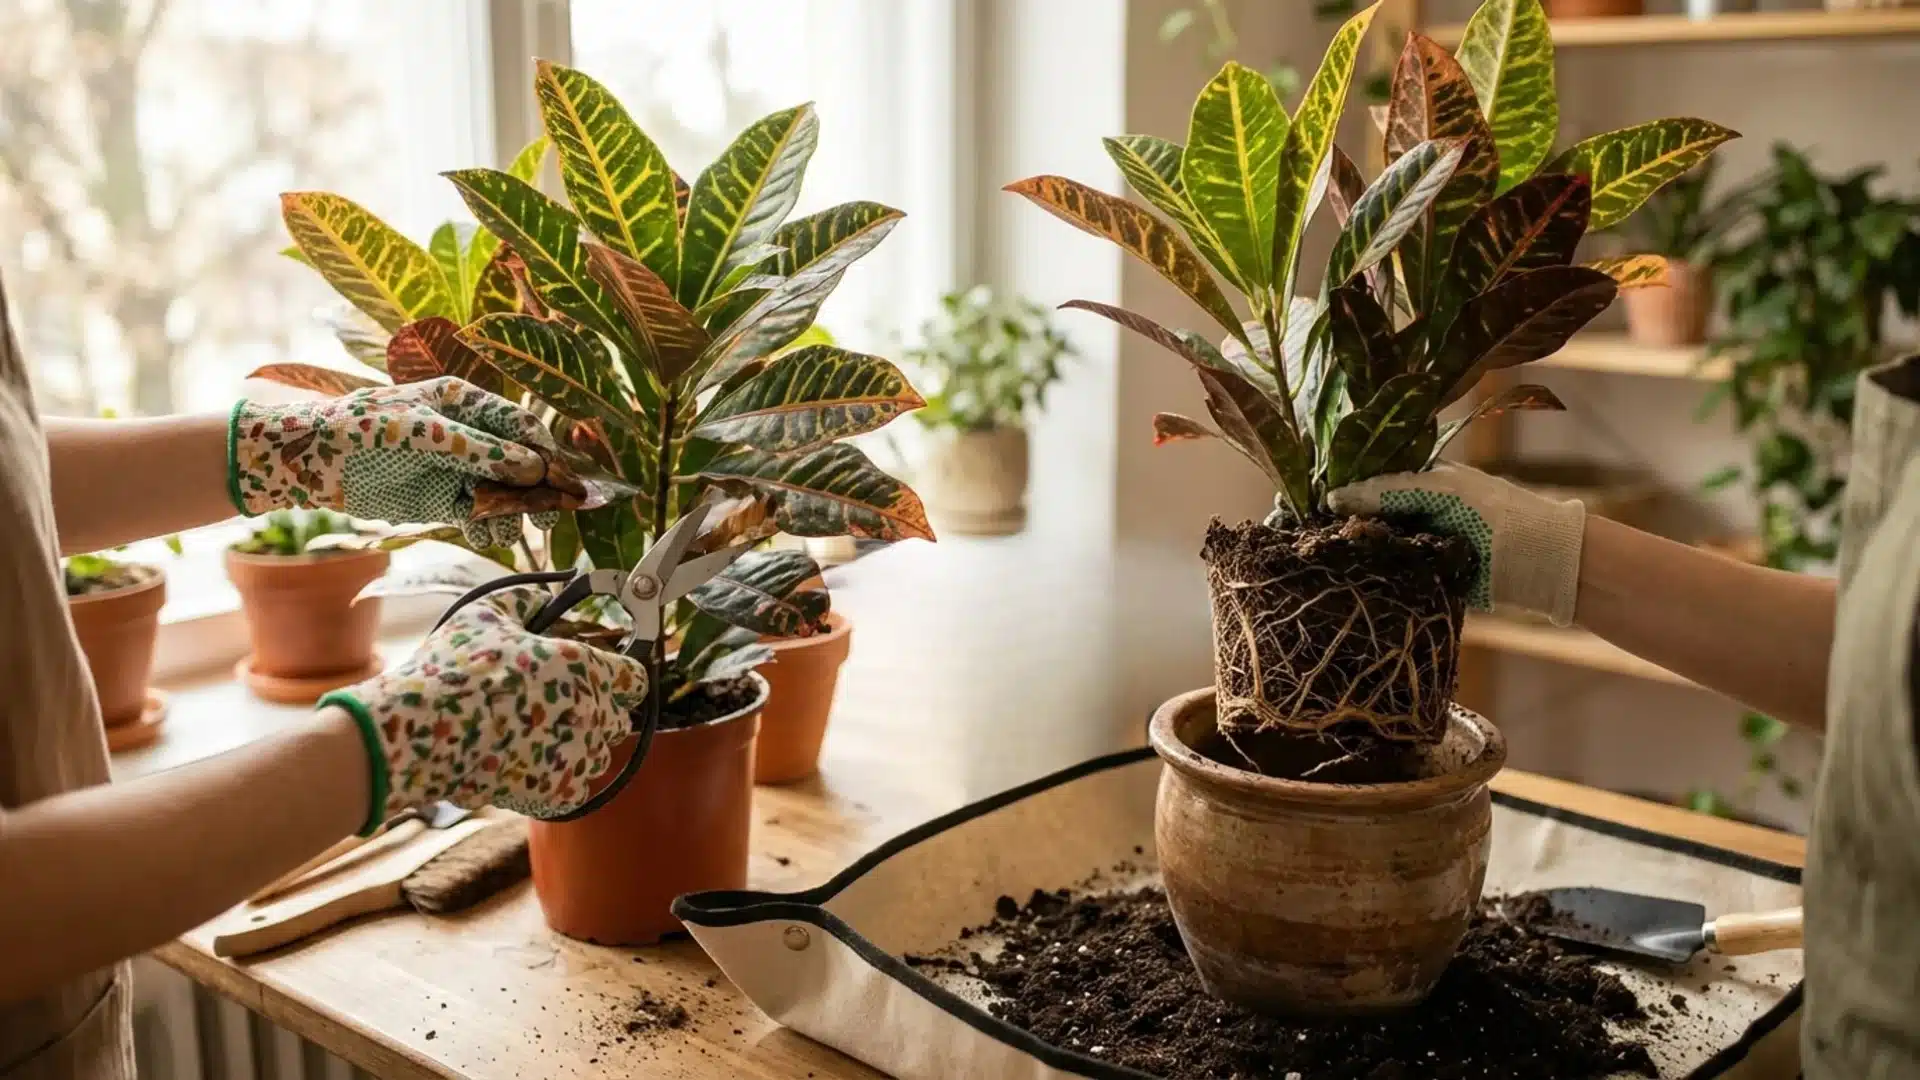
Pruning keeps your croton looking full instead of leggy. Trim away any dead, damaged, or crispy leaves whenever you spot them so that the plant can redirect energy into fresh growth.
You can also shape the plant by cutting back longer stems. Always wear gloves, because the sap can irritate your skin.
Repotting happens far less often. Every two years or so, or whenever roots start pushing through the drainage holes, move your croton into a slightly larger pot with fresh soil.
It’s a smart moment to refresh tired soil and check the roots. Handle the plant gently during the move, since crotons dislike disturbance and tend to sulk for a bit before settling back in.
How to Propagate a Croton
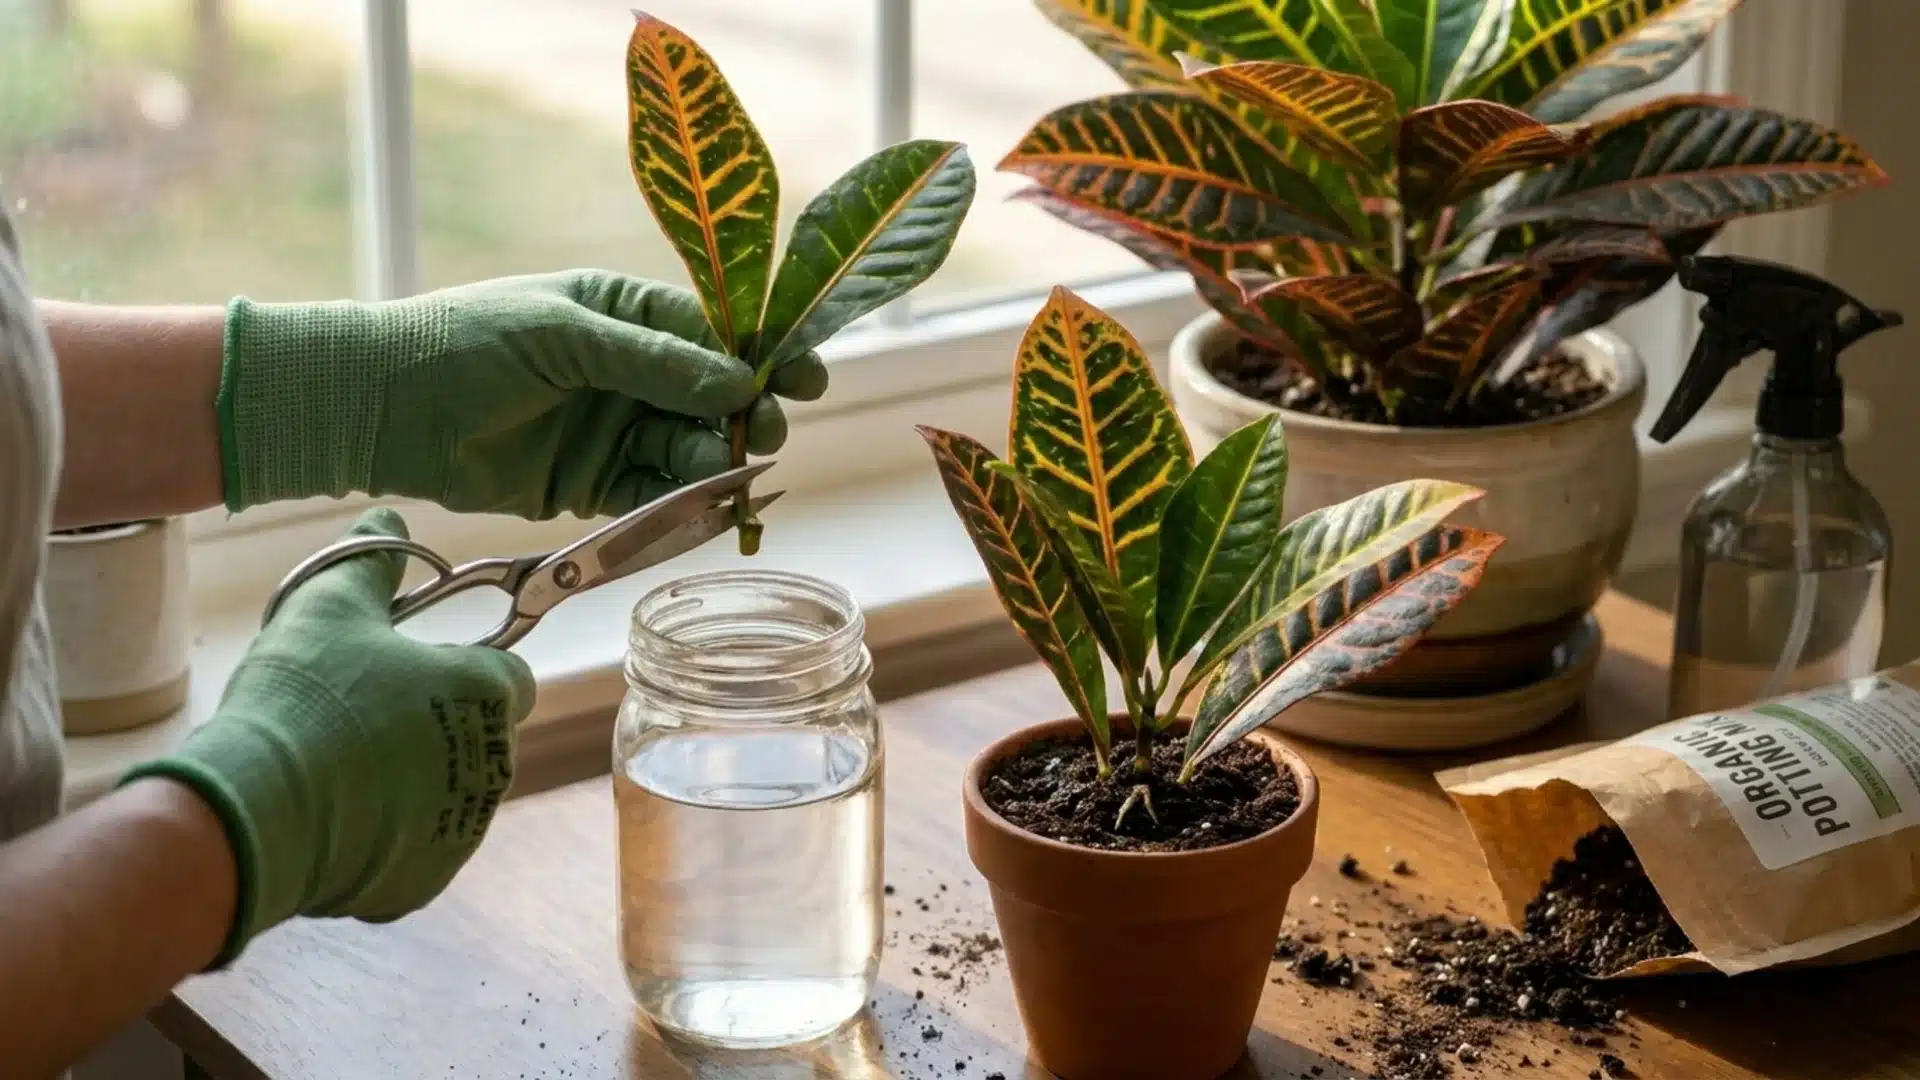
Want more crotons for free? Propagation is easier than you’d expect.
Take a stem cutting about four to six inches long with a few healthy leaves attached, and make your cut just below a leaf node. Wear gloves for this too, since the sap flows freely when cut.
Place the cutting in water or moist potting mix, then keep it in a warm spot with bright, indirect light. Roots usually appear within a few weeks. Patience pays off here more than anything.
The same steps work for propagating most of your other houseplants, so it’s a skill worth getting comfortable with. Once the roots look established, pot your new plant up and care for it exactly like the parent.
It’s how one colorful plant becomes three on your windowsill.
Is the Croton Plant Toxic?
Croton plants are toxic when ingested, so keep yours out of reach of curious dogs, cats, and children. High shelves or rooms with less foot traffic work well.
The sap deserves respect too. It can cause skin irritation, which is exactly why gloves matter during pruning and repotting. None of this makes crotons dangerous to own.
It just means a little awareness goes a long way toward keeping everyone in your household comfortable.
Reading Your Croton’s Warning Signs
Even a well-loved croton throws the occasional tantrum, and learning to read the signs makes fixing things simple.
Dropping leaves is usually a stress response to change, such as a new home or a move, so give your plant three to four weeks to settle, and new growth will follow.
Dull or green leaves almost always indicate too little light, which you can fix by moving the plant to a brighter spot.
Yellowing leaves often stem from overwatering, low humidity, or nutrient deficiencies, so check your watering and feeding routine first.
Pests can strike too, and spider mites are the usual culprits, so wipe the leaves down and treat them as needed.
The reassuring part is that crotons are tough. Even a bare, leafless one often bounces back as long as the stem stays green beneath the surface.
Frequently Asked Questions
Is Miracle-Gro good for crotons?
Yes, Miracle-Gro can be good for crotons when used correctly. It provides the necessary macronutrients (Nitrogen, Phosphorus, and Potassium) to promote vibrant, lush foliage.
Why do plant people not like crotons?
Croton plants do not like being moved, and when they are, they can quickly go into shock, resulting in leaf loss.
Can a croton come back after losing all its leaves?
Yes, a croton can bounce back after losing all its leaves, provided its root system and stems are still healthy and alive.
Wrapping Up
Crotons aren’t difficult; they’re particular, and figuring out that difference changed how I grow them.
I give mine bright indirect light, water when the top layer of soil dries out, keep it warm, and feed it through spring and summer.
That’s it, and the dramatic color I fell for has stuck around for years. When a leaf drops or fades on you, read it as your plant talking rather than failing, because I promise it’s usually an easy fix.
If my experience helped you out, take a look at my other houseplant posts and drop a comment telling me which croton variety you’re growing.