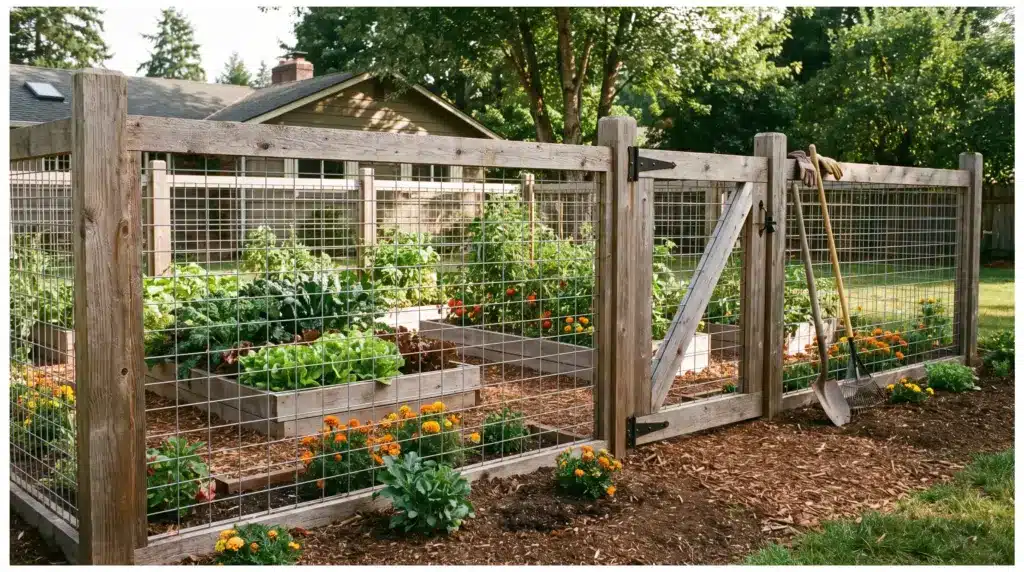
Nobody builds a garden fence for fun. You build one because something has been eating your lettuce, or your dog keeps flattening the tomato bed, or the deer in your neighborhood have decided your yard is their personal salad bar.
I’ve designed gardens for over a decade, and the fence question comes up in almost every single consultation. The good news is that a DIY garden fence is one of the easiest weekend projects out there.
You don’t need a contractor, and you don’t need a huge budget.
What you do need is a plan that matches your actual problem, because the fence that stops a rabbit is not the fence that stops a deer, and the material that looks great in a photo isn’t always the one that survives a full season outside.
What You Need Before You Start
Before you touch a shovel, call your utility company or dial 811 to find out where underground lines run through your yard.
Fence posts go a foot or two into the ground, and hitting a gas or electric line is not a mistake you want to make.
It’s also worth a quick check on your property line and any HOA rules before you build. A few feet in the wrong direction can turn a simple weekend project into an awkward conversation with a neighbor.
| Tools You’ll Want on Hand | Materials You’ll Need |
|---|---|
| Post hole digger or auger | Wood or metal posts |
| Level | Concrete mix |
| Staple gun or brad nailer | Chicken wire, welded mesh, netting, or wood panels |
| Miter saw | Top and bottom rails |
| Tin snips | Fence fasteners and hardware |
| Hammer and measuring tape | Gate materials (if adding a gate) |
How to Build a DIY Garden Fence Step by Step
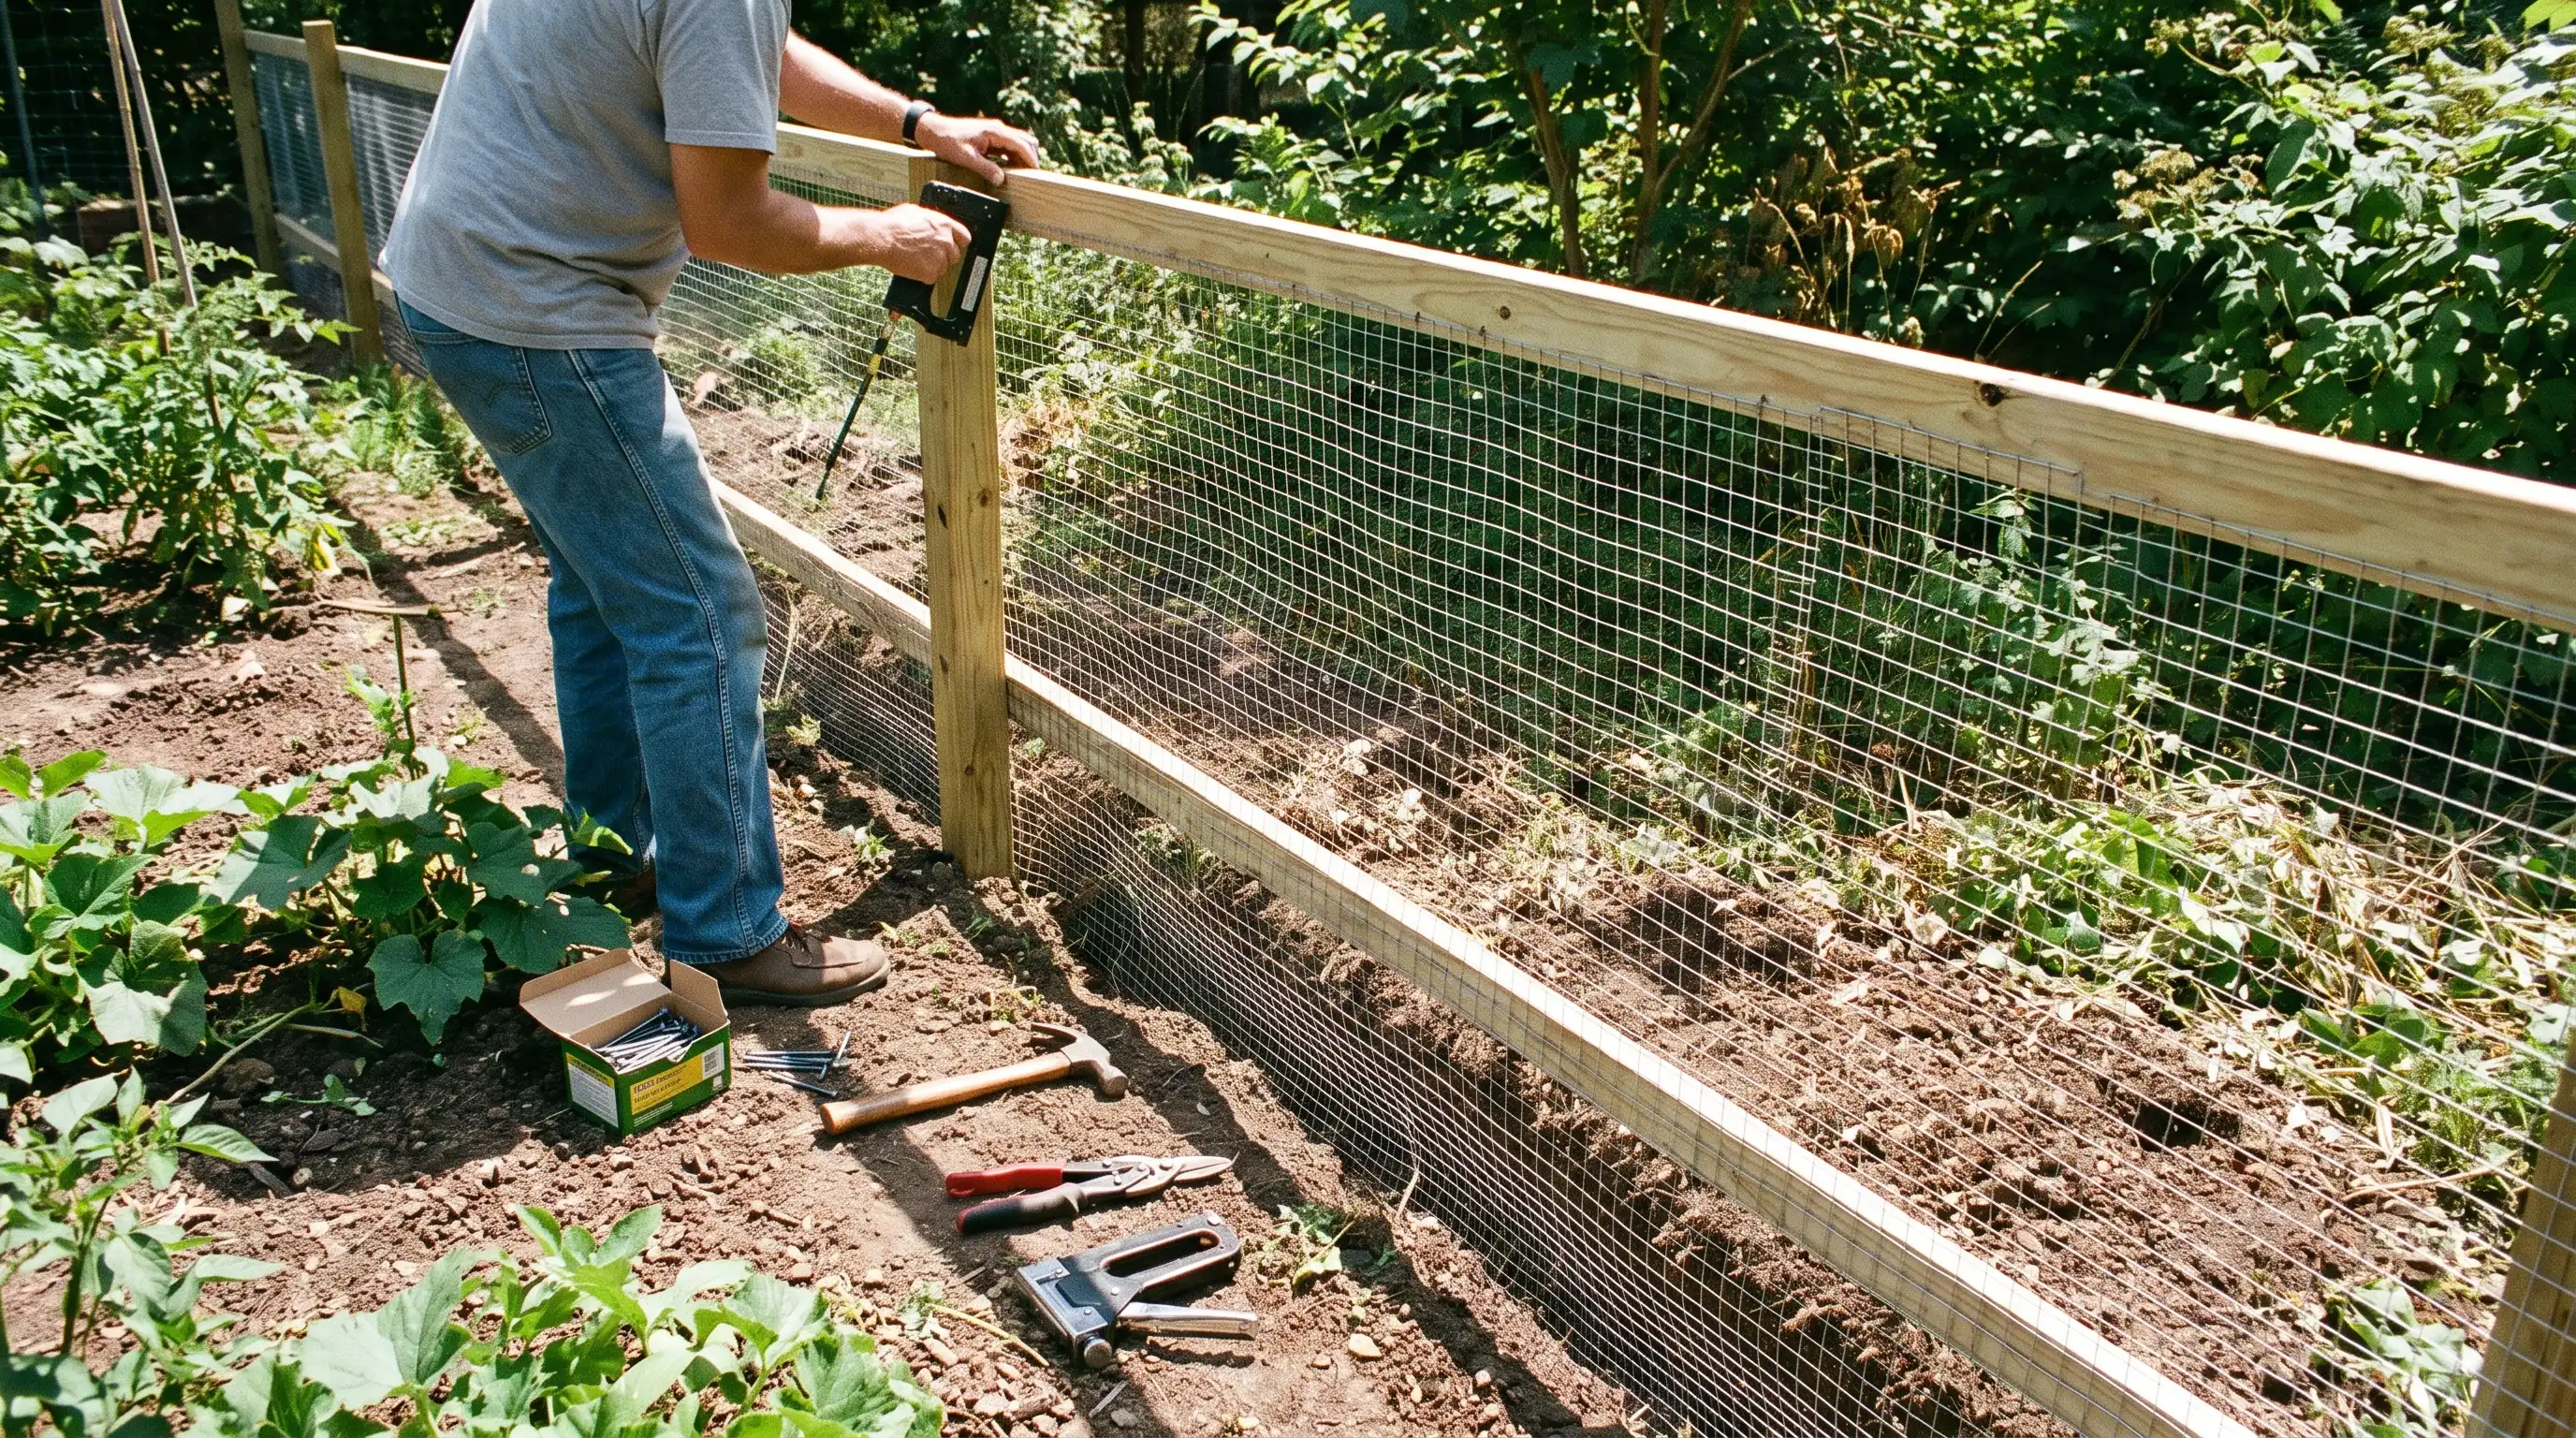
Follow the process from planning the layout and choosing materials to setting posts, attaching fencing, and adding a functional gate.
Each step covers the practical details that help create a fence that fits your garden and holds up over time.
Step 1: Plan and Measure Your Fence Line
Use stakes and string to mark the fence perimeter before digging. This helps you plan the layout, place corners, and decide the gate location early.
For curved beds, tight corners, or sloped yards, adjust the post spacing to match the landscape. Use a level between posts to keep the fence aligned instead of forcing straight panels into uneven spaces.
Step 2: Choose Your Fence Material
This decision matters more than people realize, and it’s where a lot of DIY garden fence projects go wrong. A fence that looks charming on day one but gets chewed through by week six isn’t much of a fence.
| Material | Cost (per linear ft) | Best For | Watch Out For |
|---|---|---|---|
| Chicken wire | $2–$4.50 | Small pests, budget builds | Weaker wire can bend or tear over time |
| Wood panels | $7–$15 | Classic look, longer lifespan | Doesn’t fully seal out small animals on its own |
| Vinyl | $15–$40 | Low maintenance, privacy | Higher upfront cost |
| Welded wire mesh | Varies by gauge | Determined chewers, climbing plants | Slightly harder to cut and shape |
| Plastic netting | Cheapest option | Fast, temporary fixes | Rabbits and rodents can chew straight through it |
Plastic netting may work for a short time, but rabbits and squirrels can chew through it easily. If pests are a problem, invest in wire mesh upfront to avoid replacing the fence later.
Step 3: Set Your Posts
Dig post holes about one-third the height of the post, with spacing of 6–8 feet for straight sections. Set each post with a level, then secure it with concrete.
For sloped yards, keep posts at a consistent height and trim the tops afterward so the fence follows the natural grade. This looks cleaner than forcing a perfectly level line.
Step 4: Attach the Fencing
Once the posts are set, attach top and bottom rails with exterior screws, then secure the fencing material using staples or nails. Work from one corner to the other, keeping the material tight and trimming any extra sections as needed.
For better pest control, bury 6–12 inches of fencing underground along the inside edge. This added barrier helps stop rabbits, groundhogs, and other digging animals from getting under the fence.
A secure base makes the entire fence more effective and longer-lasting.
Step 5: Build and Hang a Gate
Leave about a 3/4-inch gap on each side of the gate opening so it can swing smoothly. Build a simple rectangular frame, then add a diagonal brace to keep it from sagging over time.
Attach the same fencing material used on the rest of the fence. Secure the gate with two strong hinges and a latch, making sure it opens and closes easily.
Self-closing hinges are a helpful addition because they prevent the gate from being accidentally left open and keep pests out.
How Tall Should a Garden Fence Be?
This question comes up constantly, and the honest answer depends entirely on what you’re keeping out.
- Rabbits: 2 to 3 feet; enough to block small animals without adding unnecessary height.
- Dogs: 4 feet or taller; helps keep pets contained and protects garden areas.
- Deer: 5 to 8 feet; taller fencing is needed because deer can easily jump lower barriers.
- Privacy: 7 feet or more; provides better coverage and reduces visibility into the garden.
If you’re only dealing with rabbits, you don’t need to overbuild. But if deer are a regular visitor, don’t cut corners on height.
Height does most of the work, but keeping deer out for good usually comes down to a mix of fence height, sightlines, and what you plant near the fence line.
Fence Style Ideas Worth Trying
Once the functional fence is in place, there’s plenty of room to make it look intentional rather than purely practical:
- Pallet wood for a rustic, budget-friendly border
- Split rail with wire backing for a classic countryside look
- Painted picket sections around individual beds instead of the whole yard
- Corrugated metal panels for a modern, low-maintenance option
- A living hedge if you’re patient and want something that grows in over time
Match the style to your garden’s overall look rather than picking whatever’s trending. A rustic pallet fence next to a very modern patio tends to look like an afterthought, not a choice.
Key Takeaways Before You Build
A DIY garden fence isn’t complicated to build, but it is easy to build the wrong one for your situation.
Match your materials to the pest you’re actually dealing with, bury the bottom edge properly, and don’t skip the maintenance once it’s up.
Do that, and your garden fence will earn its keep for years instead of needing a redo by the end of summer.
If you’re still deciding between styles, start with your biggest problem first (rabbits, deer, or a dog that won’t respect boundaries) and build around solving that.
Everything else, the paint color, the gate style, the finishing touches, is the fun part that comes after.
Frequently Asked Questions
What Is a No Dig Fence?
A no dig fence is a type of fencing installed without digging post holes or pouring concrete. It uses stakes, anchors, or surface-mounted supports to secure fence panels directly into the ground.
What Can I Use Instead of A Fence?
Instead of a traditional fence, you can use a living hedge, shrubs, raised garden borders, split rail with wire, trellises, stone walls, or decorative garden edging to create boundaries and add protection.
Why Do People Put Coffee Cans on Fence Posts?
People put coffee cans on fence posts to protect the post tops from rain, reduce moisture damage, and sometimes keep small animals or debris from entering hollow posts.