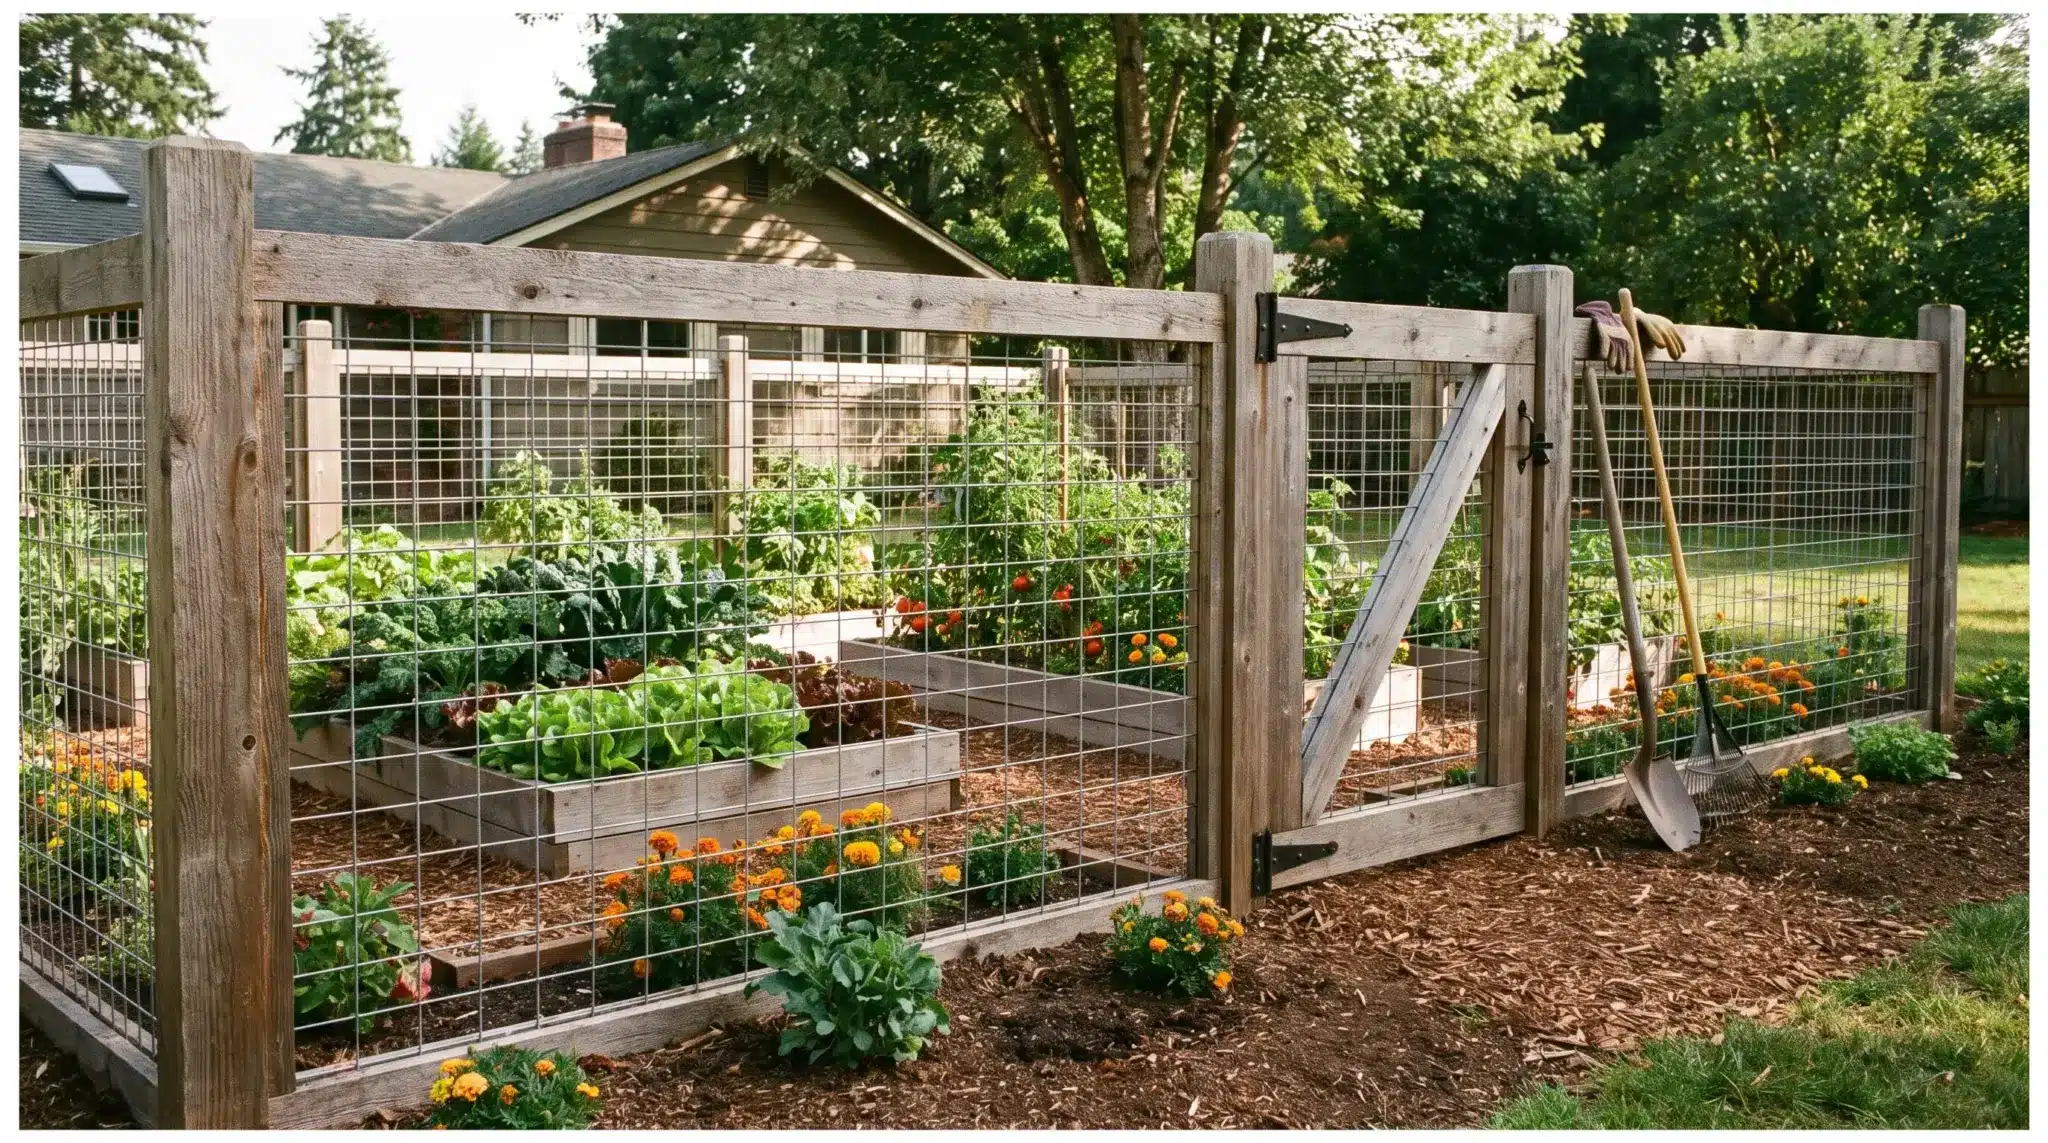
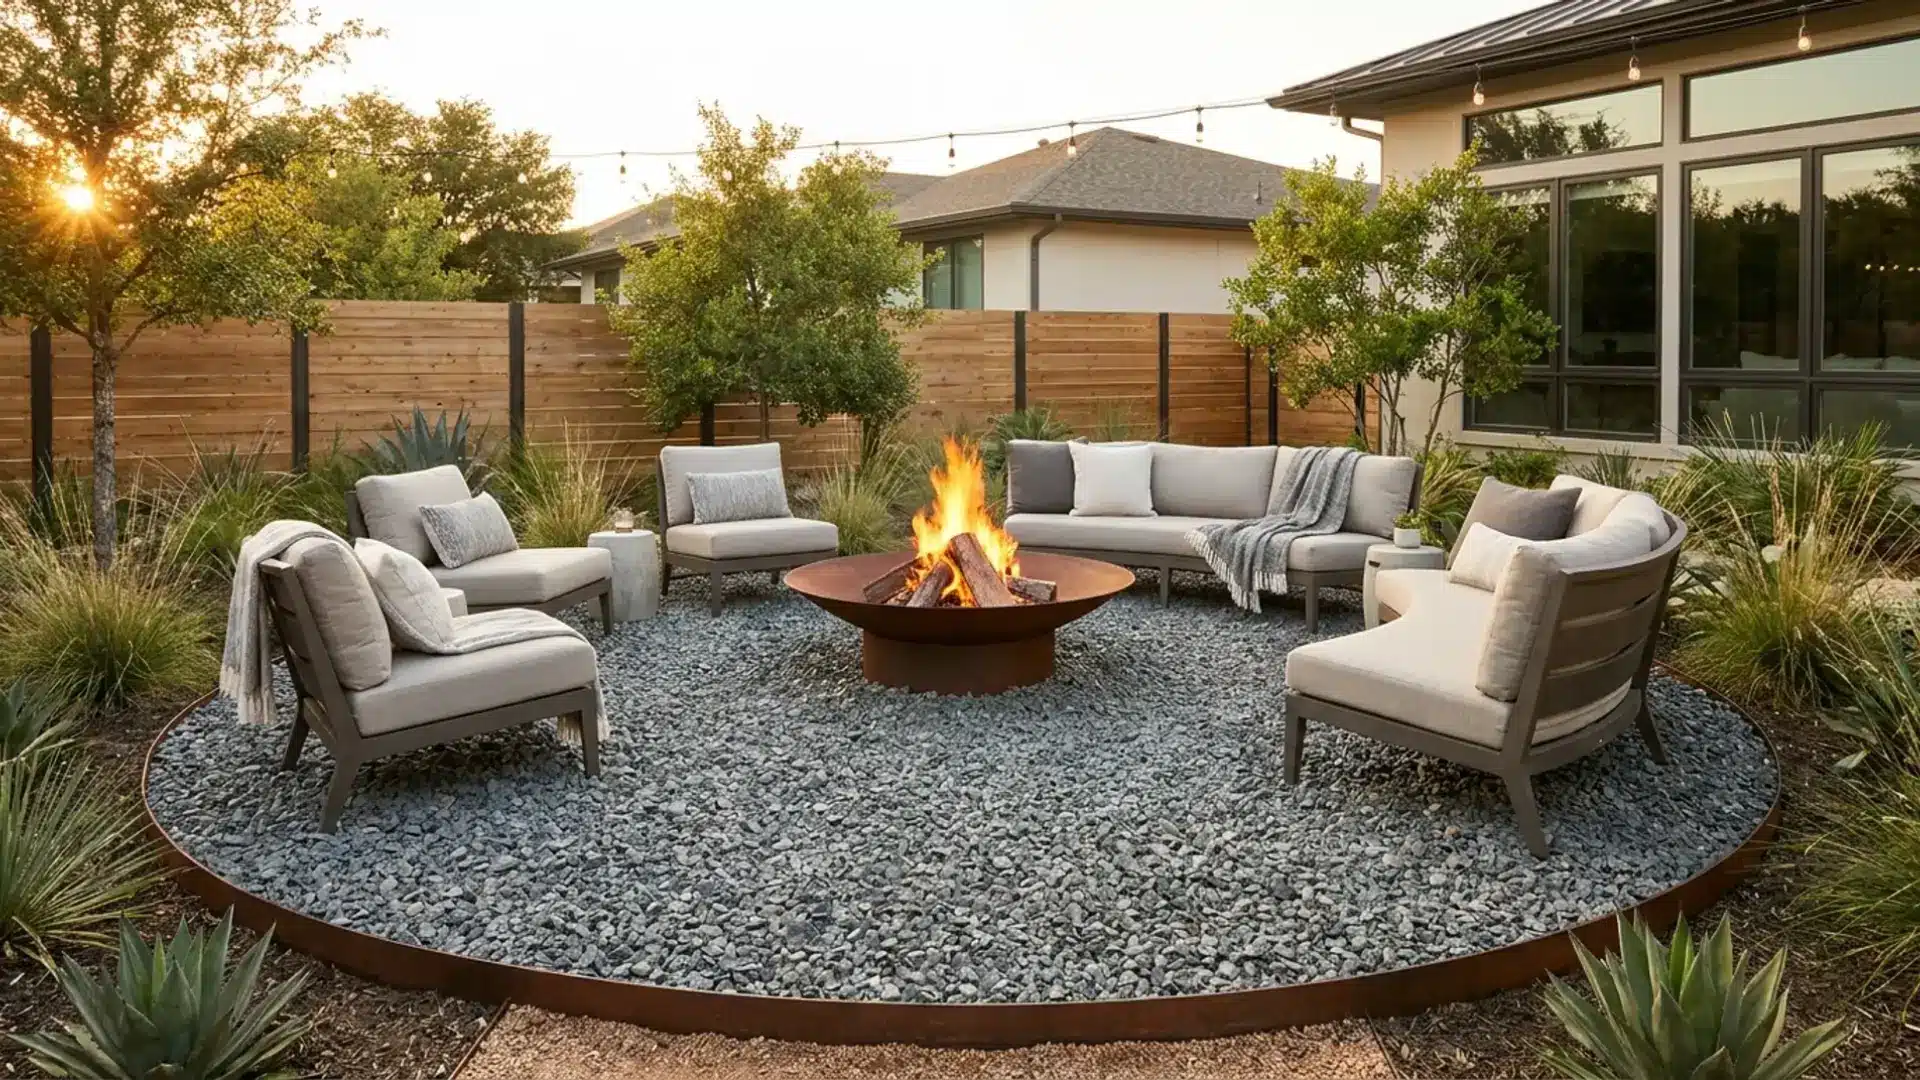
I’ve been sketching garden layouts since I was a kid, long before I knew that was a real job people got paid for. In that time, I’ve watched more gardens fail from bad planning than bad plants.
Tomatoes shade the peppers. Herbs dry out while the lettuce drowns. The path is too narrow for a wheelbarrow, so you tramp on the soil every time you need to prune.
By midsummer, it’s just frustrating.
The fix isn’t complicated. You plan before you dig.
These fifteen garden layout ideas cover everything from compact raised beds to sprawling homestead rows, so you can find the right plan for your space.
Before You Plan: Know Your Space First
You can’t pick the right layout without understanding your yard. I always spend a full day walking a new site before I put a pencil to paper.
- Sunlight: Most vegetables need at least six hours of direct sun per day. Walk your yard at different times and note where the sun actually lands. Shaded corners won’t grow tomatoes. They might grow lettuce just fine.
- Drainage: Check your yard after a heavy rain. Where does water pool? Those soggy spots will drown most plants. Either avoid them or build raised beds on top with proper drainage underneath.
- Dimensions: Measure your space with a tape measure. Knowing your actual dimensions stops you from over-planning and under-fitting. It takes five minutes and saves a lot of headaches later.
- Yard shape: Narrow side yards are natural candidates for border or vertical layouts. Sloped or L-shaped yards need a different approach entirely. Match the layout to the shape, not the other way around.
15 Garden Layout Ideas for Every Space and Style
These garden layout ideas help you match the right design system to your space, whether you have a small yard, a backyard, or a larger growing area.
Small Space Layouts
1. Square Foot Garden Layout

Square-foot gardening divides a 4×4 raised bed into 16 individual squares.
Each square holds a different plant, sized to the crop. Large plants like peppers or tomatoes get one square each. Medium plants like lettuce get four per square. Small ones like radishes get sixteen.
You never walk on the soil, so it stays loose. You can reach every plant without stepping in. Weeding takes minutes, not hours. It wastes almost nothing.
Good for small yards, beginners, and limited budgets. Keep the beds to a maximum width of 4 feet. Build the grid with string or thin wooden strips. It takes ten minutes and makes spacing obvious at a glance.
2. Vertical Garden Layout

Vertical gardens grow upward instead of outward. Wall-mounted planters, trellises, and stacked pocket systems fill vertical space while the ground footprint stays small. Works on fences, exterior walls, and balcony railings alike.
This is one of the few layouts that suits renters well. Nothing needs to go in the ground.
Works best for renters, balconies, and tiny backyards. Put trailing plants at the top and compact herbs at the base. Gravity helps distribute water down the structure, and the layered look is more intentional than complicated.
3. Border Garden Layout

A border layout lines the beds along the perimeter of your yard, along fences, walls, or the property edge. The center stays open. Kids can play in it. Pets can run. You still get a real garden around the edges.
This is the layout I default to when a client’s kids or dogs need the middle of the yard clear.
Good for dual-purpose yards and beginner gardeners. Leave a 2-foot access gap at one end of each border bed. You’ll need it for maintenance, and you’ll be glad you planned for it before the plants fill in and close it off.
Once the beds are in, edging and border designs pull the whole layout together and make the perimeter feel finished instead of leftover.
4. Container Garden Layout

Container gardening puts everything in pots, grouped by sun zone. Full sun pots go in the sunniest corner. Shade-tolerant ones go near the wall. Nothing touches the ground.
You can rearrange it mid-season. You can take it with you if you move. And you’re not fighting poor soil.
Works well for renters, patios, and anyone dealing with bad soil.
Group pots in odd numbers: three or five together look more natural than pairs. Put heavy containers on wheeled bases. Moving them as the seasons shift is much easier than you’d expect the first time you try it.
Match pot size to crop. Fruiting crops like tomatoes need 15-gallon pots minimum, while growing lettuce in containers works in anything from 6 inches deep upward.
Backyard Layouts
5. Raised Bed Row Layout

Raised-bed row layouts use multiple beds in parallel lines, with walking paths between them.
You can see what’s planted where without any guesswork. The beds give you better drainage and soil control. The paths give you access from both sides of every bed.
Great for mid-size backyards and serious food growers. If you’re building your own raised beds, keep each bed no wider than four feet.
That’s the maximum comfortable reach from either side without stepping in. Go wider, and you’ll be stepping in before the season is half over.
6. Twin Garden Layout

Two beds, placed symmetrically, often with a central path between them. The twin layout is visually clean and works well in yards that are longer than they are wide, or vice versa.
It also makes crop rotation straightforward. Plant cool-season crops in one bed and warm-season crops in the other. Swap them the following year.
Good for organized growers and anyone practicing crop rotation. Label each bed by plant family rather than by specific crop.
Then rotate the whole family each season: leafy greens, root vegetables, fruiting plants, legumes. Four families, two beds at a time.
7. Four-Garden Classic Layout

Four beds arranged in a square, with a cross-shaped path in the center.
Assign one plant family to each bed: leafy greens, root crops, fruiting plants, legumes. Move each family one bed clockwise each year. By year four, you’re back to the start.
Soil stays healthier. Pests and diseases don’t build up in the same spot two seasons in a row.
Works especially well for rotation-focused gardeners with mid-size or larger backyards. Label each bed permanently with a simple marker. Keep a rotation chart on your phone. The layout handles the rest.
8. Curved Pathway Garden Layout

Instead of straight lines, this layout wraps beds around a winding central path. Straight paths make a garden look functional. Curved ones make it feel like somewhere you’d want to sit down.
There’s a practical benefit too. Curves make small yards feel larger. The eye follows the bend and can’t see the whole space at once. That sense of depth reads as more room than there actually is.
Good for ornamental backyards and cottage garden styles.
Use gravel, stepping stones, or mulch for the path surface. Make sure the material contrasts clearly with the surrounding soil so the path stays obvious and people don’t wander off it.
9. Cottage Garden Layout

Cottage gardens are intentionally informal. Plants grow densely, in layers: tall at the back, medium in the middle, low at the front edge. The goal is fullness. You rarely see bare soil in a well-done cottage garden.
The difference between a cottage garden and a neglected yard is intentional layering. You plan the structure. Then you let the plants fill it in naturally.
Good for gardeners who want color and texture without rigid structure. Mix annuals and perennials so something is always blooming. Annuals fill gaps fast. Perennials come back without replanting.
This is also the closest layout to a cutting garden for continuous bloom, since you’re planting to fill vases as much as beds.
Front Yard Layouts
10. Symmetrical Front Yard Layout

This layout mirrors the planting on both sides of your front walkway or door. Same plants. Same pots. Same spacing. The result looks put-together without any complicated design decisions.
You’re not making creative calls. You’re matching things, which is actually easier than it sounds.
Works well for traditional homes and curb appeal goals. Stick to two or three colors maximum. A busy symmetrical garden crosses into clutter faster than you’d expect.
11. Layered Planting Layout

Layered planting uses 3 height tiers: tall plants at the back, medium plants in the middle, and low plants or ground cover at the front edge. The eye travels across all 3 levels. That depth makes even a small yard look well-designed.
Good for front yards, sloped yards, and anyone who wants the garden to look like it was designed with intention. Start with the back tier first. It defines the structure.
Then work forward. Filling all three tiers at once is the fastest route to an overcrowded mess.
The front edge is where low-maintenance ground covers pay off. One planting, minimal upkeep, full-season coverage.
One practical rule: the tallest tier always goes on the north side. That way, it never shades the shorter plants in front of it.
12. Pollinator Garden Layout

A pollinator garden plants native flowering plants in patches, not scattered around, but grouped five to seven of the same plant together. Pollinators find clusters far more efficiently than individual plants spread thinly across a bed.
It also benefits food growers. More pollinators near your vegetable garden mean better yields on fruiting crops, often noticeably so.
Good for eco-focused gardeners and anyone who grows vegetables. Stick to native plants from your region. They attract more local pollinators than imported ornamentals and need far less water once they’re established.
Specialty Layouts
13. Kitchen Garden (Potager) Layout

A potager mixes vegetables, herbs, and edible flowers in the same beds.
The design is structured, often geometric, with defined paths and clear sections. But the planting is varied and intentionally mixed.
It gives you both food production and something worth looking at. For gardeners who want more than a utilitarian row of vegetables, this layout bridges the gap between the two.
Plant basil near tomatoes and marigolds along bed edges. Both bring real benefits beyond looks. Using marigolds along vegetable rows discourages common garden pests from setting up in your beds.
14. Companion Planting Layout

A companion planting layout organizes beds around plant partnerships.
Some plants repel pests. Others fix nitrogen in the soil for their neighbors. Some provide physical support for climbing plants next to them.
The most basic starting point is the Three Sisters: corn, beans, and squash in the same bed. Corn gives the beans something to climb. Beans fix nitrogen that feeds the corn and squash.
Squash leaves shade the soil, keeping moisture in and weeds out. These three genuinely help each other in ways that are easy to observe in a single season.
Good for organic gardeners and anyone who wants to reduce pesticide use.
Before pairing any new plants, check compatibility. Not all combinations help each other, and some slow growth in both. Companion pairings for tomatoes are among the most-tested starting points for home growers.
15. Homestead Garden Layout

A homestead layout is large-scale in-ground growing, usually 20×20 feet or larger, planted in traditional rows.
The goal is volume. You’re not growing a few peppers for dinner. You’re growing most of what your household eats over the course of a full season.
It takes space and commitment. For families who want that level of food production, it’s the most practical setup available.
Set aside at least one dedicated bed for perennial crops such as asparagus, strawberries, or artichokes. They take a few seasons to establish, but once they’re in, they come back every year without replanting.
Which Garden Layout Should You Choose?
Here’s a quick decision guide. Find your situation and follow the row:
Your Situation | Best Layout Match |
Small yard, poor soil, want to grow food | Square Foot or Container |
Mid-size yard, organized grower | Raised Bed Rows or Four-Garden Classic |
Large property, high food production | Homestead Layout |
In any size yard, beauty is the priority | Cottage, Layered, or Symmetrical |
Want food and flowers together | Kitchen Garden (Potager) |
Renting, can’t dig in the ground | Vertical or Container |
Want to attract pollinators and wildlife | Pollinator or Companion Planting |
Pick the layout that fits your space and your goals. A layout that works in photos from someone else’s half-acre doesn’t always translate to your 12-foot side yard.
Simple Tips Before You Start Digging
Five things that trip up more gardeners than anything else:
- Draw it out first: Sketch the layout on paper before you touch the soil. Free online garden planners work too. Impulse planting leads to spacing problems you can’t fix mid-season.
- Start smaller than you think: New gardeners over-plant consistently. One 4×8 bed, well-tended, produces more food than three beds you can’t keep up with. Start small, expand once you see what works.
- Leave your pathways wide enough: Make walkways at least 18″ to 24″ across. You need room for comfortable movement without trampling anything. Narrow paths mean you’ll walk on your soil within a week.
- Group plants by water and sun needs: Mixing drought-tolerant plants with thirsty ones means one group always suffers. Put plants with similar requirements together, not by how good they look side by side.
- Plan for rotation before you plant: Decide where your plant families will move next year before you plant this year. It’s far easier to plan forward now than to figure it out later when everything is already in the ground.
Conclusion
A garden layout isn’t the exciting part of gardening. Choosing plants is.
Watching things grow is. But getting the layout right before you dig is what determines whether any of that actually works.
You don’t need a big yard. You don’t need expensive materials.
You need a plan that fits your actual space and your actual goals. Pick one layout from this list that matches your situation and start there. You can always expand once you see what works.
If you’re not sure where to begin, square-foot gardening is where I send most first-timers, and where I’ve watched plenty of experienced growers come back to.
It’s small, forgiving, and produces results fast enough to keep you motivated through the learning curve.
Frequently Asked Questions
How big should a first vegetable garden be?
Start with a 4×4 or 4×8 raised bed. It produces plenty for one household and stays manageable while you’re still learning. Expand once you know what actually works in your yard.
How much space should I leave between garden beds?
Aim for 18 to 24 inches minimum. That’s enough for comfortable movement and wheelbarrow access. Narrower paths mean you will trample your soil within the first few weeks.
What’s the easiest garden layout for beginners?
Square-foot gardening. A 4×4 raised bed divided into 16 squares makes spacing obvious, weeding fast, and mistakes easy to correct. Many experienced growers still return to it.
Can I use a garden layout on a sloped yard?
Yes. Terraced raised beds run parallel to the slope contour. Each level stays flat and drains properly. Skip flat layouts on any slope steeper than 5 percent.