There is no single fixed number. Light, pot size, and the season all change how fast the soil dries out.
| Condition | Water roughly every |
|---|---|
| Bright indirect light, summer | 5 to 7 days |
| Bright indirect light, winter | 8 to 10 days |
| Low light, summer | 7 to 9 days |
| Low light, winter | 10 to 14 days |
| Small pot, under 6 inches | Check often, dries fast |
| Large pot, 10 inches or more | Check less, holds moisture longer |
Use this table as a starting point, not a fixed rule. The real signal is the soil, not the calendar. Check the top inch before every watering.
This matters most during the first few weeks in a new spot or season. A plant near a heater vent or a cold draft will dry out on a different timeline. Watch the leaves and soil together rather than counting days alone.
Air conditioning in summer can also dry out a room faster than expected. Peace lilies near a vent may need water sooner than the table suggests.
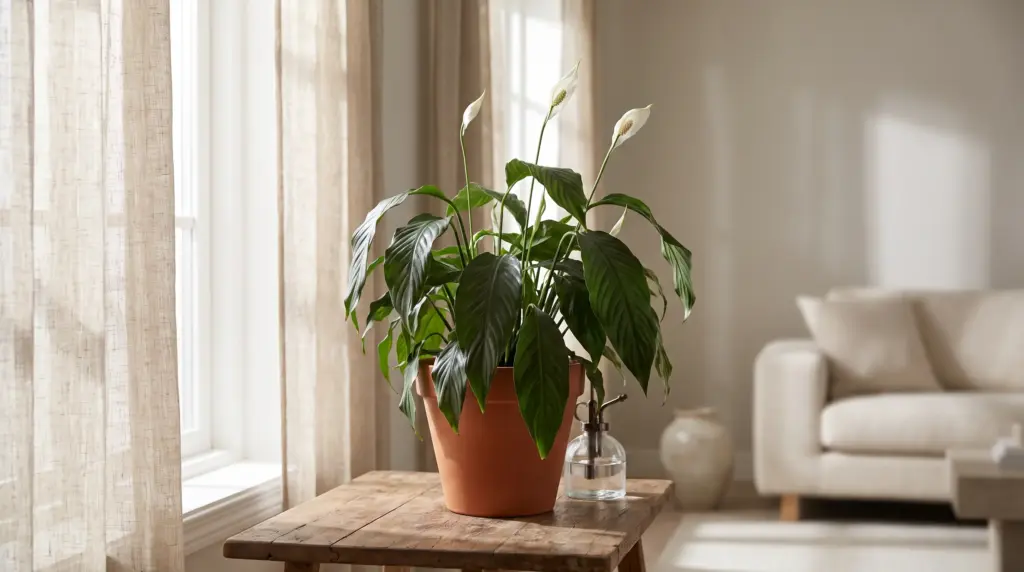
At this stage, symptoms like drooping or even brown tips of peace lilies often appear when moisture levels swing too sharply between watering cycles.
How to Water a Peace Lily the Right Way
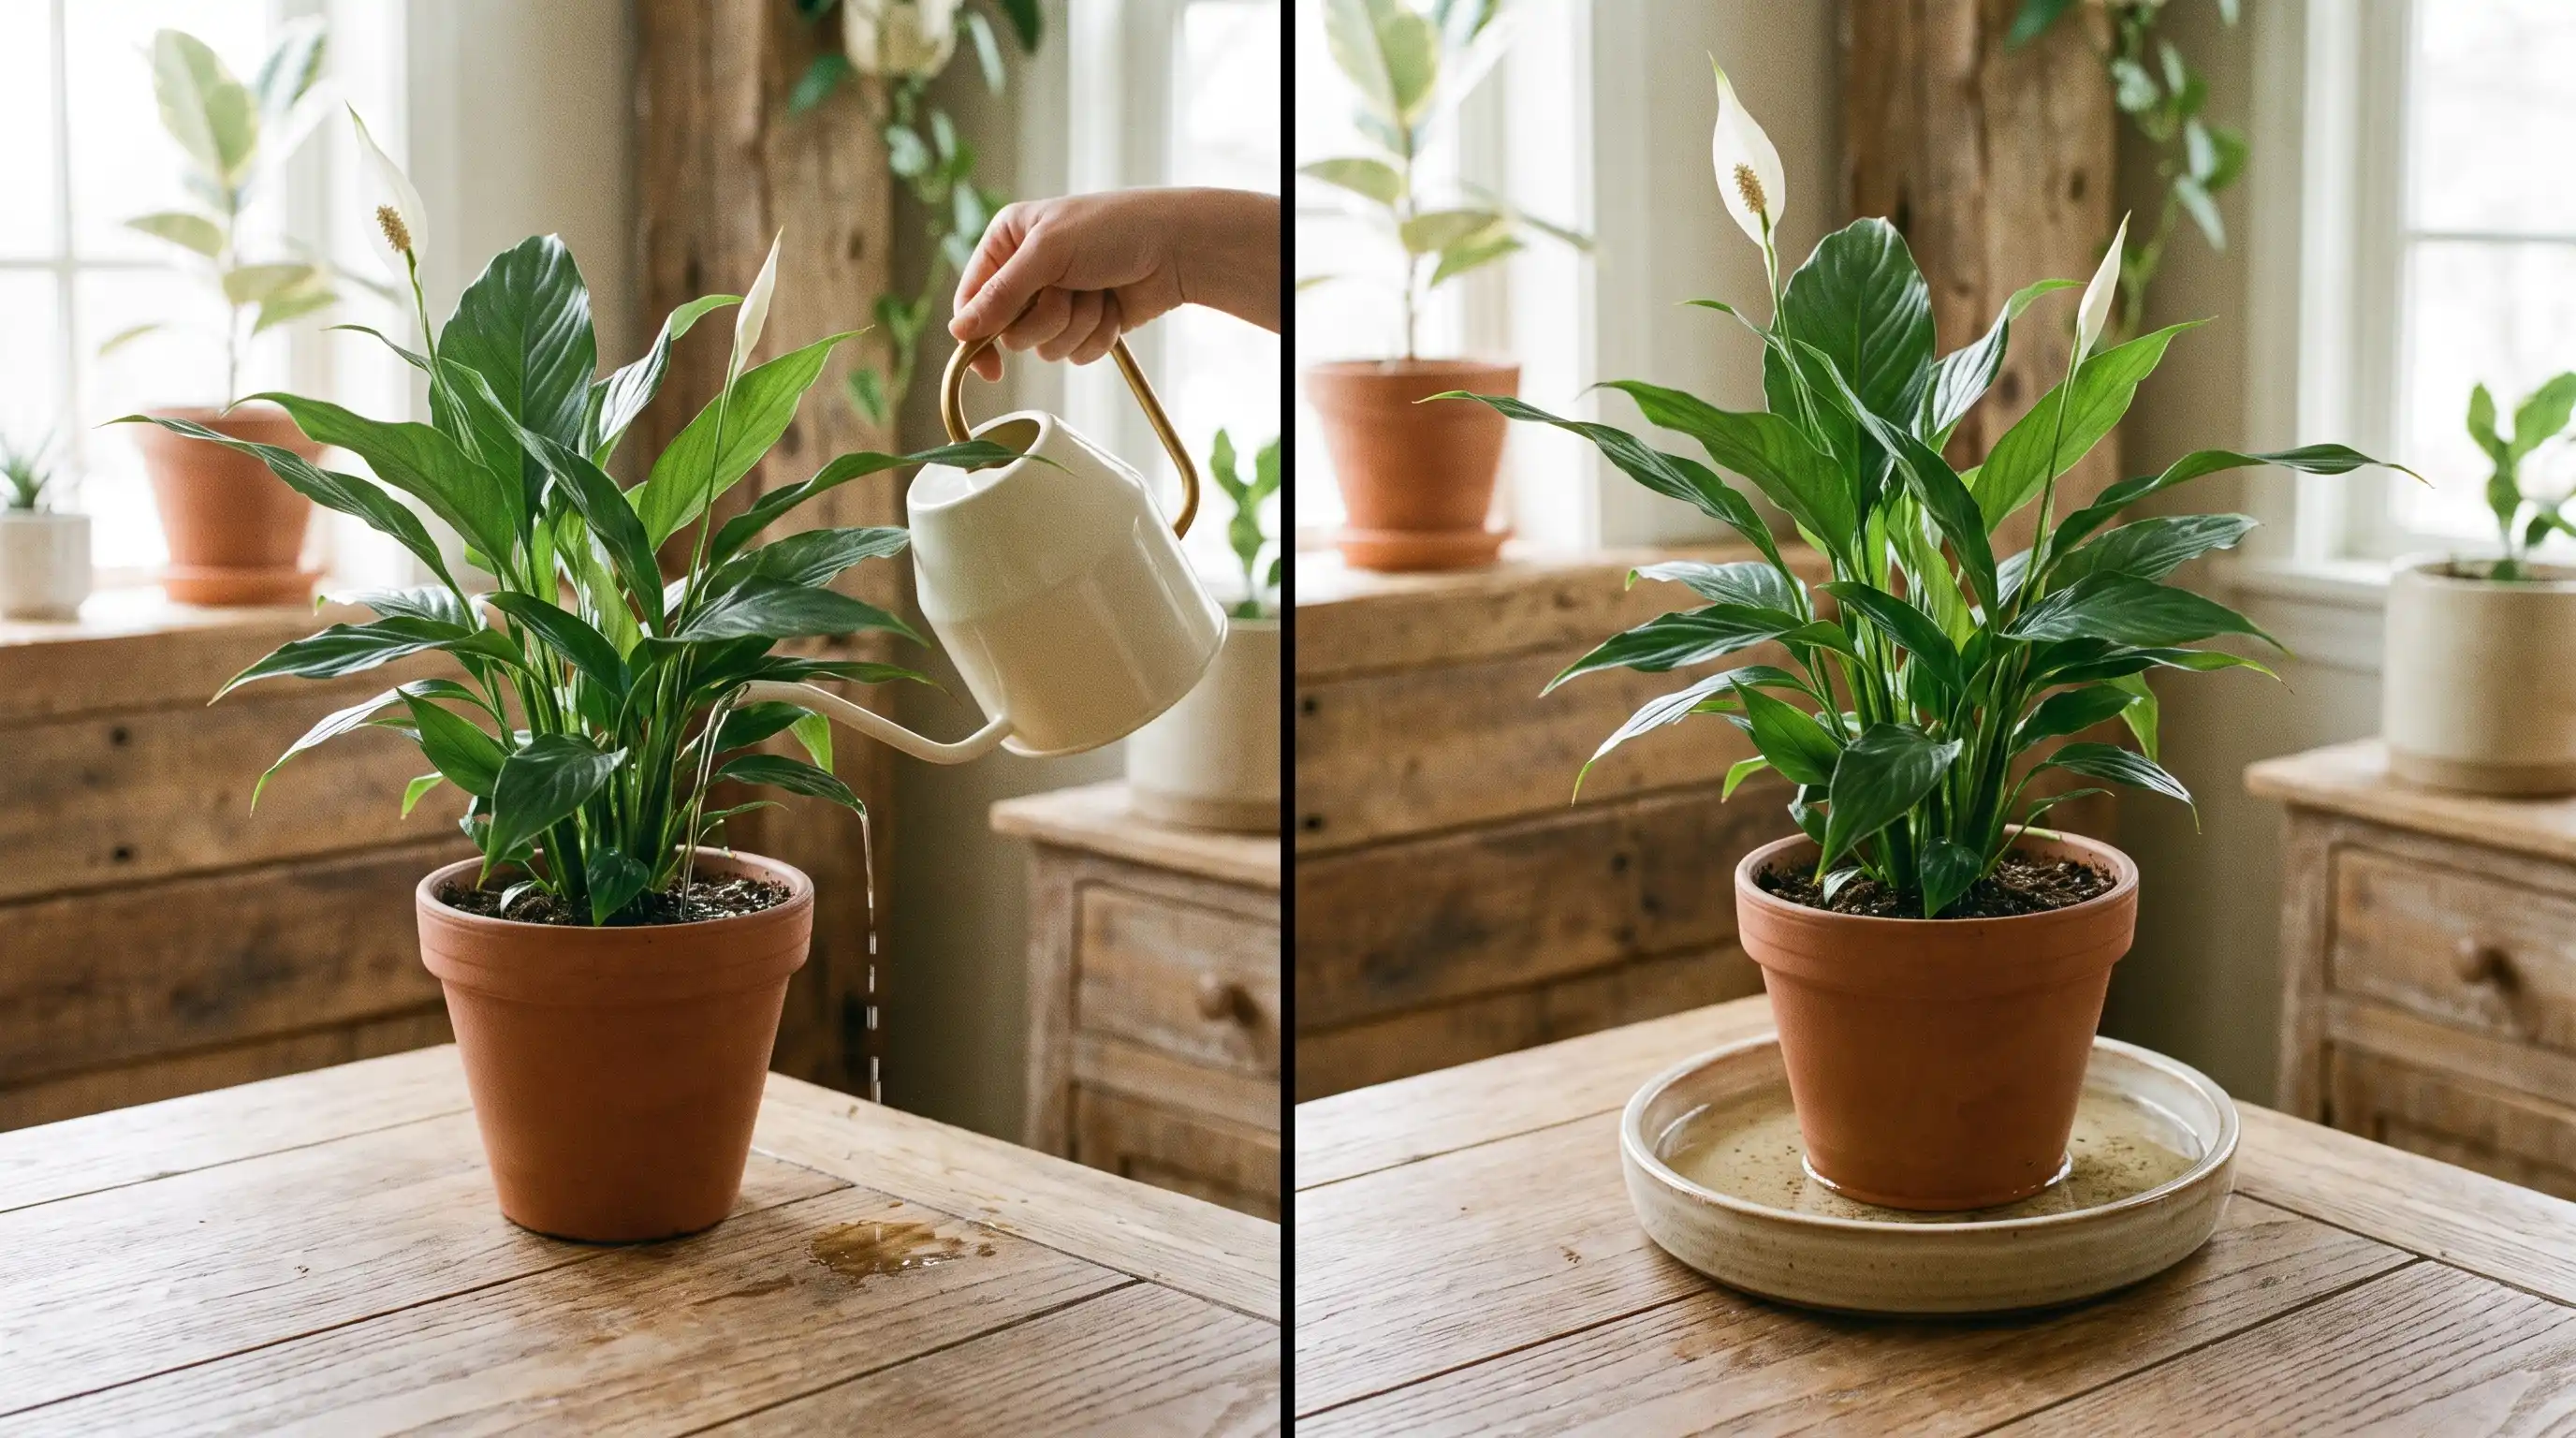
How you water matters almost as much as how often you water, especially if you want to avoid the most common mistake.
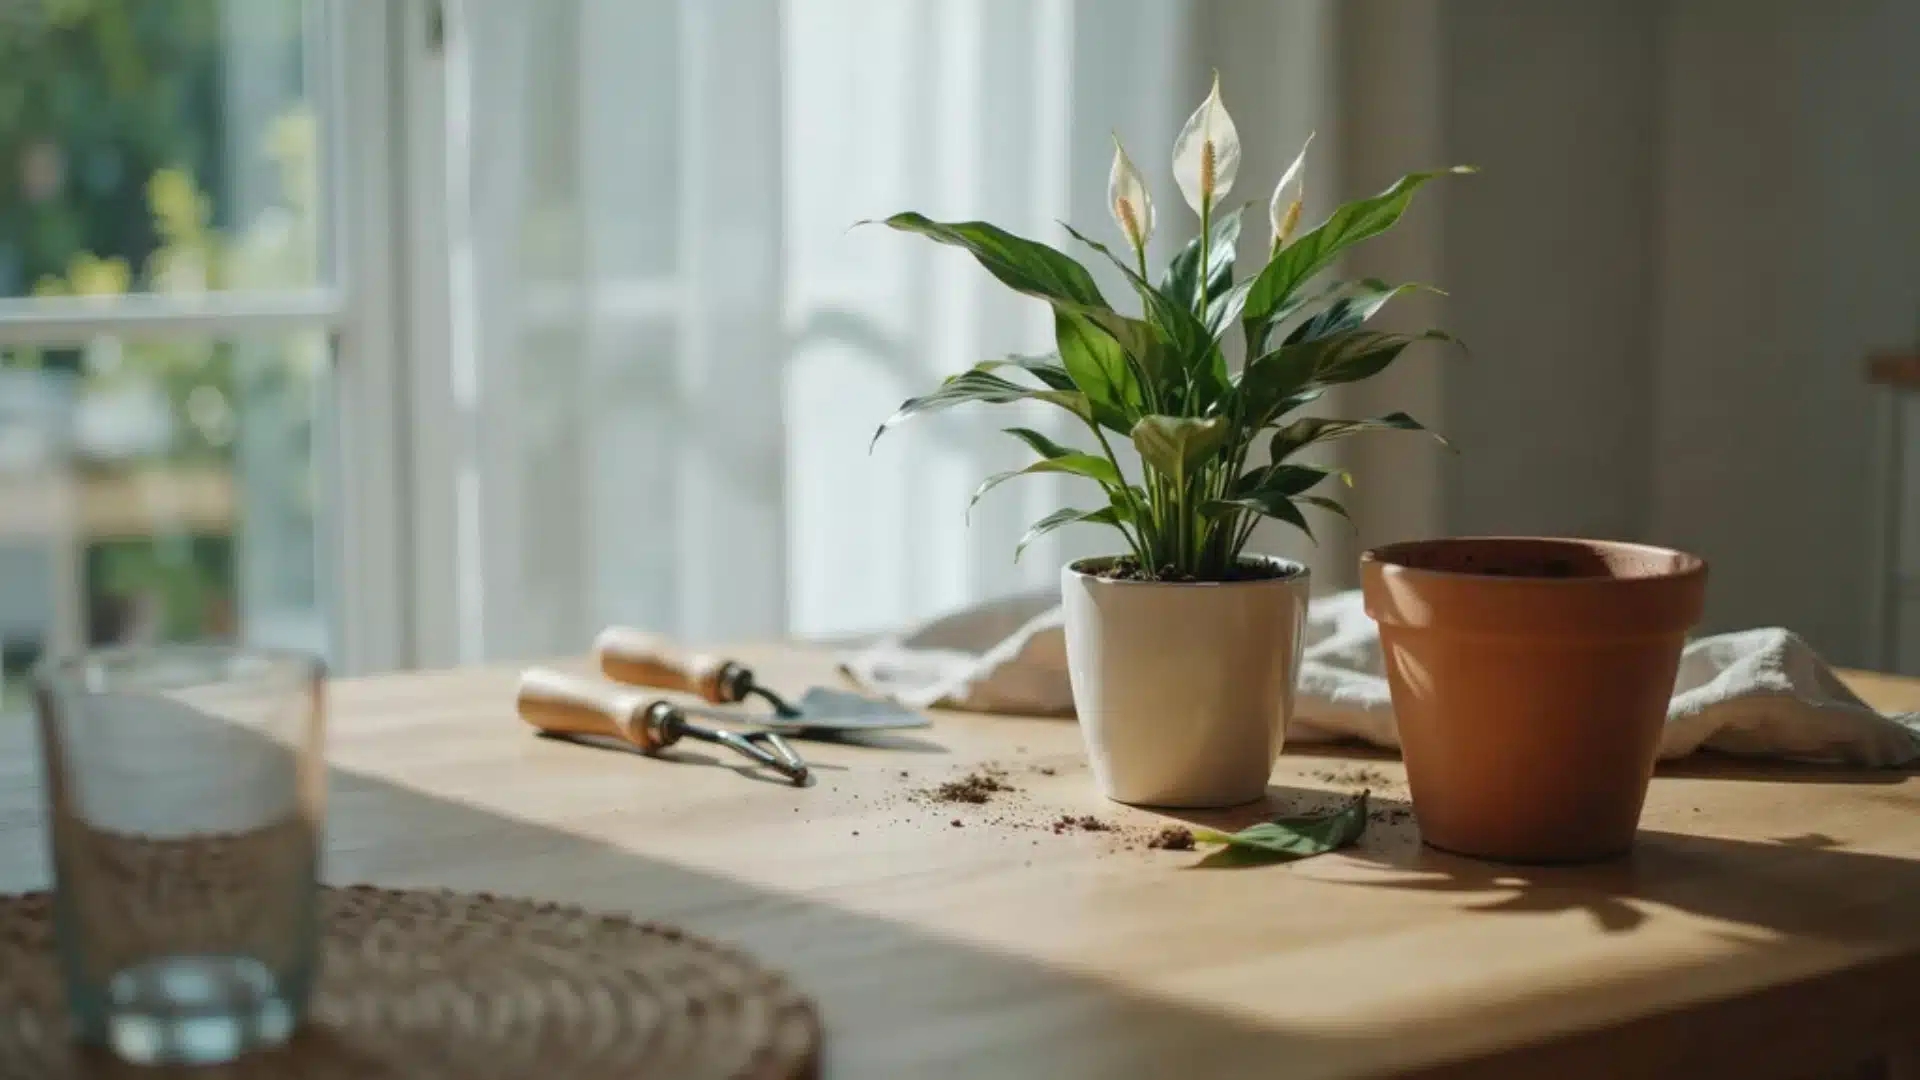
Use room temperature water. Cold water can shock the roots and slow growth down. Pour slowly around the base until water runs from the drainage holes at the bottom.
Let the pot drain fully before you set it back on a saucer or in a cachepot. Empty any standing water within thirty minutes.
Standing water under the pot is one of the fastest ways to trigger root rot. This can happen even if your frequency was correct.
Bottom watering works well for a deeper, even soak. Set the pot in a shallow tray with an inch or two of room-temperature water.
Let it sit for 15 to 20 minutes so the soil draws up moisture from below. Remove the pot and let it drain fully before you put it back in its usual spot.
Bottom watering also flushes out less mineral buildup than top watering does. Alternate between the two methods every few waterings for the best results.
Either method works well as long as you avoid leaving the pot sitting in leftover water afterward.
Overwatered or Underwatered: How to Notice the Difference
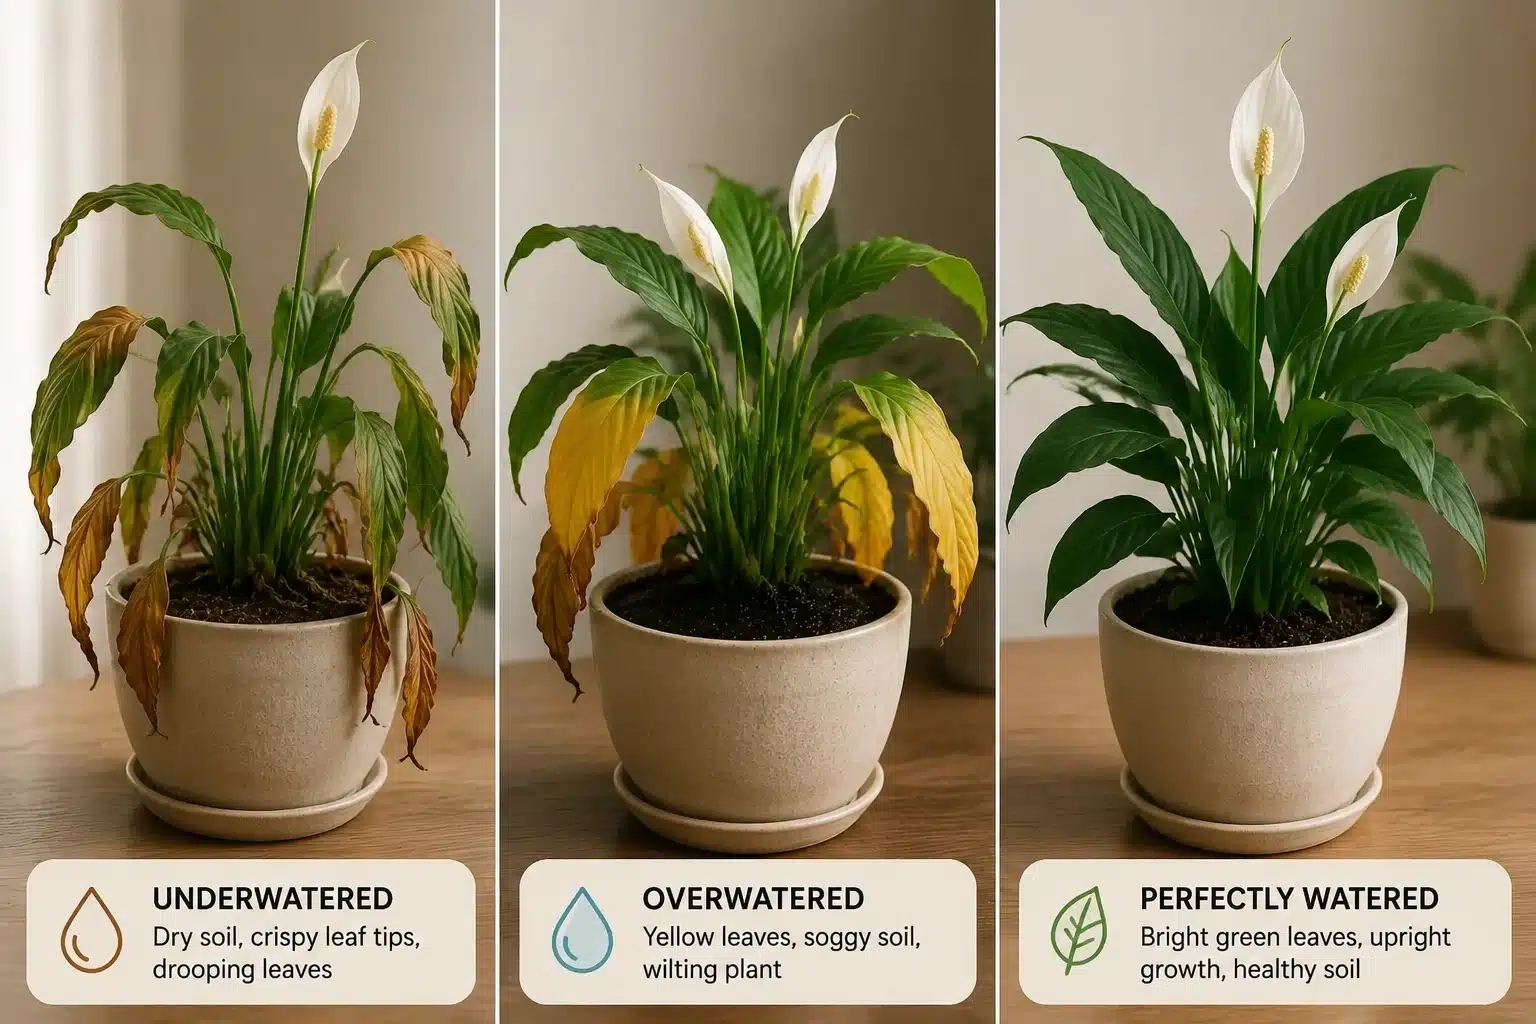
Both problems cause drooping, which is exactly why so many people water at the wrong moment.
- Overwatered Signs: Yellowing lower leaves, mushy stems, a sour soil smell, and drooping while the soil still feels wet.
- Underwatered Signs: Crispy brown tips, drooping that recovers within hours of watering, and soil pulling away from the pot’s edges.
| Symptom | Likely cause | Quick fix |
|---|---|---|
| Yellow lower leaves | Overwatering | Let the soil dry out, and check the drainage holes |
| Mushy, dark stems | Root rot from excess water | Trim damaged roots, repot in fresh mix |
| Crispy brown tips | Underwatering or hard tap water | Water sooner, switch to filtered water |
| Fast droop that recovers | Underwatering | Water thoroughly, and check the soil more often |
If these symptoms keep showing up no matter how carefully you water, the soil mix itself might be the problem.
Compacted or dense soil holds water too long and drains poorly, no matter how well you schedule your watering can.
A mix that once drained well can compact within a year, especially if it leans heavily on peat moss.
How to Check Soil Moisture Before Watering
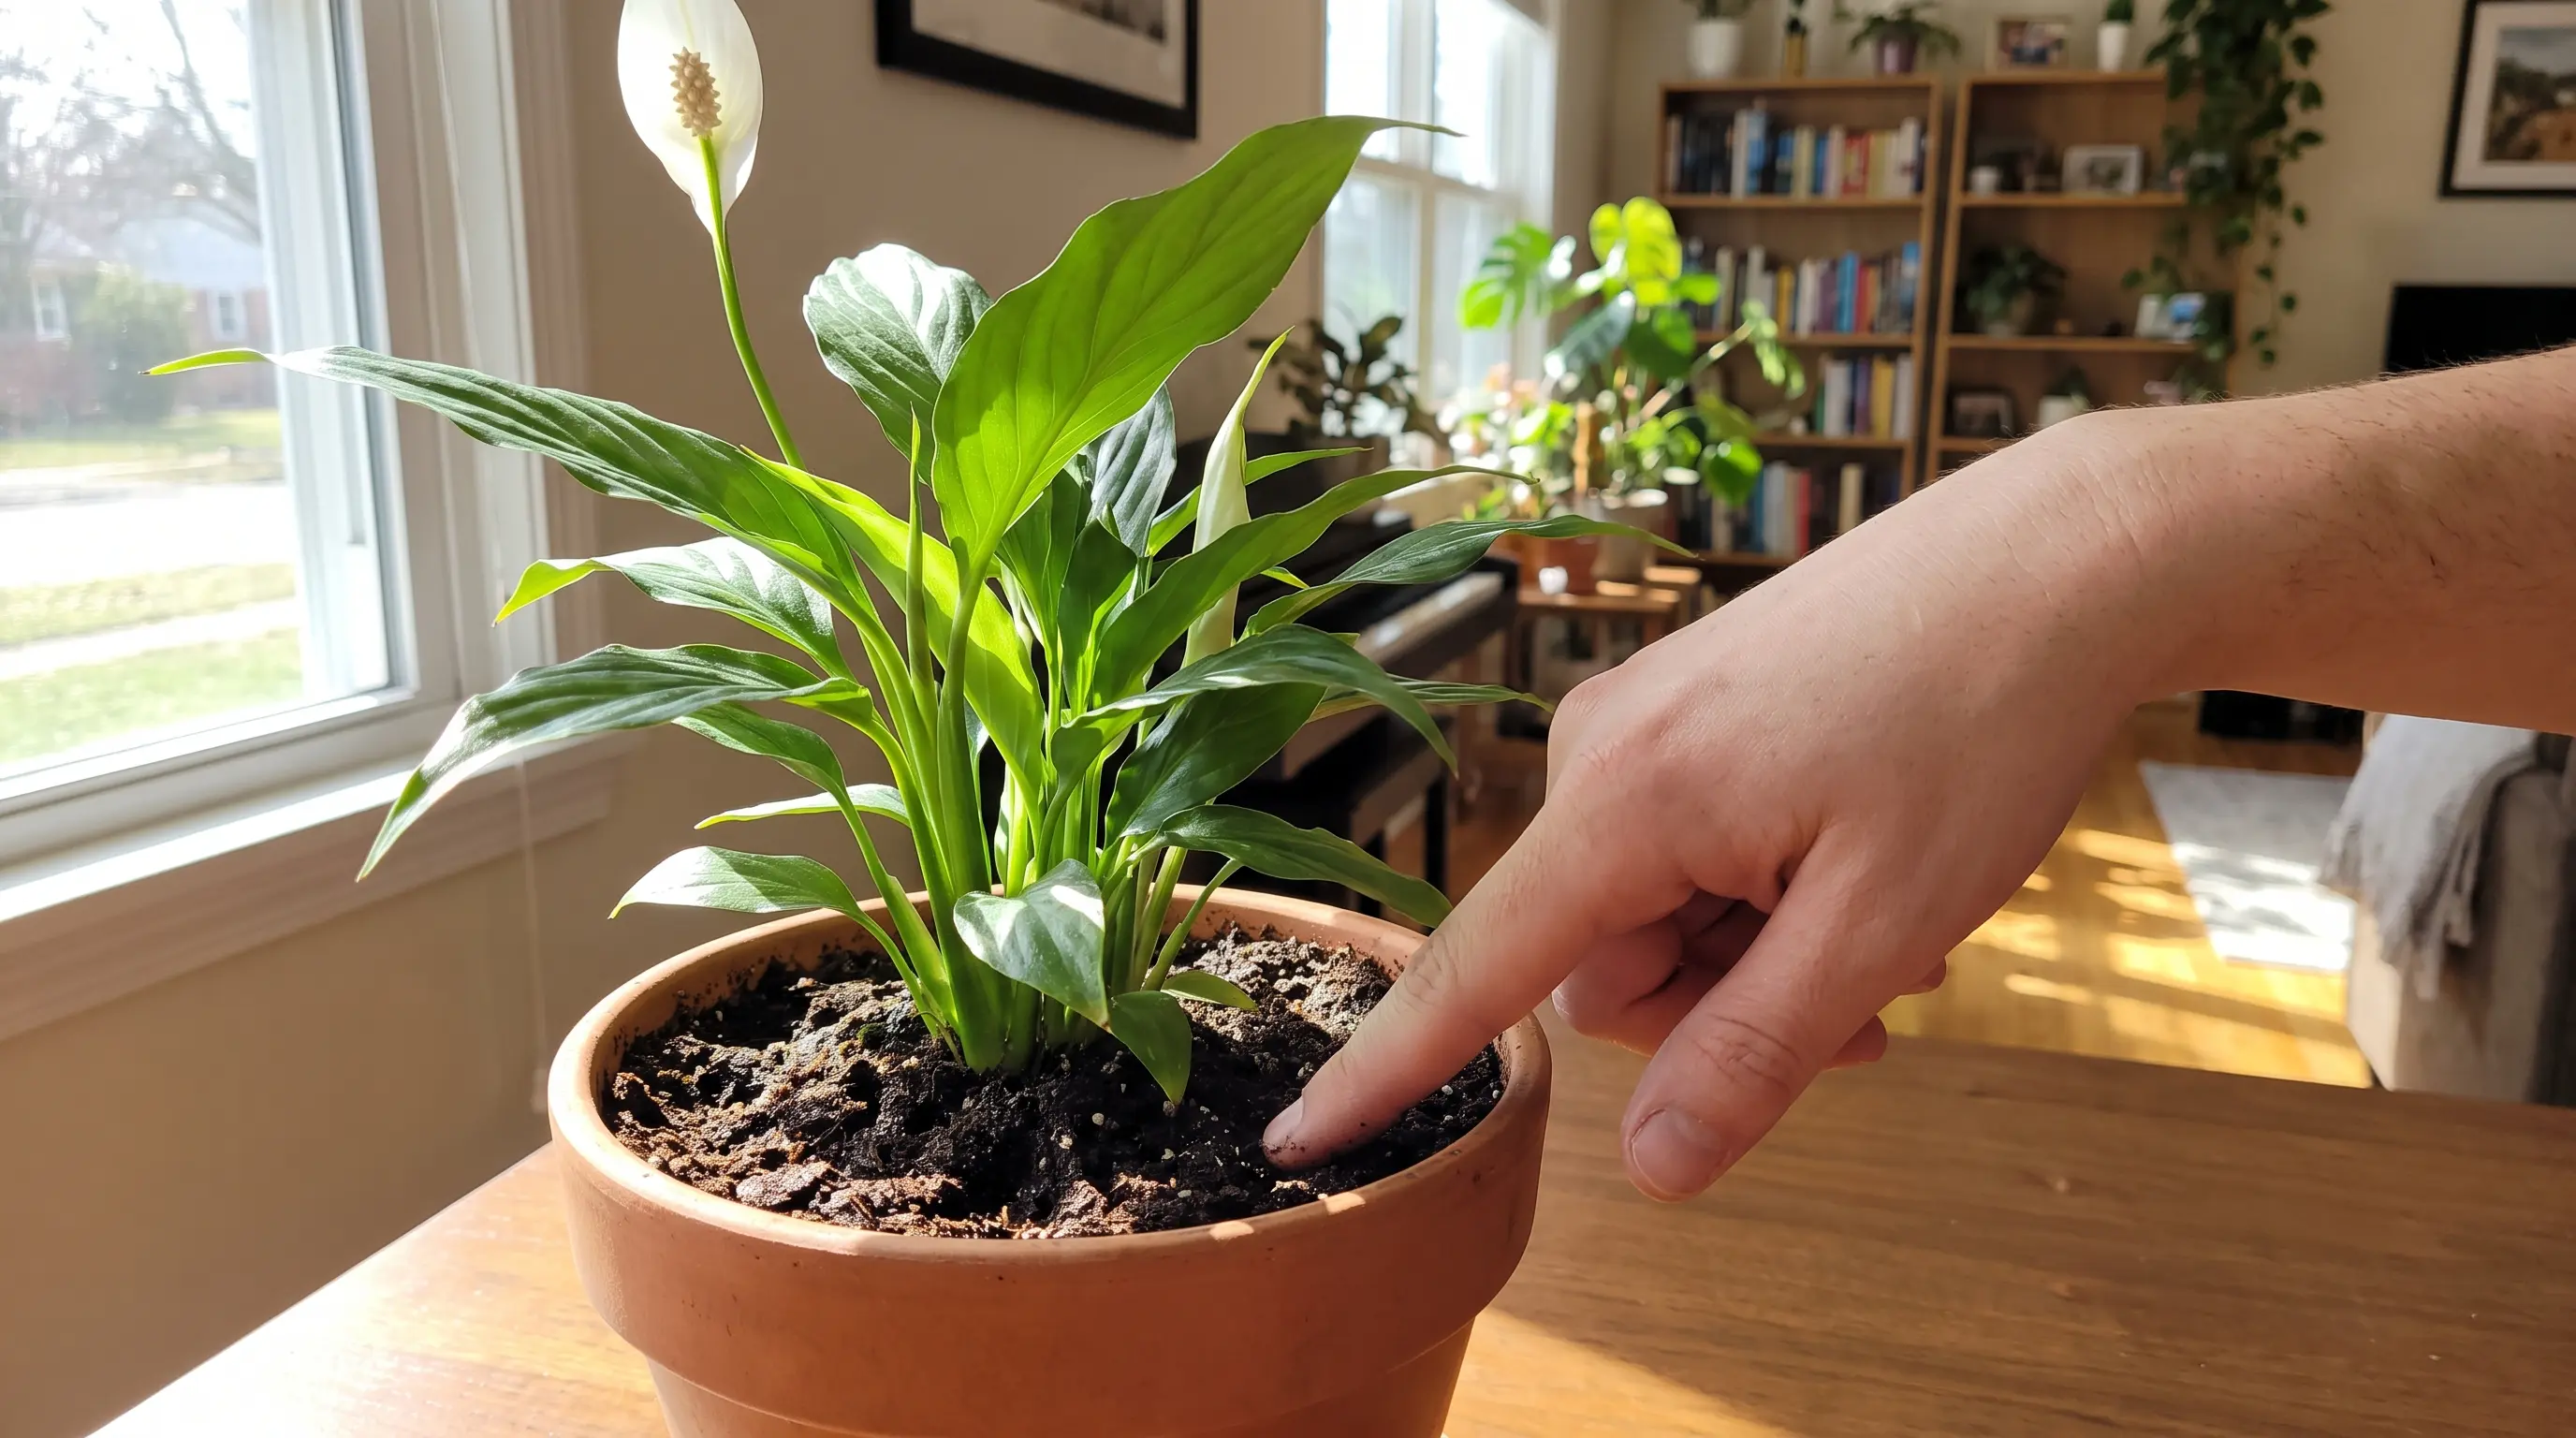
The classic method still works well. Pairing it with a number removes most of the guesswork.
Press a finger one to two inches into the soil. If it feels dry, water the plant. If it feels damp, wait a few more days and check again. This works well once you learn your plant’s normal cycle.
A moisture meter gives a more exact reading if you want one. These are inexpensive and widely sold at garden centers and hardware stores.
On most basic meters, a score of 1 to 3 means it is time to water. A score above 4 means the soil still holds enough moisture for now.
Pot material changes the timeline too. Terracotta dries out faster than plastic or ceramic because the material allows moisture to pass straight through its walls.
If you use a terracotta pot, expect to water slightly more often than the ranges above suggest.
A glazed ceramic pot without drainage holes behaves differently again, so drill or choose a pot with holes whenever possible.
If you care for several peace lilies, a moisture meter often saves time over checking each pot by hand.
Does Watering Frequency Change After Repotting?
Fresh soil behaves differently from settled soil. This is a common point where people either submerge the plant or drown it.
Water thoroughly right after repotting to help the new mix settle around the roots. After that first watering, let the top inch dry before you water again.
Fresh soil holds moisture longer than older, compacted soil. Sticking to your old schedule right away can lead to soggy roots.
Give the plant a week or two to settle into its new pot before you return to a normal routine. Watch the leaves closely during this window.
Mild drooping right after a repot is often normal stress, not a sign of over- or underwatering.
Keeping Peace Lilies Healthy While You’re Away
Peace lilies are one of the most common office plants, but most watering advice assumes a daily check-in.
If you travel often or only see your plant a few times a week, small setups help fill the gaps. A self-watering pot uses a small reservoir to feed the plant steadily between visits.
A simple wicking system works well in a pinch. Make one from a cotton cord running from a water source into the pot.
Grouping a few plants on a shared pebble tray also raises humidity. This slows down how fast the soil dries out.
None of these setups replace checking the soil directly. They simply buy extra time between visits, which makes them useful for office desks or vacation stretches.
A quick check on your way out the door still beats any gadget. A self-watering pot can fail quietly if the reservoir runs dry or clogs.
Related: How to Water Plants While on Vacation (7 Easy Methods)
Conclusion
Watering a peace lily comes down to reading the soil, not the calendar. Use the ranges above as a starting point. Then adjust for your light, pot size, and the season.
The finger test or a simple moisture meter will tell you more than any fixed schedule ever could.
If your plant still shows signs of stress even with correct watering, the issue is often in the soil itself. Improving drainage and soil structure can make a noticeable difference in overall health.
Get the watering and the soil right together. Your peace lily should reward you with steady, glossy growth for years to come.
Frequently Asked Questions
1. Should You Water a Peace Lily from the Top or Bottom?
Water from the top until excess drains out. Bottom watering is fine occasionally, but top watering flushes salts and keeps the soil evenly moist.
2. What Triggers a Peace Lily to Bloom?
Bright, indirect light is the main trigger. Consistent watering, moderate humidity, regular feeding during the growing season, and healthy roots also encourage blooming.
3. Will Baking Soda Help My Peace Lily?
No. Baking soda doesn’t promote growth or flowering and may alter soil pH. Use balanced fertilizer and proper care instead for a healthier peace lily.