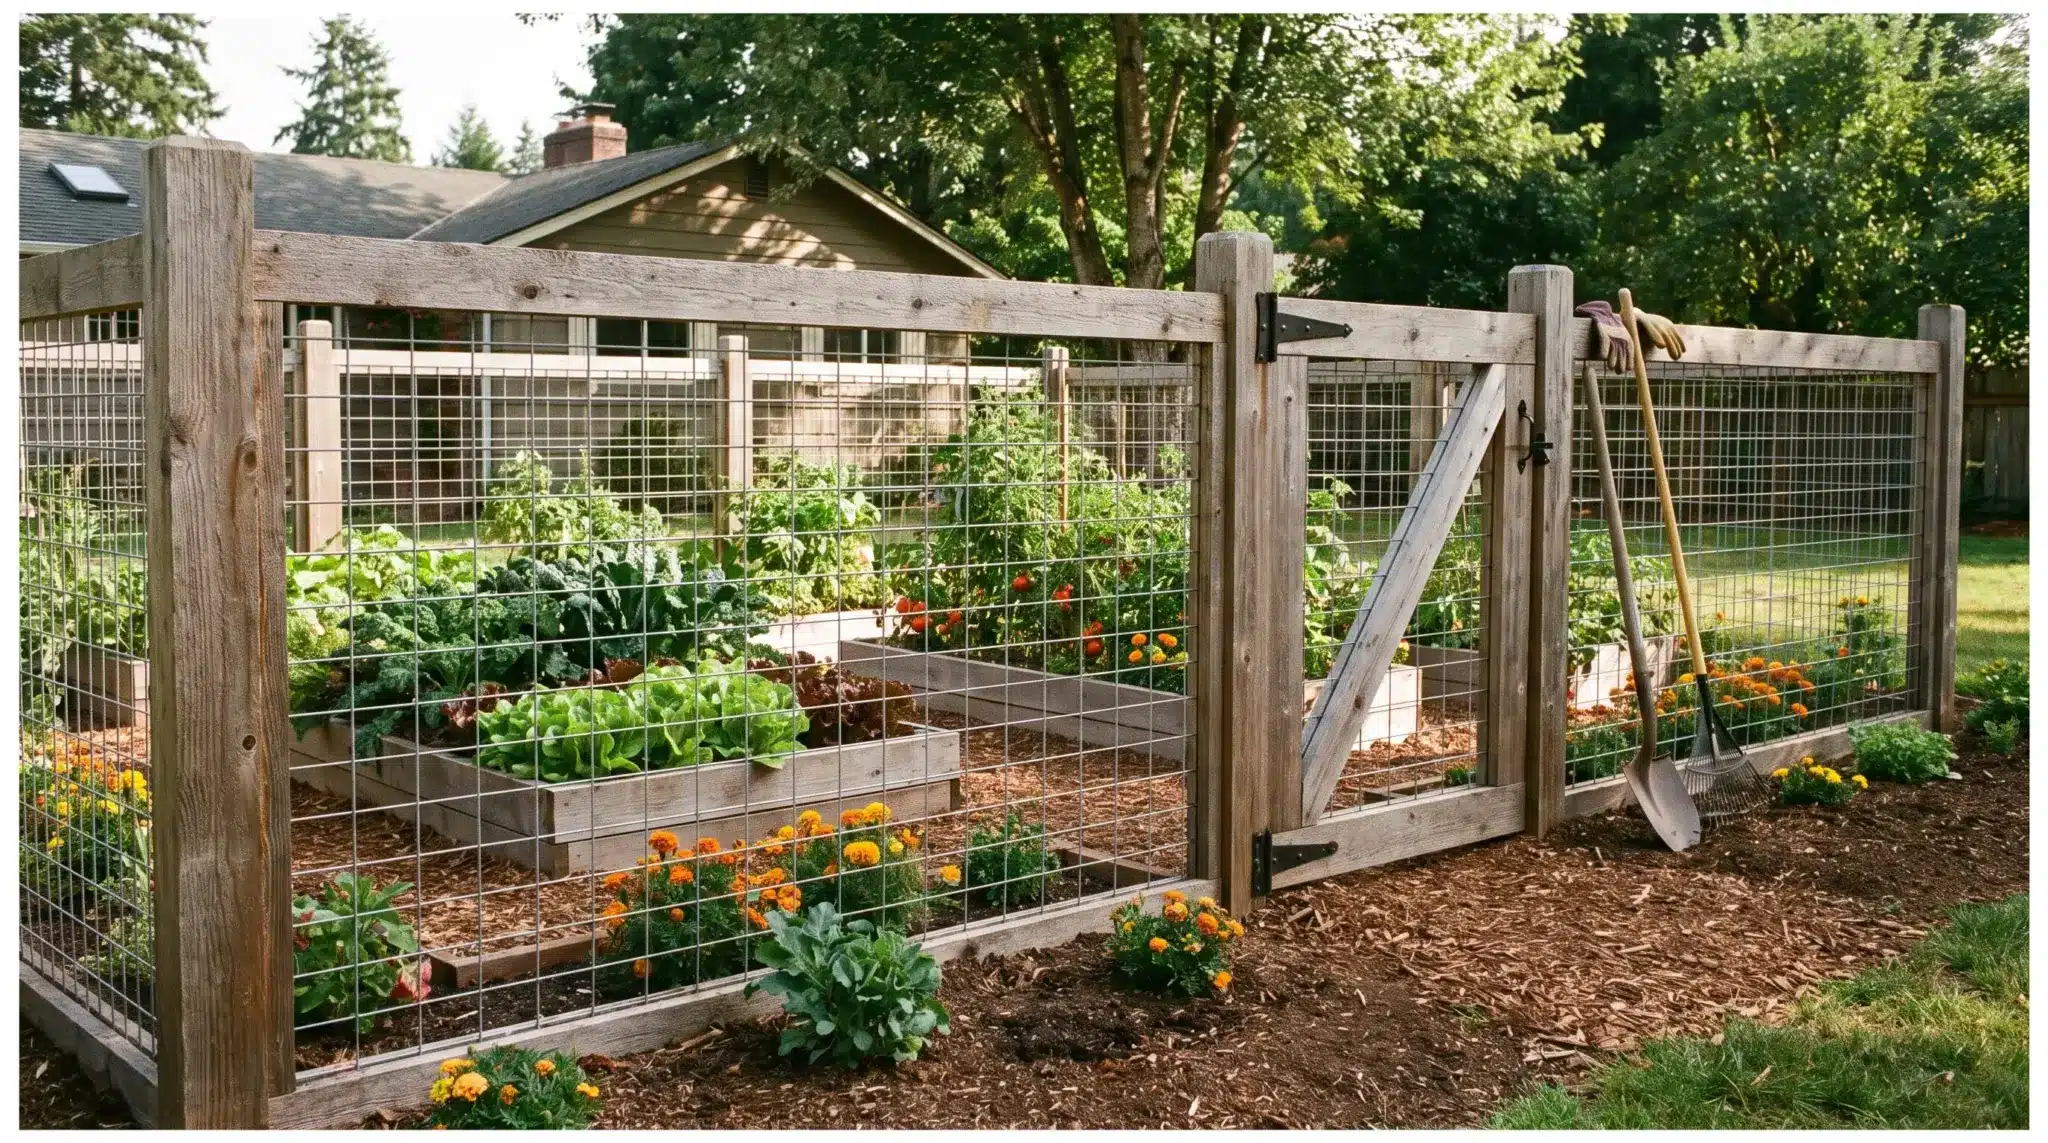
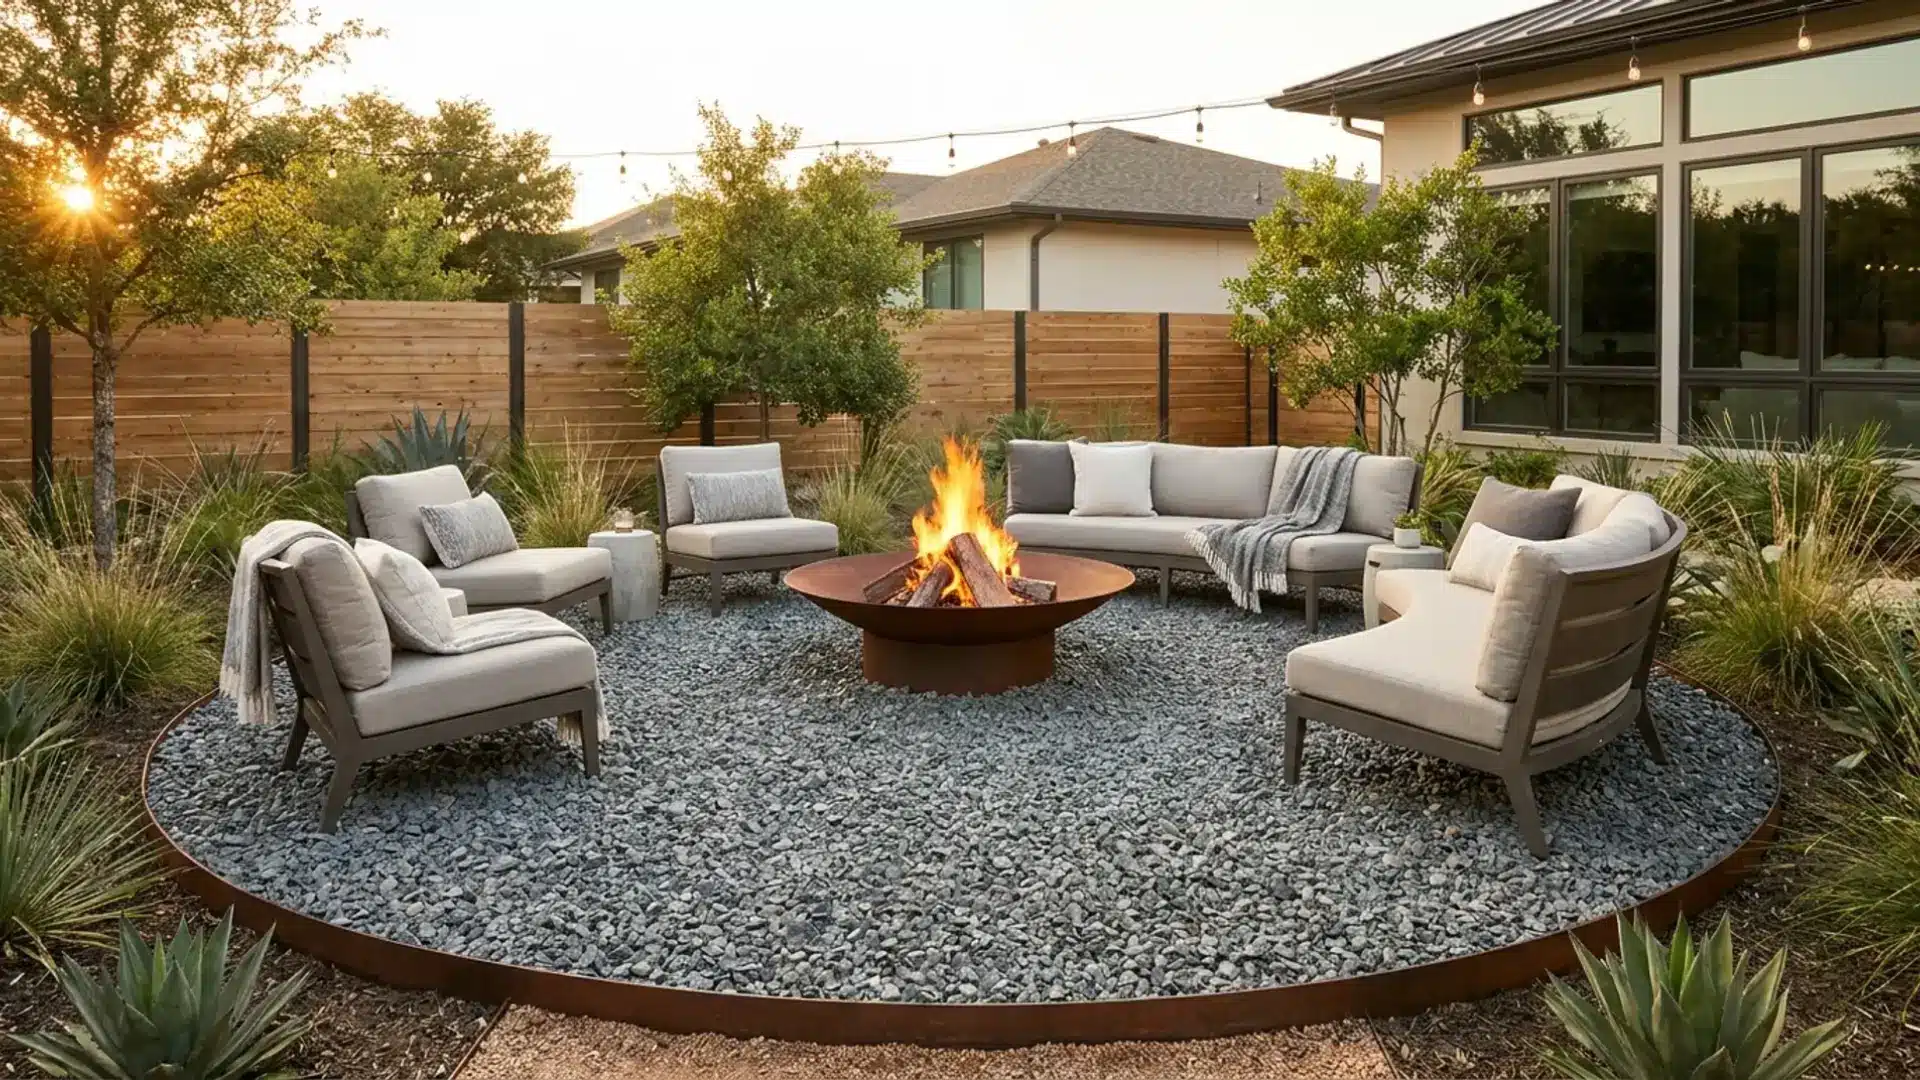
A soggy corner near my herb garden was where I built my first rain garden. Every heavy rain, water pooled there for two or three days. Grass gave up. I regraded, filled, and reseeded. It kept coming back.
That corner is now the healthiest planted bed on my North Carolina property. Water still shows up after storms. It soaks in within a day, filtered through soil and native perennial roots, instead of drowning turfgrass.
Every yard has spots like this. A downspout that dumps water against the foundation. A stripe of dead grass across a slope. A low patch that turns to mud after every storm.
What those spots are telling you is where the water already wants to go. Rain garden design works with that, and it pairs well with broader yard drainage fixes further out from the garden itself.
This guide covers location, sizing, soil testing, plant choice by moisture zone, and layout that makes the finished garden look deliberate instead of like an apology for bad drainage.
What a Rain Garden Is (and What It Isn’t)
A rain garden is a shallow, bowl-shaped planted depression. It collects stormwater runoff from hard surfaces (roofs, driveways, paths, patios) and holds it until it soaks into the soil.
That’s the whole mechanism. Water in, water absorbed, water gone.
It is not a pond. It doesn’t stay wet. A properly designed rain garden is dry for most of the year and only holds water for 24 to 48 hours after a rain event.
It will not breed mosquitoes, which is the question that comes up most often. Mosquitoes need still water for at least 7 to 10 days to complete their breeding cycle.
A garden draining in 48 hours gives them no opportunity. If water sits longer than that, the issue is drainage, not the concept.
How to Build a Rain Garden
A rain garden is a simple way to manage runoff while improving the landscape. It helps water soak into the ground instead of pooling or running off too quickly. Here’s how to get started.
Step 1: Choose the Right Location

The best starting point is watching your yard during an actual rainstorm. Where does the water flow? Where does it collect? Where does it run along the ground before it reaches the street or a drain?
Those paths and low points are where your rain garden should go. You aren’t redirecting water to an arbitrary spot. You’re intercepting it where it already wants to go.
A few non-negotiable location rules:
- At least 10 feet from any building foundation. Water that soaks in near a house can migrate into basements and crawl spaces.
- At least 35 feet from a septic drain field.
- At least 25 feet from a well.
- Away from underground utility lines. In the US, call 811 before digging. It’s free and required by law in most states.
Beyond those, avoid areas that stay waterlogged for more than 48 hours after rain. The soil there already drains too slowly to be useful. Also, avoid digging directly under a mature tree canopy. The roots compete for water and can impede drainage over time.
On slopes: a gentle slope of 2 to 12% is ideal. Water moves toward the garden naturally without rushing through it too fast. Slopes steeper than 12% move water too quickly for the garden to absorb it well.
Step 2: Test Your Soil Before Doing Anything Else

Skipping the percolation test is the most common reason a rain garden fails. Your soil’s drainage rate determines whether the site will work at all, how large the garden needs to be, and whether you’ll need to amend the soil before planting.
How to do a percolation test:
- Dig a hole roughly 8 inches wide and 8 inches deep where you plan to build the garden.
- Fill it with water and let it drain completely. This saturates the surrounding soil, so the second test reflects real-world conditions.
- Fill the hole again and time how long it takes to drain fully.
- Drains within 24 hours: the site works well as-is.
- Drains in 24 to 48 hours: the site is marginal. Plan for a larger garden or amend the soil.
- Takes longer than 48 hours: the site isn’t suitable. Choose a different location, or amend the soil heavily before proceeding.
What to do with clay soil:
Clay-heavy soil drains slowly, but it doesn’t rule out a rain garden. You have two options. Make the garden larger to compensate for the slower infiltration rate, or amend the soil across the entire basin.
For amendment, excavate 12 to 18 inches of native soil and replace with a mix of 50% coarse sand, 25% compost, and 25% topsoil. This mix drains well while still holding enough structure for plant roots.
Step 3: Size It Correctly

A simple starting rule works for almost every yard:
Your rain garden should be 20 to 30% of the size of the hard surface draining into it.
If 1,000 square feet of roof drains toward the garden, build a 200- to 300-square-foot garden. This accounts for both average rainfall volume and the time the garden needs to drain between events.
Adjust based on soil type:
- Sandy or loamy soil drains quickly, so the lower end of the range (20%) is enough.
- For clay or slow-draining soil, use the higher end (30%) or go larger.
For small yards: a garden 30% smaller than the calculated ideal still captures about 75% of the runoff it would handle at full size. That’s still a real improvement over doing nothing. If your yard is limited, start with what fits and observe how it performs.
Even a 50- to 100-square-foot garden near a single downspout works. A small garden that drains consistently is far more useful than an oversized one with drainage problems.
Depth:
- Dig the basin 6 to 8 inches deep at the deepest center point.
- Sides slope gently from the outer edge down to the center.
- Pile the excavated soil along the downhill edge and compact it into a low berm, 4 to 6 inches high. The berm holds water temporarily during heavy rain before it soaks in or flows to the overflow route.
Step 4: Design the Shape and Layout

Any shape works. Kidney, crescent, teardrop, oval, or an elongated rectangle for narrow spaces. The water doesn’t care. What matters is the orientation and layout of the entry point, basin, and overflow.
- Orientation: position the longest axis of the garden perpendicular to the slope. This spreads incoming water across the width of the basin rather than letting it rush straight through from one end to the other.
- Water entry point: where the downspout, swale, or channel directs water into the garden. Place a splash pad of river gravel here. It slows the incoming flow to prevent soil erosion and doubles as a visual design element.
The three planting zones:
Every rain garden has three moisture zones, and plant selection should follow them.
- Zone 1 (wet zone, center): the lowest part of the basin where water collects and stays the longest. Choose plants that tolerate up to 48 hours of standing water and dry periods between rainfall events.
- Zone 2 (transitional zone, middle slopes): periodically wet after rain, dries out between events. This is the most flexible zone and usually where the most visually interesting plants go.
- Zone 3 (dry zone, outer edges and berm): stays drier than the rest. Plants here should handle average to dry conditions because they’re farthest from the water that collects at the center.
Overflow route: plan where water will go when the garden fills completely during a heavy event. It needs a clear path away from your foundation and your neighbors’ properties, directed toward a lawn area or street. A low gap in the berm at the downhill end, lined with gravel or stones, works well.
Step 5: Build It

- Mark the outline with a garden hose or spray paint. Step back and look at the proportions. Adjust before breaking ground.
- Call 811 to confirm utility locations.
- Remove existing lawn or vegetation throughout the basin.
- Excavate to 6 to 8 inches at the deepest center point, with gently sloping sides inward. Keep the excavated soil nearby.
- If amending for clay, remove 12 to 18 inches of soil across the basin and replace with the sand-compost-topsoil mix described above.
- Build the berm along the downhill edge using the excavated soil. Pack it firmly and seed it with grass or plant it with a low ground cover to prevent erosion.
- Place flat stones or river gravel at the water entry point.
- Create the overflow channel at the lowest point of the berm. Line it with gravel or flat stones to prevent erosion at that exit point.
Where to Place Plants in a Rain Garden
Rain garden plants need to do two things that don’t usually go together: survive temporary flooding and survive dry spells. True wetland plants fail here because they need constant moisture.
Annual plants fail because their roots are too shallow to provide any real drainage benefit.
Native perennials, ornamental grasses, and native shrubs are the most reliable choices. They have deep root systems, they’re adapted to natural rainfall cycles, and they support pollinators and birds as a side benefit.
Zone 1: Wet Zone (Center)

Plants that handle short-term flooding, plus a broader list of species for soggy spots:
- Blue flag iris (Iris versicolor): lavender-blue flowers in spring, 2 to 4 feet, Zones 3 to 9. Avoid yellow flag iris; it’s invasive across most of North America.
- Joe-pye weed (Eutrochium maculatum): tall, late-summer purple flowers, 4 to 7 feet, Zones 3 to 9. Butterflies love it.
- Swamp milkweed (Asclepias incarnata): pink summer blooms, monarch butterfly host plant, 3 to 4 feet, Zones 3 to 6.
- Cardinal flower (Lobelia cardinalis): red summer spikes, attracts hummingbirds, 2 to 4 feet, Zones 2 to 9.
- Soft rush (Juncus effusus): upright, grass-like form, good structural contrast, 2 to 4 feet tall, Zones 4 to 9.
Zone 2: Transitional Zone (Middle Slopes)

- Switchgrass (Panicum virgatum): an architectural grass with fall color and movement, 3 to 6 feet tall, Zones 5 to 9.
- Purple coneflower (Echinacea purpurea): reliable summer color, drought-tolerant once established, 2 to 4 feet, Zones 3 to 9.
- Black-eyed Susan (Rudbeckia hirta): cheerful summer color, reseeds freely, 1 to 3 feet, Zones 3 to 9.
- Summersweet (Clethra alnifolia): fragrant late-summer shrub, good autumn color, tolerates wet, 4 to 8 feet, Zones 4 to 9.
- Red-twig dogwood (Cornus sericea): a shrub with red winter stems and spring flowers, 6 to 8 feet tall, Zones 2 to 7.
Zone 3: Dry Zone (Outer Edges and Berm)

- Wild bergamot (Monarda fistulosa): lavender summer flowers, drought-tolerant, 2 to 4 feet, Zones 3 to 9. Excellent pollinator plant.
- Little bluestem (Schizachyrium scoparium): upright native grass, red-orange fall color, 2 to 3 feet, Zones 3 to 9.
- Butterfly weed (Asclepias tuberosa): orange blooms, monarch host, very drought-tolerant once established, 1 to 2 feet, Zones 3 to 9.
- Anise hyssop (Agastache foeniculum): lavender flower spikes all summer, a pollinator magnet, 2 to 4 feet tall, Zones 4 to 8.
- Sedum’ Autumn Joy’: low-growing, late-season blooms; handles dry conditions well; 1 to 2 feet tall; Zones 3 to 9.
Mulch: apply 2 to 3 inches of shredded hardwood mulch across the planted area after planting. Avoid bark chips. They float during heavy rain and end up where you don’t want them.
Simple Rain Garden Design Ideas for Any Yard
A rain garden can be shaped and styled in different ways depending on your space, layout, and how natural or structured you want it to look.
1. Front Yard Rain Garden

The front yard demands a bit more polish than the back. The garden needs to look intentional from the street.
Use structured edging (flat flagstones, a river rock border, or brick) to clearly frame the shape. A kidney- or crescent-shaped area running parallel to the driveway or front path integrates well with most front-yard layouts.
Choose one anchor plant (an ornamental grass or native shrub) to hold the composition from the street. Keep the rest lower so it doesn’t block sightlines from the house.
A formal approach works well in front yards with traditional architecture. A naturalistic shape with mixed native plantings suits craftsman or contemporary homes.
2. Backyard Rain Garden

The backyard gives more room to work with. Flowing, naturalistic shapes are easier to pull off here, and they tend to look more intentional than in a formal front setting.
A dry creek bed running from the downspout along the garden’s entry path slows incoming water before it hits the basin and adds visual interest along the way.
Stepping stones through or around the garden give access during the 24 to 48 hours it may hold water after a heavy rain.
For very large backyards, one rain garden per downspout is worth considering if space allows. Multiple smaller gardens are often more effective than one large one anyway, because they intercept water at more points.
3. Small Rain Garden

A 50- to 100-square-foot garden near a single downspout is entirely functional. The key in a small space is simplicity. One or two anchor plants, clean edging, and consistent mulch.
River rock mulch gives a cleaner, lower-maintenance look in tight spaces than shredded bark.
A small rain garden integrated into an existing border or planting bed is a practical option for very limited yards. It doesn’t need to be a standalone feature to work.
4. Using Rocks and Hardscape

River rocks at the water entry point are the most useful single design element in any rain garden. They slow incoming water, prevent soil erosion, and look like they belong there.
Flat stepping stones across the basin provide access during wet periods and visually break up the planting. Dry-stack stone edging gives a clean formal border.
Decorative boulders in the transitional zone add structure and reduce the area that needs planting.
How Much Does a Rain Garden Cost?

Cost varies a lot depending on whether you build it yourself or hire someone, the size, and how much soil amendment the site needs.
DIY:
- A typical 100 to 200 square foot rain garden built by a homeowner costs roughly $200 to $500 in materials: plants, shredded mulch, edging material, and entry-point gravel.
- If the site has clay soil and needs full soil amendment across the basin, add $500 to $1,500, depending on the volume of material needed.
- Buying plants as small plugs or divisions from a native plant nursery is much cheaper than nursery-container sizes and establishes just as well with good mulching.
Professional installation:
- $1,500 to $5,000 or more, depending on size, complexity, and location.
- For projects near foundations, on steep slopes, or with heavy soil amendment requirements, a landscape architect or a local soil and water conservation district is worth the cost of a consultation.
Local incentives: Some municipalities offer rebates or cost-share programs for rain gardens. Check with local stormwater authorities or your Cooperative Extension office. Installations are sometimes partially or fully funded.
How to Maintain a Rain Garden
The first year is the most intensive. New plants need supplemental watering during dry spells while their roots establish. Once established, usually after one full growing season, most rain garden plants are largely self-sufficient.
- Weeding: matters most in years one and two, before plants fill in enough to shade out competitors. Mulching immediately after planting handles most of this.
- Sediment at the entry point: builds up over time. After heavy rain events, check whether the incoming flow is slowing. Clear any sediment buildup that starts to block entry.
- Overflow channel: check once a year that it’s clear and still directing excess water where it should go.
- Dividing plants: most perennials benefit from division every 3 to 5 years. Ornamental grasses can be cut back hard in early spring before new growth begins.
If water sits for more than 48 hours consistently, it is a drainage issue, not a plant issue. Check whether the perc rate has changed, and consider aerating or adding more coarse material to the basin soil.
Working With the Water
Good rain garden design comes down to working with the water rather than against it. Find where the water already wants to go. Confirm the soil can handle it.
Size the garden to match the drainage area, plant for each moisture zone, and give it a shape that makes it look like it belongs.
The spots in a yard that flood, stay soggy, or resist every planting attempt are usually the best candidates. That’s not a coincidence. The water has been doing the site selection for you.
Which part of your yard are you thinking of using? Drop a comment below.
Frequently Asked Questions
Do rain gardens attract mosquitoes?
No, if designed properly. A well-functioning rain garden drains within 24 to 48 hours, and mosquitoes need standing water for 7 to 10 days to breed.
How deep should a rain garden be?
Six to eight inches at the deepest center point, sloping gently up toward the outer edges. Deeper than eight inches makes it hard for plants to root.
Can I build a rain garden in a shaded area?
Yes, if you choose shade-tolerant plants. Avoid deep tree shade because of root competition and reduced rainfall reaching the basin. Partial shade works well.
What plants should I avoid?
Wetland-only species that need constant moisture, invasive plants like yellow flag iris and purple loosestrife, and annuals that won’t develop the deep roots a rain garden needs.
Do rain gardens work in clay soil?
Yes, but the basin either needs to be larger to offset slower infiltration, or the top 12 to 18 inches of soil needs replacing with a sand-compost-topsoil mix.