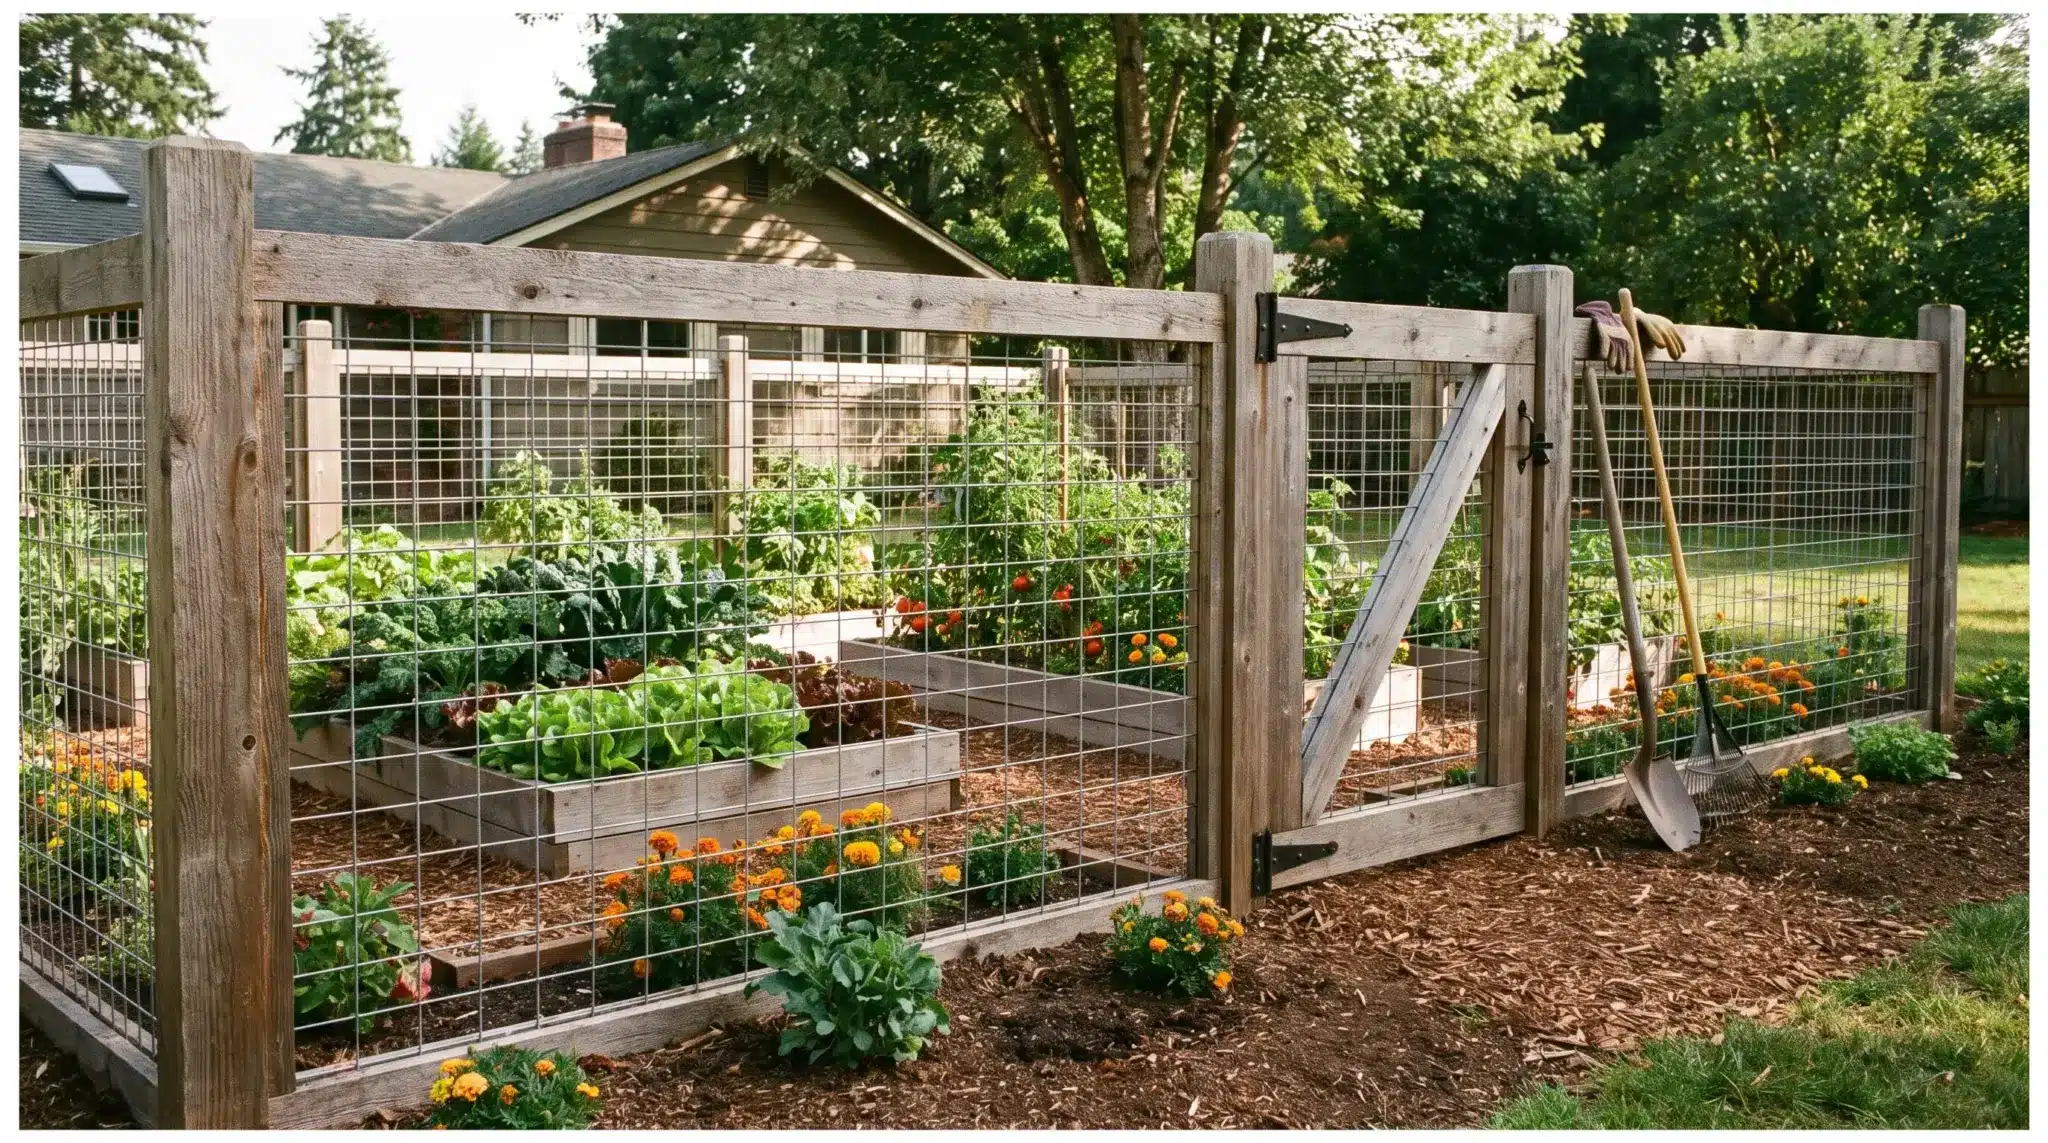
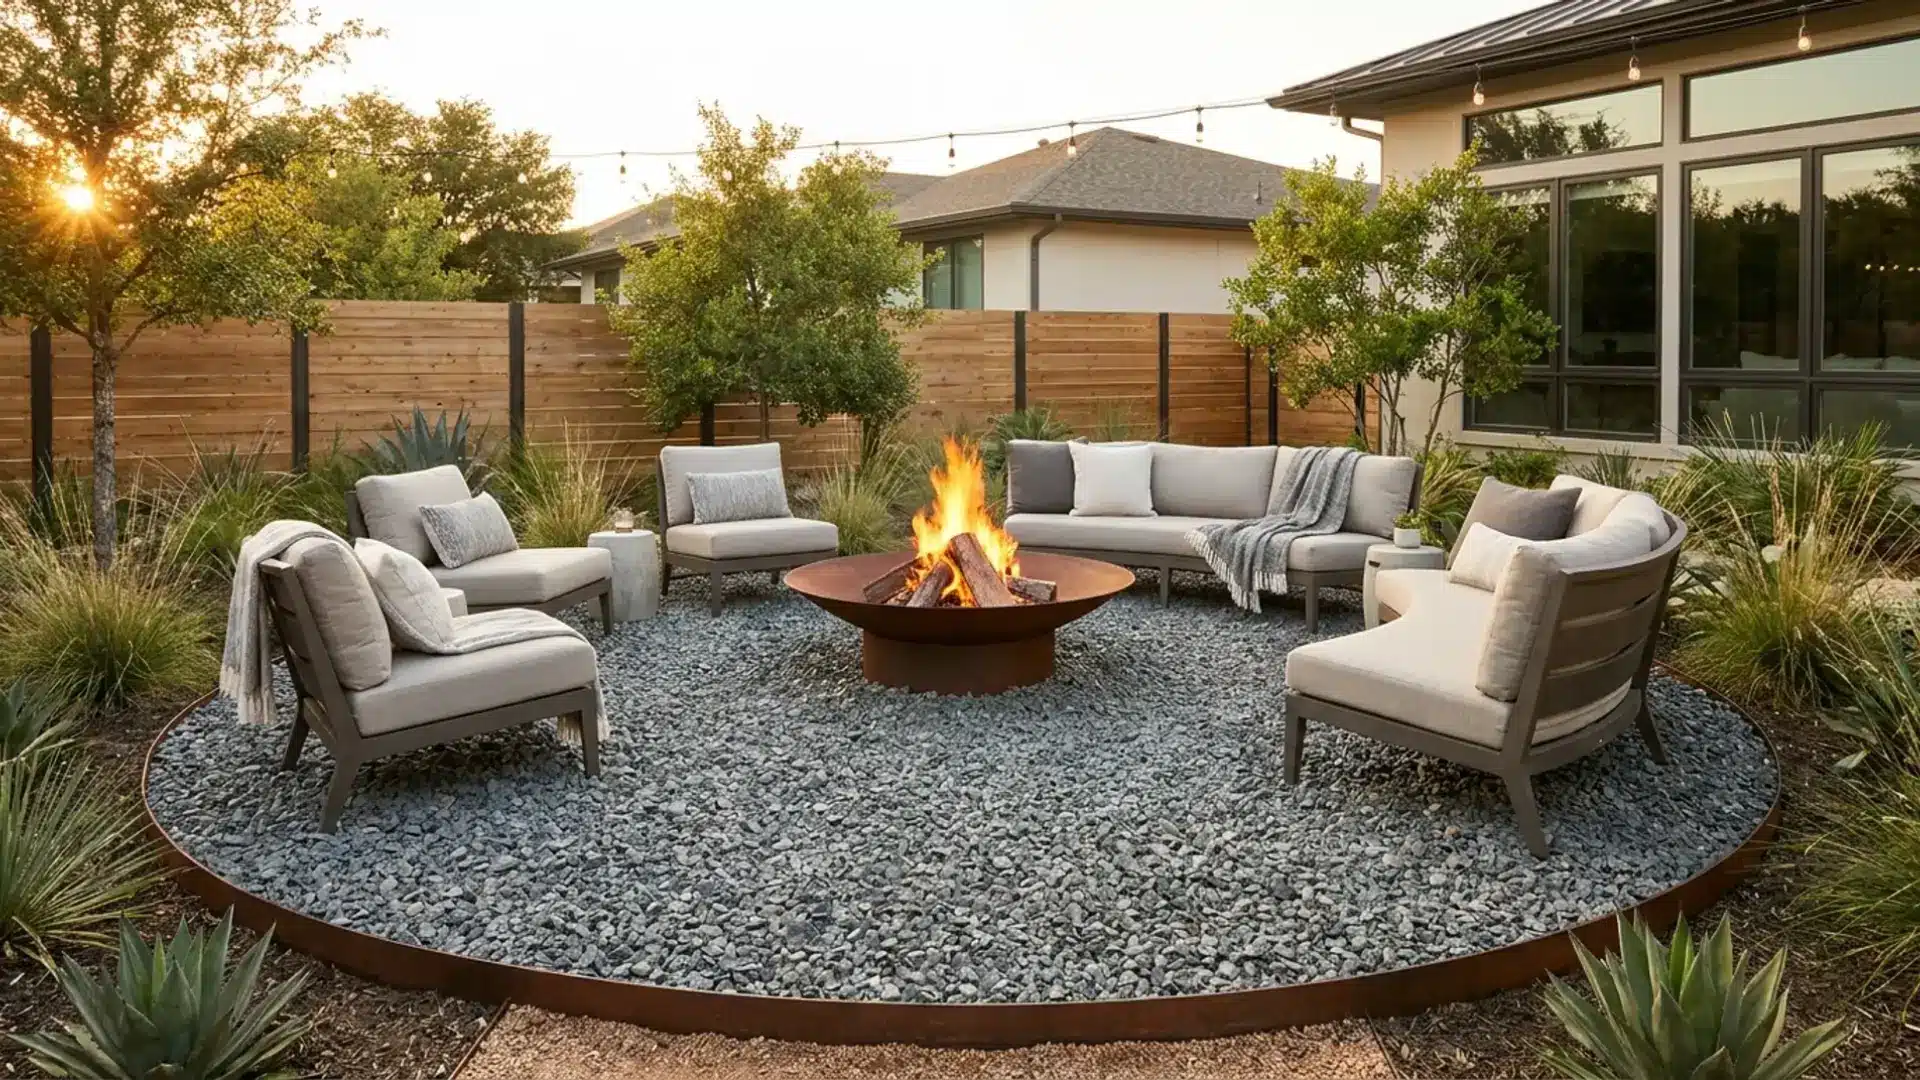
You’ve seen it happen. A yard full of healthy plants that still looks unfinished. The lawn bleeds into the beds. The planting has no clear edge. Nothing holds the space together.
Most of the time, the plants aren’t the issue. A missing border is.
Or the edging material fights the planting instead of framing it. Or the right plants ended up in the wrong light conditions. Any one of those mistakes makes a well-tended garden look like a work in progress.
I’ve drawn garden layouts since I was a kid, and after designing borders for balconies, small courtyards, and full backyard makeovers, I can tell you the border does more work than any other part of the yard. It’s the frame. Get the frame right, and the picture inside almost sorts itself.
Garden border ideas fix that.
This post covers what to plant inside your border and which edging materials hold it all together. Pick the right combination for your space. Everything else in the yard tends to look better for it.
3 Things to Decide First Before You Style Your Border
Picking ideas before answering these three questions wastes time and money. Get these right first.
- Sun Direction: Sun exposure determines what will thrive in your border. South-facing areas suit sun-loving plants and vegetables. North-facing borders need shade-tolerant plants like ferns.
- Border Shape: Border depth defines planting options. Deep borders allow layered planting and focal plants. Narrow borders need simpler planting. Curved borders can visually widen spaces and soften rigid layouts.
- Your Home’s Style: Modern homes suit clean lines and minimal planting. Cottage styles suit curves and mixed planting. Formal homes work best with structured, symmetrical borders.
When these three elements are decided early, your border design becomes clearer, more practical, and far easier to plant successfully without constant redesign or correction.
19 Garden Border Ideas for Every Style and Space
These garden border ideas help you decide how to structure planting and edging so your garden actually looks finished, not half done.
Garden Border Ideas by Color Palette and Plant Types
This section explores how to build garden borders using color palettes and plant combinations that remain visually balanced throughout the growing season, not just during peak bloom.
1. The All-Season Mixed Border

Most borders look good in July. Creating one that looks good from March through November takes more planning and a layered approach to planting.
The key is to layer plants by bloom time, not just by height.
Spring bulbs (tulips, daffodils) come up first. Summer perennials (hardy geraniums, dahlias) fill in as bulb foliage fades. Late-season plants (sedums, asters) carry the border through autumn.
The trick is overlapping the waves so that something is always happening.
For sustained color between the big moments, include a few long-blooming workhorses: dahlias, coreopsis, and reblooming daylilies bloom for weeks, not days.
These carry the border when the showier plants are between cycles. If you want the low-effort version of this approach, my low-maintenance border plant shortlist covers the reliable performers I plant in almost every project.
Suits: most border sizes and orientations.
2. The Monochromatic Border

One color family. Multiple shades and textures within it.
All-white borders are the most popular version. They look clean against almost any fence or wall color, and they glow after dusk in a way that mixed borders can’t match.
All-purple borders feel calm and cohesive. All-yellow borders feel warm without the intensity of a hot color mix.
The main rule is to pick one color family and hold to it. Vary the plant heights and bloom times within that range. Don’t sneak in contrasting colors. Half-hearted monochromatic schemes look accidental rather than designed.
Good starting lineup for a white border: alyssum at the front, white phlox mid-border, white delphiniums at the back.
Suits: formal gardens, evening spaces, small front yards.
3. The Hot Color Border

Reds, oranges, deep yellows. High contrast and eye-catching. These borders demand attention. That’s the point.
Hot color borders work best against dark backgrounds: a black or dark green fence, a stone wall, or a dark-painted structure. The contrast makes the colors punch harder.
Against a pale fence, the same planting looks washed out.
Dark-leaved plants further strengthen a hot border. Dark-foliage dahlias, bronze fennel, or purple-black Sambucus make the warm colors next to them look more intense.
Yellow flowers added to this mix read as energetic; avoid adding pink or purple, which will fight the palette rather than add to it.
Suits: sheltered south or west-facing borders, large yards, bold garden styles.
4. The Cool Color Border

Blues, purples, and soft pinks create a calmer, quieter border than hot colors.
They also make a space feel slightly larger. This helps in small yards, where a hot-color border might feel intense.
Key plants: hardy geraniums, salvias, catmint (Nepeta), lavender, and agapanthus. These are mostly low-maintenance perennials that come back reliably each year.
One practical note: pure blue flowers are rare in nature. Many plants sold as “blue” lean purple or violet in real light. Agapanthus and some salvias come closest to true blue.
Plan your palette after seeing plants in person, not just from catalog photos.
Suits: small gardens, front borders, low-maintenance schemes.
5. The Foliage-First Border

Foliage borders are lower-maintenance, look good for longer, and work especially well in shaded spots where flowering plants struggle.
Build the border around leaf color, size, and texture rather than bloom time.
Mix hostas (large, smooth, often variegated), ferns (feathery, architectural), heucheras (foliage in shades from bronze to lime green), and ornamental grasses (for movement and texture).
Flowers can still be included, but they play a supporting role.
Foliage borders also age well. A well-planted foliage border looks increasingly good as plants mature and fill in. Flower-heavy borders that can look thin between bloom periods.
Suits: north-facing borders, shaded spots under trees, low-maintenance gardens.
6. The Low-Maintenance Perennial Border

Plant once, come back every year. No annual replanting.
The core of a reliable low-maintenance border: hardy geraniums, sedums, peonies, daylilies, and astilbes.
Year one will have gaps. Fill those with fast-growing annuals like alyssum or impatiens while the perennials establish.
By year two or three, the perennials fill in, and the maintenance drops sharply.
“Low maintenance” doesn’t mean “no maintenance.” These borders still need dividing every few years as clumps spread, and dead-heading speeds up repeat blooming in many varieties.
Suits: busy gardeners, beginners, any orientation depending on plant selection.
7. The Shade Border

North-facing and tree-shaded borders open up a different plant palette. Deep shade is where hostas, ferns, and hellebores actually perform best, and they hold up longer through the season than most sun-loving flowering perennials.
Best performers: hostas, ferns, hellebores, foxgloves, bleeding heart, and Sarcococca (Christmas box), which is evergreen, fragrant in winter, and almost unkillable in shade.
Two design tricks for shade borders: use pale flowers and variegated leaves. Both reflect what light there is, making the border feel brighter and fuller than all-dark foliage would.
Suits: north-facing borders, spots under tree canopies.
8. The Bulb-Layered Border

Bulb borders look spectacular for three weeks, then go bare. That’s a planning failure, not a plant problem. Layer bulbs by bloom time and height so that as one group fades, the next takes over.
Snowdrops first, then dwarf daffodils (March), then tulips (April), then alliums (May-June). Plant the tallest and latest-blooming varieties at the back of the border.
Their emerging foliage naturally covers the dying leaves of the earlier bulbs in front.
After alliums finish blooming, their sculptural globe seed heads persist for months.
They look good well into summer and dry beautifully if cut. You don’t need to replant them. They’re perennial and return stronger each year.
Suits: south and west-facing borders, cottage and formal styles.
Garden Border Ideas Using Different Edge Materials
This section covers the materials that hold your border together and make it look intentional.
9. Natural Stone Edging

The stone doesn’t rot. It doesn’t rust.
It ages alongside the garden rather than against it. Natural stone is the most durable edging material here and works with almost every planting style.
I build a lot of dry-stacked stone walls and edges for clients, and the same principle applies to a bed edge. For the cleanest mowing line, lay flat stones flush with the lawn surface so the mower can roll over the edge without catching.
River stones used as a loose border (not mortared) are the easiest DIY option and can be reshaped later if the border changes.
Suits: cottage gardens, informal schemes, rustic and traditional home styles.
One practical note: uneven stone can create trip hazards on path edges. Save irregular shapes for bed edges away from foot traffic.
10. Brick Edging

Brick suits more garden styles than people expect. It works in formal, traditional, and cottage gardens without looking out of place in any.
Two installation options: lay bricks flat for a clean, modern edge or set them at a diagonal for a classic sawtooth pattern. Both look deliberate. Both hold up well.
Reclaimed bricks are worth seeking out. They cost less than new bricks and add a weathered character that new materials take years to develop.
Salvage yards and renovation listings often have large quantities available at low prices. Set bricks on a compacted sand base rather than concrete.
They stay stable, but can be adjusted later if the border shifts.
Suits: formal, traditional, cottage garden styles.
11. Steel or Corten Metal Edging

Steel edging holds the sharpest, cleanest line of any material here. It’s also flexible enough to follow curves without kinking.
Standard steel maintains a silvery finish. Corten steel (weathering steel) develops a rust-toned patina over time that looks completely intentional.
It shows up on almost every contemporary landscape plan I see. Both hold up through frost, heavy rain, and repeated mowing without shifting.
The upfront cost is higher than that of brick or stone. The ongoing cost is almost nothing. No rotting, no shifting, no replacement.
Suits: modern, contemporary, minimalist garden styles.
12. Wooden Edging

Wood brings warmth that hard materials sometimes lack. It suits informal and cottage-style gardens and pairs well with rich planting that spills slightly over the edge.
Cedar and pressure-treated hardwood last longest outdoors. Untreated softwood rots within a few seasons in wet climates.
Railway sleepers work well for raised borders. They’re chunky and structured, adding real visual weight to the edge. If you’re already thinking about a full DIY garden fence, matching the timber tone between fence and bed edge pulls the whole yard together.
Dark-stained timber against pale or soft-colored planting is a combination that consistently looks good. Light-colored or unpainted wood in an otherwise green border tends to disappear or look unfinished.
Suits: informal, cottage, farmhouse garden styles.
13. Gravel or Loose Stone Edging

Gravel is the most budget-friendly edging option and requires very little work once laid.
It works best in dry gardens and around drought-tolerant plantings.
Pair dark gravel with pale-flowered plants for strong contrast. Fine pale gravel with green foliage has a quieter, more naturalistic look.
One installation detail that can make or break a gravel edge: install a physical barrier beneath the gravel to prevent it from migrating into the lawn over time.
Without this, it spreads, mixes into the grass, and becomes a mowing nuisance within a season.
Suits: contemporary, dry, Mediterranean-style gardens.
14. Living Plant Edging

No hard materials at all. The edge itself is made of low-growing plants, clipped or naturally compact enough to hold a visible boundary.
Best edging plants: boxwood (hardy to USDA Zone 5, clipped, formal), lavender (hardy to Zone 5, fragrant, semi-formal), catmint (soft, informal), alyssum (annual, loose), creeping thyme (fragrant when walked on), and Pulmonaria (shade-tolerant, semi-evergreen).
Dense coverage along the edge also acts as a weed barrier, reducing maintenance elsewhere along the border.
Living edges need light trimming twice a season to stay defined.
Without it, they spread, and the boundary softens too much. That’s the trade-off compared to hard edging: a more natural look, slightly more seasonal attention.
Suits: informal, cottage, naturalistic garden styles.
Garden Border Ideas That Match Your House Type
These are full border “design styles” based on how structured or relaxed your garden needs to be.
15. The Formal Border

Symmetrical, clipped, and structured. Formal borders are usually placed in pairs, one on each side of a path, lawn, or entrance, creating a mirror image.
Key characteristics: topiary or clipped hedge plants (boxwood, yew, privet), repeated plant groups at regular intervals, geometric edging (brick or stone), and a tight color palette.
Often, fewer species are used, but each is placed with precision. Higher maintenance than any other style here.
Clipping is required two or three times a season to keep the structure reading correctly. If that feels like too much, formal borders aren’t the right fit.
Suits: traditional, Georgian, Victorian home styles.
16. The Cottage Border

Informal, densely planted, mixed in both species and height. Flowers are allowed to spill slightly over the edge. The overall effect feels natural rather than controlled.
Curved edges work better than straight lines in cottage borders.
Soft materials like stone, wood, brick, or a living edge suit this style. Steel edging tends to look too precise for the loose, natural feel a cottage border aims for.
The planting density is the key thing to get right.
Cottage borders should fill in almost completely. Bare soil visible between plants looks more like a neglected bed than a deliberately informal one.
Plant more closely than you think necessary in year one, then edit back what doesn’t work. A cottage border also folds naturally into a cut flower garden plan if you want to bring some of what you’re growing indoors.
Suits: informal, cottage-style, farmhouse home styles.
17. The Modern Minimalist Border

One or two plant species are repeated in large structural blocks. No busy mixed planting. Steel or Corten metal edging. Often, a gravel mulch is used inside the border rather than bare soil.
Ornamental grasses suit this style well: Pennisetum (fountain grass), Miscanthus (tall, structural), and Stipa (fine texture, movement in the wind).
For flowering accents: Agapanthus (clean blue-white, architectural seed heads), Echinops (spiky globe flowers), and Verbena bonariensis (tall, airy, self-seeding).
Color is secondary to form in this style. The border should look good in November, when most plants are cut back to near ground level. If it doesn’t, the structure isn’t strong enough.
Suits: modern, contemporary, minimalist home styles.
18. The Wildlife Border

A wildlife border is defined by the plants you choose and how you manage the border across the seasons. Prioritize plants with open, single flowers.
Double or ruffled petals look full but block pollinators from accessing pollen. Single dahlias, open-faced coneflowers, catmint, and verbena are all accessible.
Include some self-seeding plants: foxgloves, verbena bonariensis, and aquilegia dropseed, which feed birds through late autumn and winter.
Don’t cut the border back too neatly in autumn. Seed heads feed birds. Hollow stems shelter solitary bees over winter. The messier the border looks from October onward, the more useful it is.
Suits: any orientation, any size, any home style.
19. The Mediterranean Border

Mediterranean borders are built around plants that thrive in heat, poor soil, and dry summers.
Lavender, rosemary, santolina, cistus, and silver-leaved plants like Stachys and Artemisia form the backbone. Ornamental grasses add movement.
Gravel mulch inside the border ties the whole thing together visually and suppresses weeds without retaining moisture.
The color palette runs to silver, gray, purple, and soft white. It works especially well against warm stone walls, terracotta tones, or rendered finishes. Against a dark fence, the silver foliage reads as almost luminous.
This style suits south and west-facing borders perfectly. It handles neglect and drought better than any other border style here. Plants in a Mediterranean border are not struggling in dry conditions.
That’s exactly where they perform best.
Suits: south or west-facing borders, dry climates, low-water gardens, contemporary and rustic home styles.
How Can You Refresh an Existing Garden Border?

Most yards I get called into aren’t blank slates. They already have borders that are overgrown, weedy, or just tired, and the owner wants them fixed without ripping everything out. That’s one of the most common situations real gardeners face.
The process, step by step:
Step 1: Don’t dig everything out. Walk the border and identify what’s worth keeping. Healthy established perennials, good shrubs, and anything still performing well should stay.
Step 2: Deal with the weeds before replanting. Bindweed and quackgrass spread underground and return aggressively if left. Clear these fully, digging out roots, not just pulling tops, before adding any new plants.
Step 3: Work compost or well-rotted manure into the soil before replanting. Neglected borders are usually nutrient-depleted.
Step 4: Add new edging material at this stage, even if the planting is still maturing. A clean new edge makes a renovated border look intentional immediately, before the plants fill in.
Step 5: Fill bare gaps with fast-growing annuals in year one while slower perennials get established. By year two, the border will look planted rather than patchy.
Suits: any existing border that needs refreshing.
Choosing an Edging Material: Quick Comparison
| Edging Material | Best Style Match | Durability | Budget |
|---|---|---|---|
| Natural Stone | Cottage, informal, traditional | Very high | Mid-high |
| Brick | Formal, traditional, cottage | High | Mid |
| Steel or Corten Metal | Modern, contemporary | High | Mid-high |
| Wooden Planks or Sleepers | Informal, cottage, farmhouse | Medium | Low-mid |
| Gravel or Loose Stone | Dry, contemporary, Mediterranean | Medium | Low |
| Living Plant Edge | Cottage, naturalistic | High (if maintained) | Low |
Bringing It Together
A good garden border comes down to two decisions working together: the right plants for your conditions and an edging material that fits your home’s style.
Get one right without the other, and something always looks slightly off.
Start with your sun direction and border size before choosing any plants or materials. Then pick a planting scheme and an edging style that both suit the overall look you’re going for.
If you’re renovating an existing border rather than starting fresh, work on the weeds and soil first. The planting comes second.
For help deciding where to place borders in your garden before you start planting, focus on the garden layout first.
Want to share any ideas that you know? Drop in the comments.
Frequently Asked Questions
What is the 3-Inch Edging Rule?
The 3-inch edging rule means setting garden edging about 3 inches below ground or lawn level. It creates a clean separation, prevents soil spillover, and makes mowing and maintenance much easier overall.
What is the Cheapest Way to Border a Garden?
The cheapest way to border a garden is using simple options like dug edges, gravel trenches, reclaimed bricks, or natural stones. These keep beds defined, neat, and low-cost while staying practical.
What are Some DIY Landscape Edging Ideas?
DIY landscape edging ideas include using natural stones, reclaimed bricks, wood logs, gravel trenches, or metal strips. Recycled materials like tiles also work well, depending on budget, style, and maintenance preference.