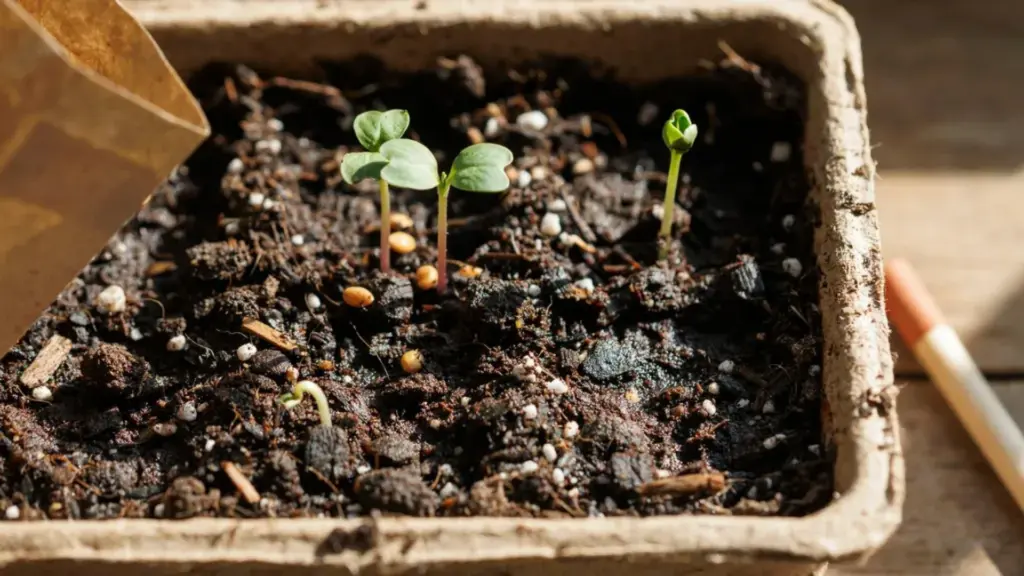
I killed a lot of tomato seedlings before I understood what I was doing wrong. Not all at once. One mistake at a time. Wrong soil. Too much water.
A window that looked bright but was not. The process felt harder than it needed to be.
If you want to start tomato seeds indoors and actually end up with strong, healthy plants by spring, this post covers every step.
You will know exactly what to buy, when to start, and what to watch for once your seeds sprout. No guessing. No vague advice. Just the steps that work.
Why Starting Tomato Seeds Indoors Gives You a Real Advantage
Tomatoes are a warm-season crop. Tomatoes take 60 to 100 days from seed to harvest, depending on the variety.
Most gardeners do not have a long enough outdoor growing season to get decent yields when planting seeds directly in the ground.
Starting tomato seeds indoors solves that problem. You get a 6- to 8-week head start before the last frost date. Your seedlings go into the ground already established, and you see fruit weeks earlier.
There is another benefit most people overlook. When you buy transplants from a nursery, you get maybe 5 or 6 varieties.
When you start from seed, you can choose from hundreds: beefsteaks, heirlooms, cherry types, paste tomatoes, and more. And it costs far less per plant.
One thing worth sorting out before you order seeds is whether you want determinate or indeterminatetomatoes. It changes how much space you need, whether you need a stake or a cage, and how long your harvest lasts.
When to Start Tomato Seeds Indoors
Start your seeds 6 to 8 weeks before your average last frost date.
That is the single most important timing rule. Starting too early gives you leggy, overgrown seedlings that are hard to manage. Starting too late means your plants are still small when the ground is ready for them.
Here is how to figure out your start date:
- Find your average last frost date. The USDA Plant Hardiness Zone Map or your local cooperative extension office can help with this.
- Count backward 6 to 8 weeks from that date on a calendar.
- That window is your seed-starting target.
As a rough guide, gardeners in the Southeast often start in late January or early February. Those in the Midwest and Northeast typically start in March. Pacific Northwest gardeners usually aim for late February to early March.
Do not get too attached to an exact date. The 6 to 8-week window gives you flexibility.
What You Need Before You Start
Using the wrong supplies is one of the most common reasons seeds fail to germinate or seedlings die off early.
Supplies checklist:
- Seeds: buy from a reputable source and check the germination rate on the packet
- Seed-starting mix: not garden soil, not potting mix, not compost on its own
- Seed trays with drainage holes: avoid egg cartons because they dry out too fast and restrict roots
- Heat mat: tomato seeds germinate best between 70°F and 80°F (21°C to 27°C)
- Humidity dome: keeps moisture consistent during germination
- Grow lights: a standard windowsill is rarely enough
- Labels and a permanent marker: all seedlings look identical at first
- Spray bottle or watering tray
The most important item on that list is the seed-starting mix. Regular garden soil is too heavy and almost always carries fungal pathogens that cause damping off.
Damping off kills seedlings at the soil line, often overnight. Use a sterile, lightweight mix made specifically for seed starting.
How to Start Tomato Seeds Indoors: Step by Step
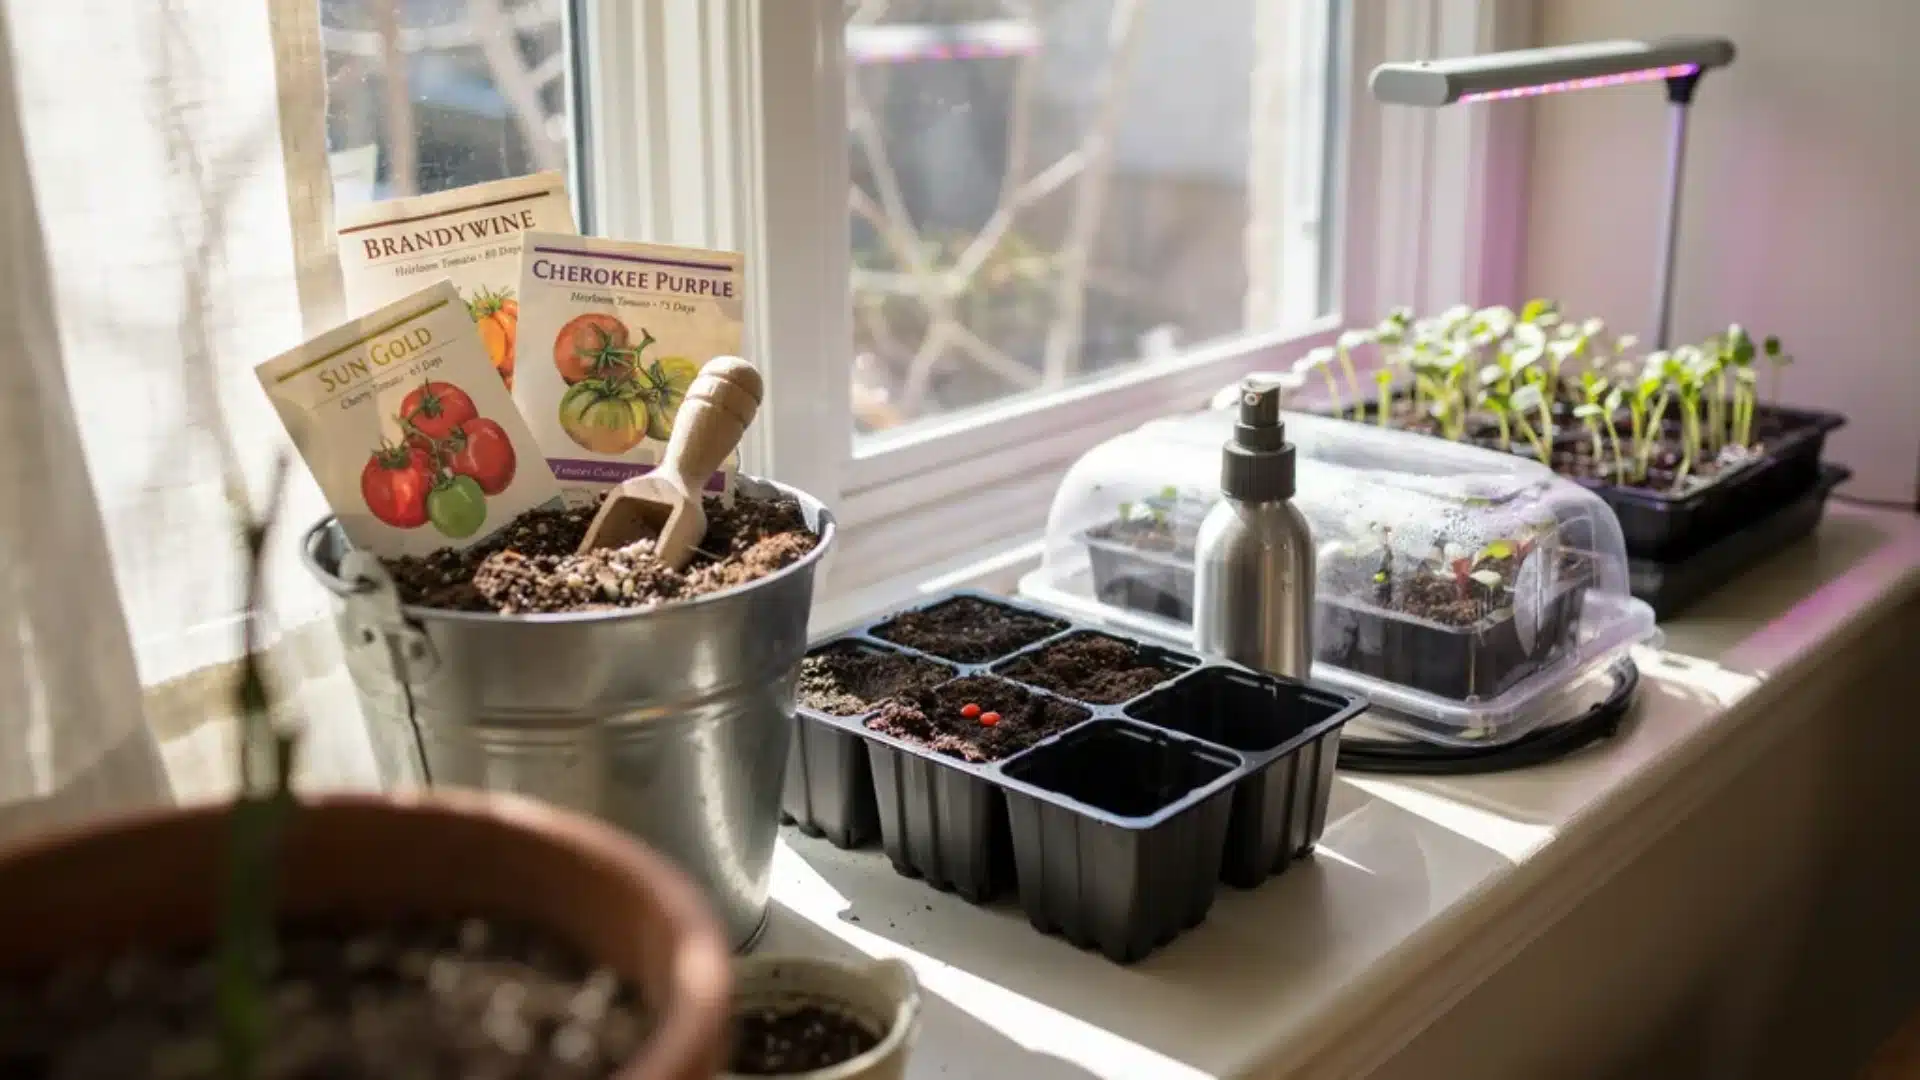
These five steps take you from dry mix in a bucket to sprouted seedlings under a grow light. Follow them in order, and you will not miss anything.
Step 1 – Pre-Moisten Your Seed-Starting Mix: Pour your seed-starting mix into a bucket and slowly add water, mixing as you go. It should feel like a wrung-out sponge, damp but not dripping. Dry mix in the tray is hard to wet evenly later.
Step 2 – Fill Your Trays and Sow Seeds: Fill each cell to about half an inch from the top. Sow 2 seeds per cell at a depth of one-quarter inch. Cover lightly and press down gently to make good seed-to-soil contact.
Step 3 – Apply Heat and Cover: Place the humidity dome over the tray and set everything on the heat mat. Seeds do not need light to germinate. They need warmth. Keep the temperature at 70°F to 80°F consistently.
Step 4 – Check Daily for Germination: Most tomato seeds sprout in 5 to 10 days. Check the trays each morning. The soil surface should stay moist but never waterlogged. If it looks dry, mist lightly with a spray bottle.
Step 5 – Remove the Dome the Moment Sprouts Appear: As soon as you see the first seedling break the surface, remove the dome and turn on your grow lights immediately. Do not wait. Seedlings stretch fast toward any light source, and every hour in low light means weaker stems.
Set your grow lights 2 to 3 inches above the seedling tops and run them for 14 to 16 hours per day. A simple outlet timer takes care of this automatically.
Turn off the heat mat once germination is well underway. After sprouting, tomato seedlings grow better at slightly cooler temperatures between 65°F and 72°F.
Caring for Tomato Seedlings After They Sprout
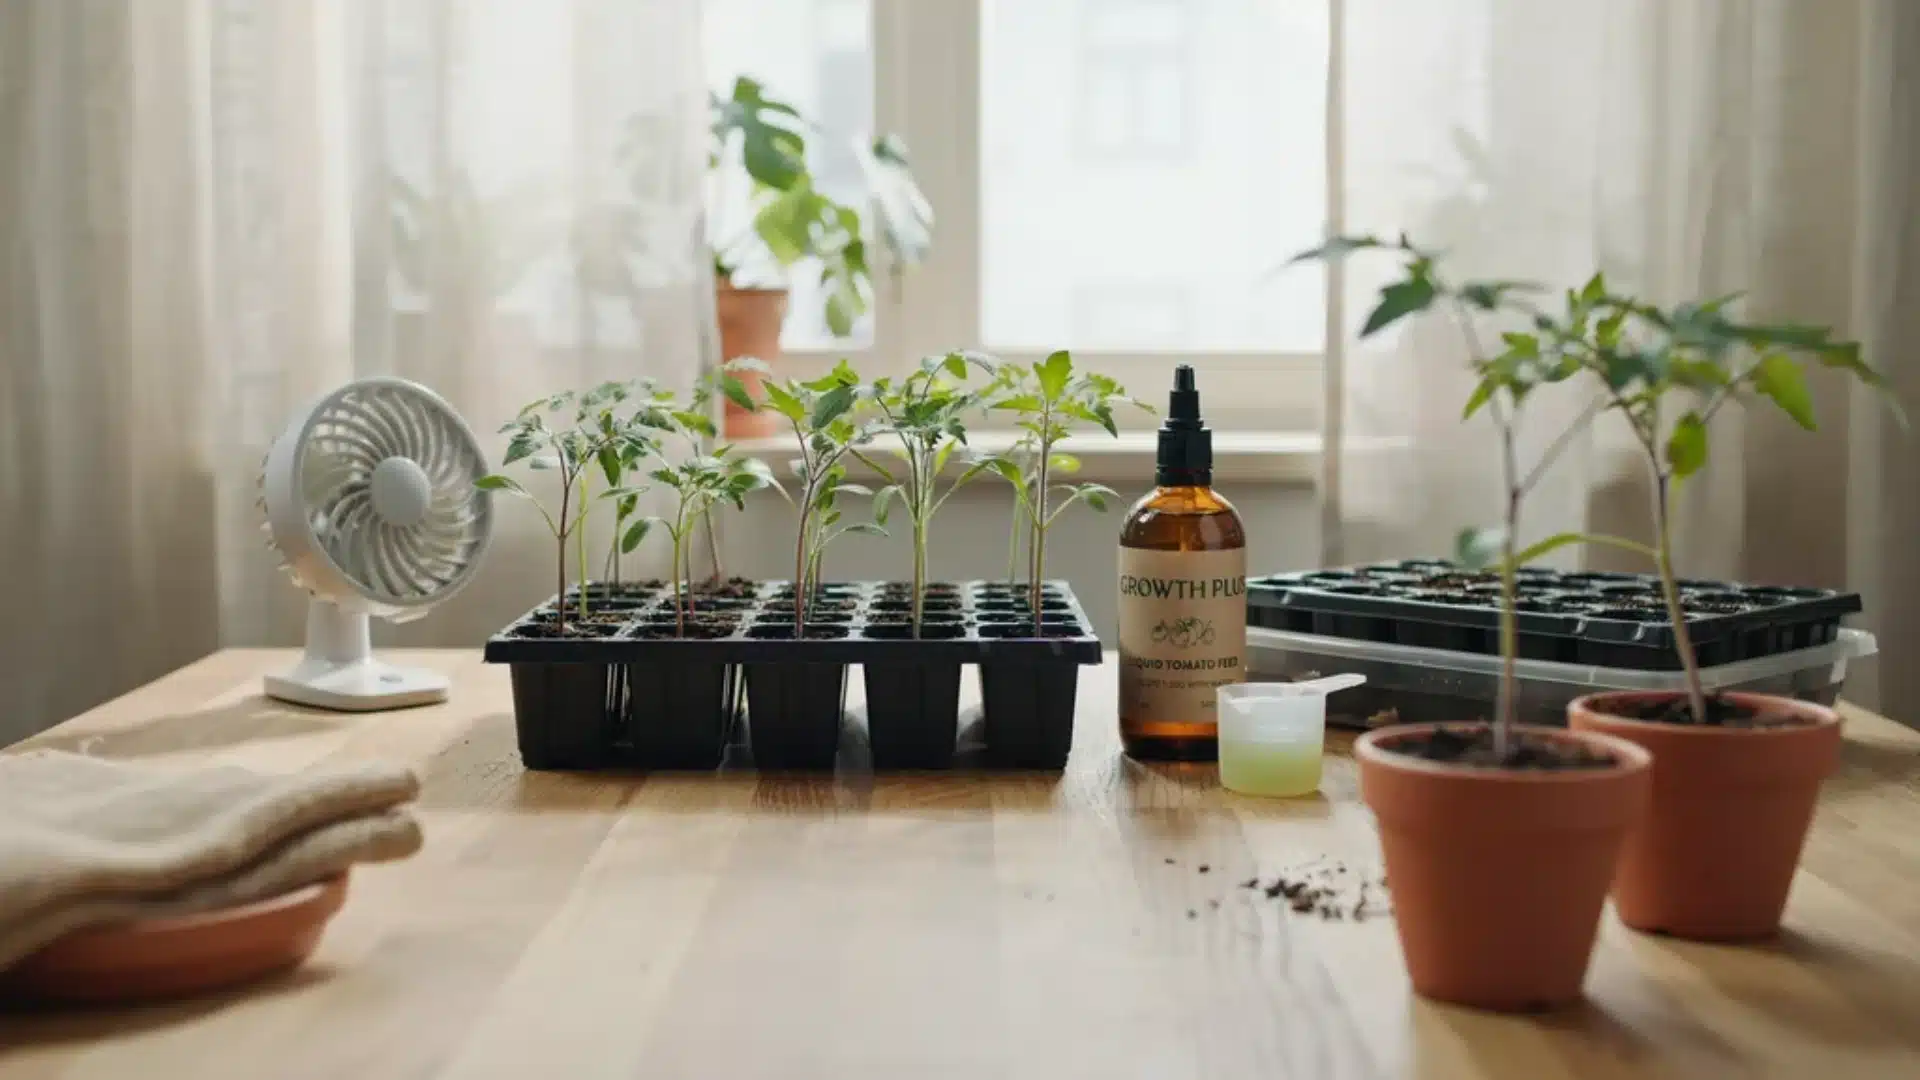
Getting seeds to sprout is only the first part. The 4 to 6 weeks between germination and transplanting is where most beginners lose plants.
1. Thinning: Once your seedlings develop their first set of true leaves, keep only the strongest one per cell. Use scissors to snip the weaker seedling at soil level. Do not pull it out. Pulling disturbs the roots of the one you are keeping.
2. Watering: Always water from the bottom. Pour water into the outer tray and let the cells absorb moisture from the top for 20 to 30 minutes.
Then pour off any standing water. Never let trays sit in water longer than that. Overwatering is the number one cause of damping off.
3. Air circulation: Set a small fan to blow gently across the seedlings for most of the day. This strengthens the stems. Tomato plants build thicker tissue in response to movement.
Plants grown without airflow are thin and fragile by the time of transplant.
4. Fertilizing: Once seedlings have 2 to 3 sets of true leaves, begin feeding with a diluted, balanced liquid fertilizer. Do not fertilize before this stage. Young seedlings in a good seed-starting mix do not need added nutrients yet.
5. Potting up: When roots begin growing out of the bottom of the cells, move seedlings into 4-inch pots. Bury part of the stem when you do this.
Tomatoes grow new roots along any buried portion of the stem, which gives you a deeper, stronger root system.
How to Harden Off Seedlings Before Transplanting
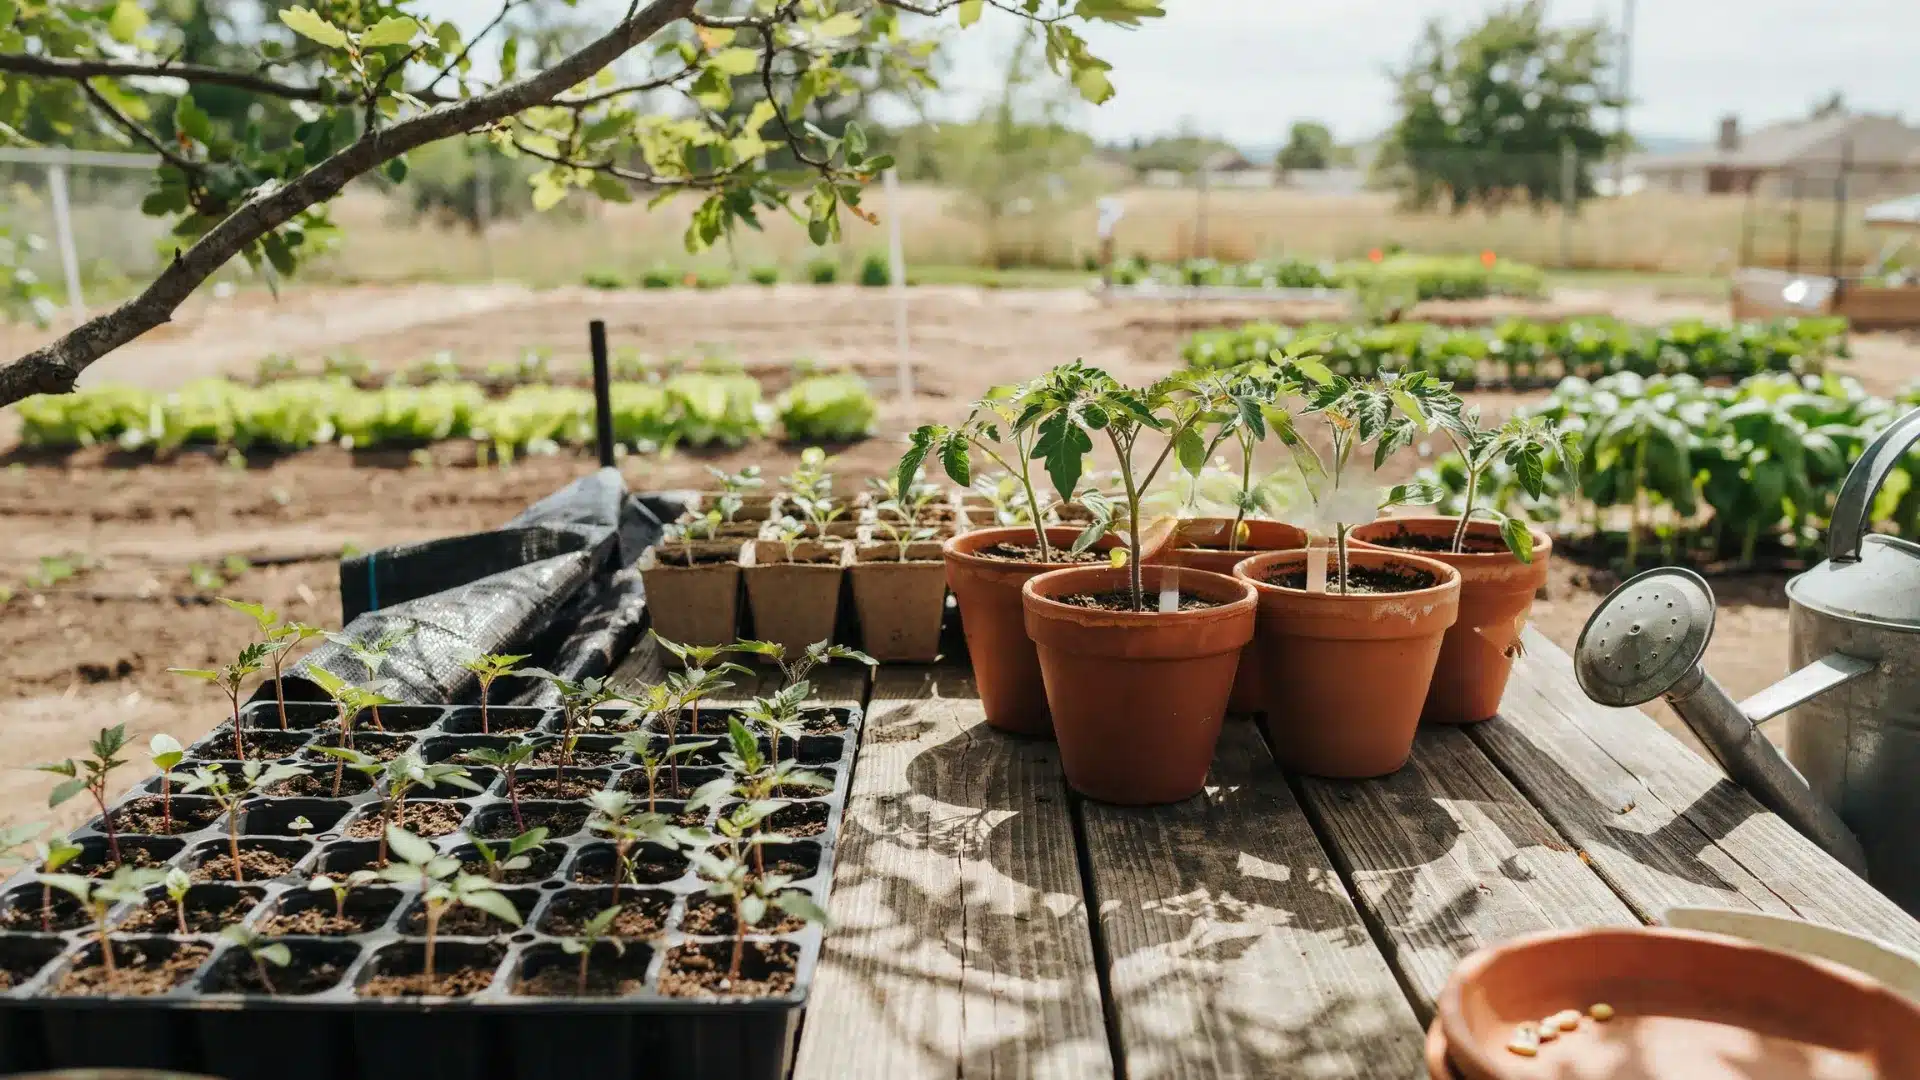
Hardening off is the process of gradually acclimating your indoor seedlings to outdoor conditions. Skip this step, and your plants will suffer transplant shock, wilting within hours of going outside.
Start the process 7 to 10 days before you plan to transplant.
Here is a simple daily schedule:
- Days 1 to 2: Place seedlings in a shaded outdoor spot for 1 to 2 hours
- Days 3 to 4: Move to dappled light for 3 to 4 hours
- Days 5 to 6: Introduce gentle morning sun for 4 to 5 hours
- Days 7 to 9: Leave in full sun for most of the day
- Day 10: Plants are ready for the garden
Bring plants back inside if temperatures drop below 50°F or if wind picks up. Do not rush this. A plant that is properly hardened off establishes in the ground much faster than one that is not.
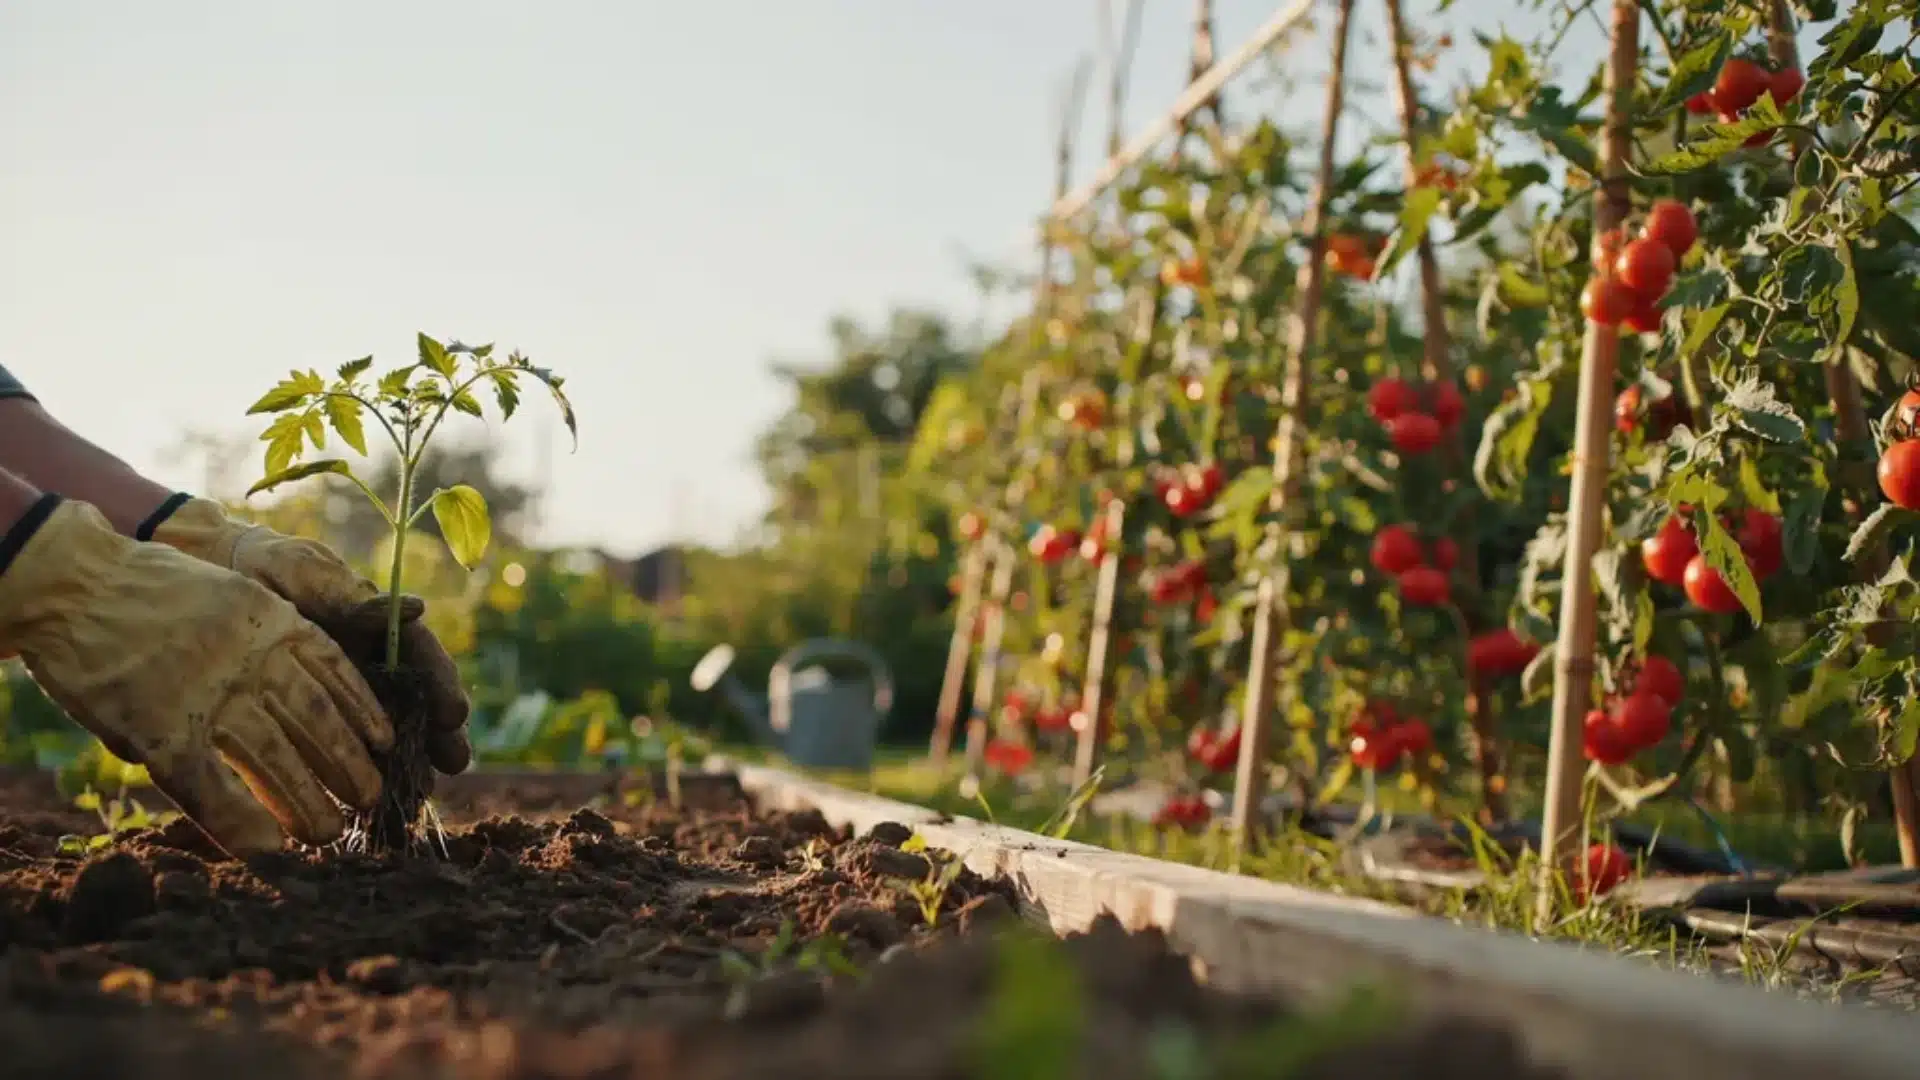
Transplant on a cloudy, calm day. Dig a hole deep enough to bury the lower stem, water the well, and keep an eye on it for the first week.
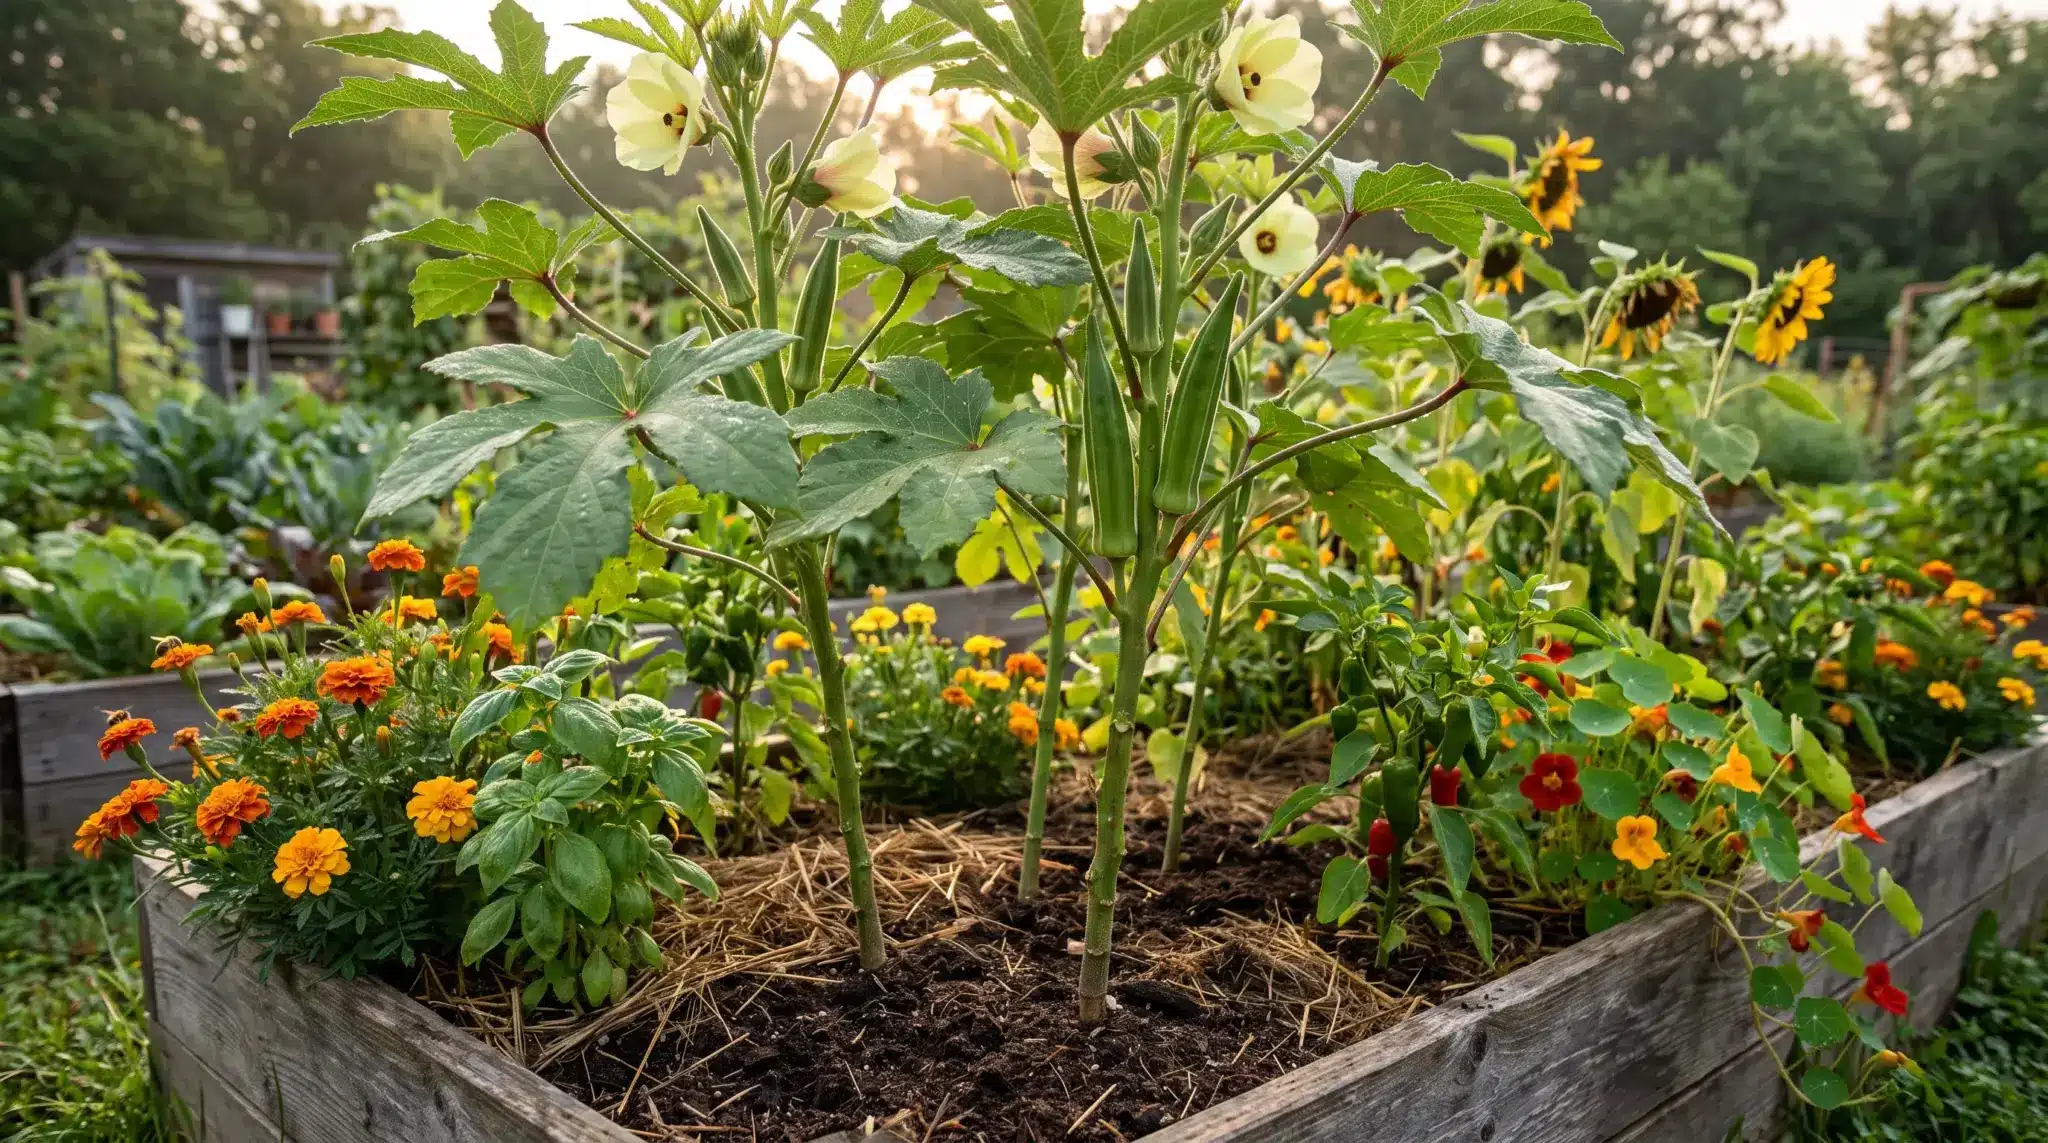
Some gardeners also plan what goes around their tomatoes at this stage. Certain tomato companion plants repel pests and can reduce the need for intervention later in the season.
What Comes Next After Transplanting
Getting your tomato seedlings in the ground is a solid win. Soil temperature matters as much as air temperature at this stage; tomatoes need at least 60°F in the ground before they establish well.
The right time to plant tomatoes, timing by region, makes a bigger difference than most people expect.
After transplanting, the plants grow fast. Suckers appear quickly, especially on indeterminate varieties.
Staying on top of how to prune tomato plants from early on keeps the plant from putting all its energy into leaves instead of fruit.
Common Problems and How to Fix Them
Most issues with indoor tomato seedlings come down to light, water, or temperature. Here is what to look for and what to do.
1. Tall, thin, floppy stems: This happens when seedlings do not get enough light. They stretch upward, trying to reach it, and the stems never get a chance to thicken.
Lower your grow lights to 2 to 3 inches above the seedling tops and run them for at least 14 to 16 hours per day.
2. Seedlings collapsing at the base: This is damping-off, a fungal disease that spreads quickly in wet, poorly ventilated conditions.
Always use a sterilized seed-starting mix, water from the bottom only, and keep a fan running to maintain steady airflow around your trays.
3. Seeds that did not germinate: The most common cause is soil that is too cold. Tomato seeds need 70°F to 80°F to sprout reliably.
Place your tray on a heat mat and give it another few days. If nothing happens, the seeds may be old. Buy fresh seeds each season to avoid this.
4. Yellow lower leaves: Yellow leaves on young seedlings usually point to overwatering. Let the top layer of soil dry out slightly before watering again.
If the leaves stay yellow after you adjust your watering, begin feeding with a diluted liquid fertilizer. Seedlings with 2 to 3 sets of true leaves are ready for their first feed.
5. Slow or stalled growth: Check two things: room temperature and light strength. Seedlings grow slowly when the room drops below 65°F or when grow lights are too far away.
Keep the growing space consistently warm and adjust the light height as the plants get taller.
Conclusion
Learning how to start tomato seeds indoors is one of the most useful skills a home gardener can build. The process is not complicated once you understand what actually matters.
Get the timing right, use a proper seed-starting mix, give seedlings enough light, and harden them off before they go outside.
Those four steps alone will take you from struggling seedlings to healthy transplants every season. Everything else builds on that foundation.
Start small if this is your first season. One or two trays are plenty. Which part of this process trips you up most? Drop your question in the comments below.
Frequently Asked Questions
What Is the Best Method for Starting Tomato Seeds?
The best way to start tomato seeds is indoors, 4 to 6 weeks before your region’s last spring frost.
Can I Plant Tomatoes in October?
Whether you can plant tomatoes in October depends entirely on your climate.
What Should Never Be Planted Near Tomatoes?
Never plant nightshades (potatoes, eggplants), brassicas (cabbage, broccoli), corn, or fennel near tomatoes.