

You are standing in a nursery, picking up plants for $14. But you already own various plants. It’s sitting on your windowsill at home, healthy, trailing, more than long enough to cut.
You bought the new one because nobody told you otherwise. That’s what plant propagation fixes.
New plants from the ones you already have, at no cost. Most methods take less than ten minutes to set up. Some work while you’re not paying attention.
This guide covers all the main propagation methods: stem cuttings, water propagation, leaf cuttings, division, layering, and seeds.
Each section includes step-by-step instructions. There is also a seasonal timing guide and a troubleshooting section for when things go wrong.
What You Need Before You Start
Successful propagation depends less on luck and more on having the right tools and conditions in place before you start taking cuttings.
- Sharp, Sterilized Cutting Tool: A clean, sharp blade prevents stem damage and reduces the risk of infection. Always sterilize before use to ensure clean cuts that promote faster, healthier root development.
- Rooting Hormone: Rooting hormone improves success rates, especially for woody or slow-rooting plants. Apply lightly to the cut end, as excess product can slow or hinder root formation.
- Right Growing Medium: Use free-draining materials like perlite or vermiculite instead of standard potting soil. Cuttings need a balance of moisture without waterlogging, which can cause rot before roots form.
- Humidity Control (Dome or Bag): Cuttings lose moisture quickly without roots. A plastic cover maintains humidity, preventing dehydration and helping the cutting remain viable until roots develop.
Which Method Should You Use?
Before reading the five method sections, check this table. Find the plant you want to propagate and follow the recommendation.
Method | Best For | Difficulty | Time to Roots |
Stem cutting in water | Pothos, philodendron, coleus, mint | Beginner | 1–3 weeks |
Stem cutting in soil | Herbs, geraniums, lavender, roses | Beginner | 3–6 weeks |
Leaf cutting | Succulents, snake plants, and begonias | Beginner | 4–8 weeks |
Division | Hostas, daylilies, ornamental grasses, ferns | Beginner | Immediate |
Layering | Rubber plants, ficus, large monstera | Intermediate | 4–12 weeks |
Seeds | Annuals, vegetables, most garden flowers | Beginner–Intermediate | Weeks to months |
6 Main Methods of Plant Propagation
These six methods cover the main ways plants can be propagated, each suited to different plant types, seasons, and levels of experience.
1. Stem Cuttings

Stem cuttings are the most widely used method of propagation.
Most houseplants and many garden perennials root reliably from stem cuttings. The technique is the same across plant types; what changes is when you take the cutting.
Three Types of Wood Stems: Softwood, Semi-Hardwood, and Hardwood
This distinction is the difference between a cutting that roots in three weeks and one that never does.
1. Softwood cuttings: They come from new, green, flexible growth. Take them in spring and early summer, as the plant is actively growing. They also wilt the fastest, so high humidity is non-negotiable.
Good for: herbs (basil, mint, rosemary), geraniums, dahlias, most houseplants.
Timing: May to July.
2. Semi-hardwood cuttings: They come from current-year growth that has begun to firm up but hasn’t fully gone woody. They’re more forgiving than softwood; they don’t wilt as fast and can handle slightly lower humidity.
Good for: lavender, roses, hydrangeas, most evergreen shrubs.
Timing: late summer, roughly July to September.
3. Hardwood cuttings: They come from fully dormant, woody growth. They root slowly but need almost no attention during the process. Push them into the ground outside and check back in spring.
Good for: deciduous shrubs, roses, dogwoods, currants, gooseberries.
Timing: late autumn through winter.
Step-By-Step Stem Cutting
- Find a stem with at least two or three nodes, the bumps or joints where leaves attach. Cut just below a node.
- The cutting should be 4 to 6 inches long. Remove all leaves from the lower half.
- Optional: dip the cut end in rooting hormone powder or gel. Tap off excess powder before planting.
- Push the cutting into moist perlite or your chosen mix. At least one node needs to sit below the surface.
- Water the well and cover it with a plastic bag or dome. Place in bright indirect light. Not a sunny windowsill; direct sun scorches unrooted cuttings.
- Check for roots after three weeks by very gently tugging the cutting. Resistance means roots are forming.
- Once the cutting has a visible root system, pot it into a regular potting mix. Don’t rush this step.
2. Water Propagation

Water propagation is a stem-cutting method done in water rather than in a growing medium. It works well for plants that root quickly. Watching roots develop through a clear glass is genuinely satisfying.
Good for: pothos, philodendron, coleus, begonias, impatiens, mint, basil, tradescantia. Propagating pothos in water is usually the easiest starting point for anyone trying this method for the first time, since it roots faster than almost anything else on the list.
Step-By-Step Water Propagation
- Take a stem cutting with two or three nodes. Remove any leaves that would sit below the waterline; submerged leaves rot quickly.
- Place in a clean glass or jar. Use room-temperature water. Make sure at least one node sits below the waterline and at least one sits above.
- Place in bright indirect light.
- Change the water every five to seven days. Stale water grows algae and bacteria that rot stems.
- Roots appear in one to three weeks for most plants.
- Move to soil once roots are one to two inches long. Don’t wait longer; long water roots are harder to transition without damage.
Water roots are structurally different from soil roots.
They develop to work in low-oxygen, high-moisture conditions. When you move a water-rooted plant abruptly into soil, those roots sometimes struggle to adapt.
The fix is a gradual transition. Move the plant into a mix of half water and half potting mix for a week, then move it into full potting mix. It sounds fussy, but it significantly reduces wilting after potting up.
3. Leaf Cuttings

Leaf cuttings work for a specific group of plants: those with fleshy or structurally thick leaves. The leaf stores enough energy to generate a new plantlet on its own.
Not all plants can do this. Most can’t.
Good for: succulents (echeveria, sedum, haworthia), snake plants, begonias, African violets.
Step-by-Step Leaf Cutting
- Remove a healthy, undamaged leaf. For succulents, a clean sideways twist at the base usually works. For other plants, cut as close to the stem as possible.
- For succulents only: leave the cut end in a dry spot for two to three days. A callous needs to form over the cut before contact with soil. Skip this step, and the leaf rots before any plantlets form.
- Lay the leaf flat on top of free-draining gritty soil, or push the cut end shallowly into it. Don’t bury it deeply.
- Mist lightly. Keep in bright indirect light.
- Small plantlets emerge from the base of the leaf over four to eight weeks.
- Once plantlets have their own roots and are roughly thumbnail-sized, separate them from the original leaf and pot them individually.
The original leaf dies as the plantlets grow.
This is completely normal; it’s providing nutrients to the new plants and then shriveling up once they’re established. It’s not a sign that something went wrong.
4. Division

Division is the simplest propagation method.
No cuttings, no waiting for roots, you split an established plant into sections and replant them. Each section already has roots. Results are immediate.
Good for: hostas, daylilies, astilbes, ornamental grasses, ferns, irises, hardy geraniums.
Timing matters here:
- Fall-flowering perennials (asters, sedums): divide in spring
- Summer-flowering perennials (daylilies, hostas): divide in early autumn or spring before growth starts
- Ornamental grasses: spring only, autumn division frequently fails
Step-By-Step Division Method
- Dig up the entire plant, keeping as much root intact as possible.
- Shake or wash the soil from the root ball until you can see the structure.
- Look for natural sections or clumps in the root ball. Division is easiest at natural separation points.
- Start with your hands. Many perennials pull apart without any tools. If the root ball resists, use two garden forks placed and levered apart. A sharp spade or knife is the last resort; it works but damages more roots.
- Each section needs both roots and shoots.
- The woody, exhausted center of an older clump is spent. Discard it. Replant only the vigorous outer sections.
- Replant at the same depth as the original. Water well.
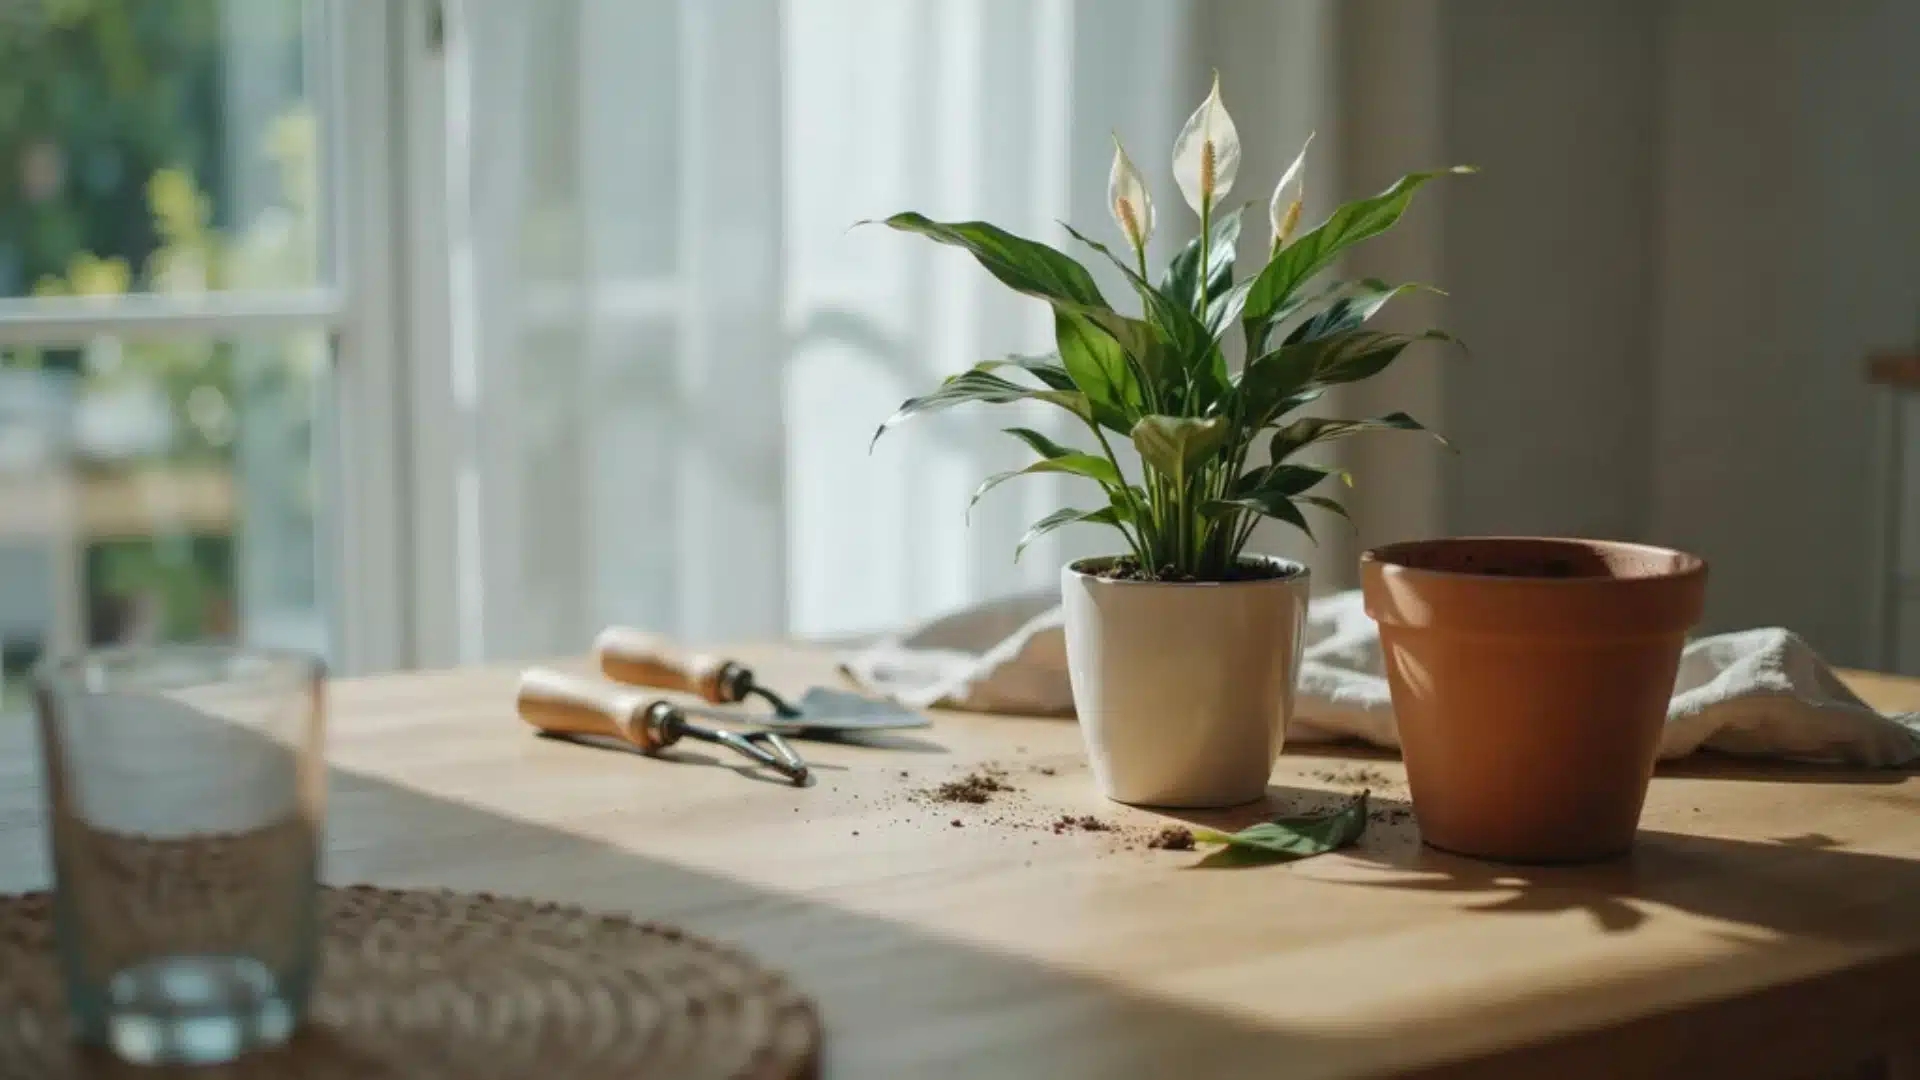
Division isn’t only for garden beds. A Chinese money plant that keeps sending up new shoots around its base is usually ready to be separated into its own pot the same way. Repotting a peace lily often results in an accidental division, once the crown has clearly split into two crowded halves.
Division also revives tired plants. A hosta that has been getting smaller and blooming less is usually just overcrowded. Divide it, and both halves come back better.
5. Layering

Layering is the method with the highest success rate of anything on this list.
The stem remains connected to the parent plant as it roots, so it never experiences water stress. The parent keeps feeding it the entire time.
The trade-off is patience; layering takes longer than cuttings. But for plants that are notoriously difficult to root from cuttings, it’s the method that actually works.
Air layering is used when stems are too rigid or too high to bend to the ground. It’s the best option for large, expensive houseplants when you’d rather not risk damaging the whole plant by taking a cutting.
Good for: rubber plants (Ficus elastica), Monstera, Dracaena, large fiddle-leaf figs.
Step-By-Step Layering
- Find a healthy stem section about 12 inches from the growing tip.
- Remove leaves from a 3-inch section of the stem.
- Make two parallel cuts around the stem, about an inch apart. Remove the bark between them. Or make a diagonal cut one-third of the way through the stem and prop it open with a toothpick.
- Dust the wound with rooting hormone powder.
- Soak a large handful of sphagnum moss in water, then squeeze out most of the moisture. Wrap it around the wound generously.
- Wrap the moss tightly in clear plastic film. Seal both ends with tape or twist ties. The moss needs to stay moist, but you don’t want it dripping.
- Check every week through the clear plastic. White roots growing into the moss are visible when they form.
- Once roots are clearly established, usually 4 to 12 weeks, cut the stem just below the moss ball. Pot the new plant with the moss still attached. Don’t try to remove it.
6. Seed Propagation

Seeds are the most accessible way to grow large numbers of plants cheaply. They’re also the slowest method and the one with the most variables.
One thing to know before starting: seeds from hybrid plants don’t produce plants identical to the parent. If the plant you want to multiply is a named cultivar or hybrid variety, use a vegetative method instead.
Seeds are best for straight species, annuals, and vegetables where variation is acceptable or desirable.
Step-By-Step Basic Seed Starting
- Check the seed packet for germination temperature and light requirements. These vary enormously between species. Some seeds need warmth (15–25°C). Others need a cold period first. Some germinate in the dark.
- Fill seed trays with seed-starting mix, not regular potting soil. Seed-starting mix is finer, drains better, and has lower nutrient levels. Seedlings don’t need fertilizer until their second set of leaves appears.
- Sow at the depth shown on the packet. A general rule: sow seeds at a depth roughly equal to twice their diameter. Very fine seeds (like snapdragons or petunias) are surface-sown and just pressed lightly into the mix.
- Keep consistently moist but never waterlogged. A spray bottle gives more control than watering from above, which can wash seeds out of position.
- Cover with a clear plastic lid to hold humidity until germination.
- Wait for the first true leaves before transplanting.
Seed storage: Most seeds stay viable for two to three years when stored in a cool, dry, dark place. A sealed paper envelope inside a jar in the fridge works well.
Older seeds germinate less reliably, but they’re often still usable. Do a germination test by placing ten seeds between damp paper towels for a week and counting how many sprouts.
When to Propagate for Best Results
Timing matters in propagation more than most gardeners realize. Using the wrong season often leads to failed cuttings, poor rooting, and unnecessary frustration.
- Spring: Peak propagation time with fast plant growth. Divide perennials, take softwood cuttings, start seeds indoors, and begin layering as new growth appears.
- Summer: Summer supports rapid propagation. Softwood and semi-hardwood cuttings root well, water propagation performs well, and air layering works reliably under warm, actively growing conditions.
- Autumn: Ideal for dividing perennials while the soil is still warm. Take semi-hardwood cuttings, collect seeds before frost, and gradually stop propagating tender plants.
- Winter: It is the best time to take hardwood cuttings from dormant shrubs. Indoor seed starting under grow lights works well, while air layering continues on stable indoor plants.
Matching propagation methods to the right season improves success rates, reduces losses, and ensures healthier plant growth throughout the year.
Why Aren’t My Cuttings Rooting?

The cutting wilts immediately and looks dead: Humidity is too low. The cutting is losing moisture faster than it can replace it. Cover it with a clear plastic bag or propagator to maintain consistent humidity levels.
The base of the cutting is soft and brown: The medium is too wet or poorly drained. Use a free-draining mix, such as perlite and compost. Constant moisture without airflow quickly leads to rot and failure.
Six weeks have passed, and no roots have formed: The cutting may be too woody, too mature, or kept at low temperatures. Rooting needs warmth above 18°C. Take fresh material from actively growing shoots.
Leaves are turning yellow and dropping: Some leaf drop is normal as energy shifts to root development. If the stem stays firm, the cutting may still root. If it turns limp or brown, start again.
The plant wilted after being potted into soil: This is transplant shock. Keep newly potted cuttings in indirect light with steady moisture. Avoid fertilizer until new growth appears. Most plants recover with time.
Seeds are not germinating: Check soil temperature first; most seeds need 18–22°C. Some require light, others darkness. Also check seed freshness, as old seeds lose viability quickly.
Most propagation failures stem from environmental conditions rather than technique, and adjusting these factors significantly improves success rates.
Conclusion
Plant propagation is not a complicated skill.
It gets easier the second and third time, partly because you stop expecting it to feel more scientific than it is. You take a cutting, keep it moist and covered, and wait.
The two decisions that matter most: picking the right method for the plant and getting the timing right. A softwood cutting taken in May from a geranium will root almost every time.
The same cutting taken from the same plant in November usually won’t.
Start with whatever you already own. Pothos in water if you have a houseplant. Division if you have overcrowded garden perennials. Get one method working before adding others.
If you have an idea where you will use propagated plants, there are multiple border ideas that you can incorporate into your garden.
Frequently Asked Questions
Why is it illegal to propagate plants?
Propagating plants is not generally illegal, but some patented or trademarked plant varieties are protected by law. These plants cannot be reproduced for sale without permission from the breeder or rights holder.
What is the best way to propagate plants?
The best method depends on the plant type. Stem cuttings, division, layering, and seeds are the most common approaches. For beginners, stem cuttings and water propagation are usually the easiest and most reliable.
Will ficus grow from cuttings?
Yes, ficus plants can grow from stem cuttings, especially when taken from healthy, semi-woody growth. Using rooting hormone and maintaining warm, humid conditions significantly improves the success rate.


2 Responses