I have moved my plants around my Portland apartment so many times this year that my downstairs neighbor probably thinks I’m rearranging furniture at 2 a.m.
Floor space kept running out, and shelves only helped so much. What actually solved the problem was getting my plants up off the ground and into the air.
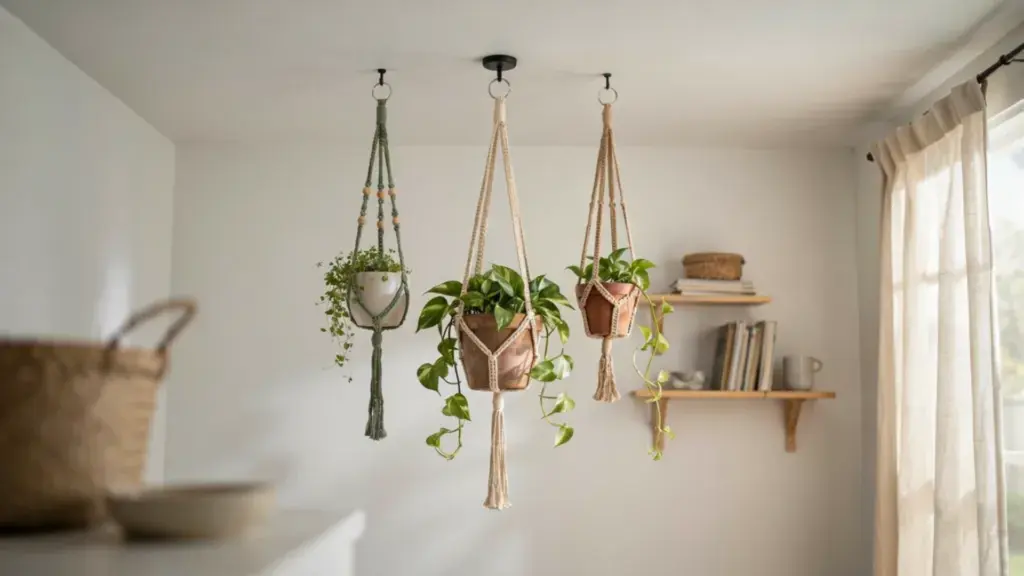
Trailing plants like pothos and string of pearls are near the top of any list of best indoor hanging plants, and this hanger holds either one well.
This crochet plant hanger pattern is the one I keep coming back to, and I’ve made three versions of it for different corners of my place. It uses basic stitches and a small amount of yarn, giving you a sturdy spot for your favorite pot.
If you already know how to chain and single crochet, you can finish this in one evening, no macrame knots required. Here’s exactly how I make mine, step by step.
What You’ll Need to Start
Before you start this crochet plant hanger pattern, gather a few simple supplies:
- Worsted weight cotton yarn (about 100 yards for a small hanger, 150 for medium, 220 for large)
- 4.5mm crochet hook
- Tapestry needle
- Scissors
- A wooden ring or curtain ring, about 1.5 inches wide
- Stitch marker
Cotton yarn holds its shape better than acrylic. Acrylic stretches when it gets damp, and a pot full of wet soil will pull it out of shape within a few weeks. Cotton keeps its structure and looks closer to a woven, macramé-style finish.
Check the yarn label before you buy. Some worsted-weight cotton blends include a small amount of acrylic for softness, which is fine for lighter pots but worth skipping if you plan to hang something heavy.
If your stitches feel too tight as you work, try a 5mm hook instead. A looser gauge makes the mesh rounds easier to see and count.
Quick Abbreviations Guide
If you’re new to crochet, here’s what each term in this pattern means:
- ch: chain
- sl st: slip stitch
- sc: single crochet
- hdc: half double crochet
- MR: magic ring
- sk: skip
- st(s): stitch(es)
- rep: repeat
Keep this list open while you work through the pattern below. It will save you from having to search each term separately.
Step-by-Step Pattern
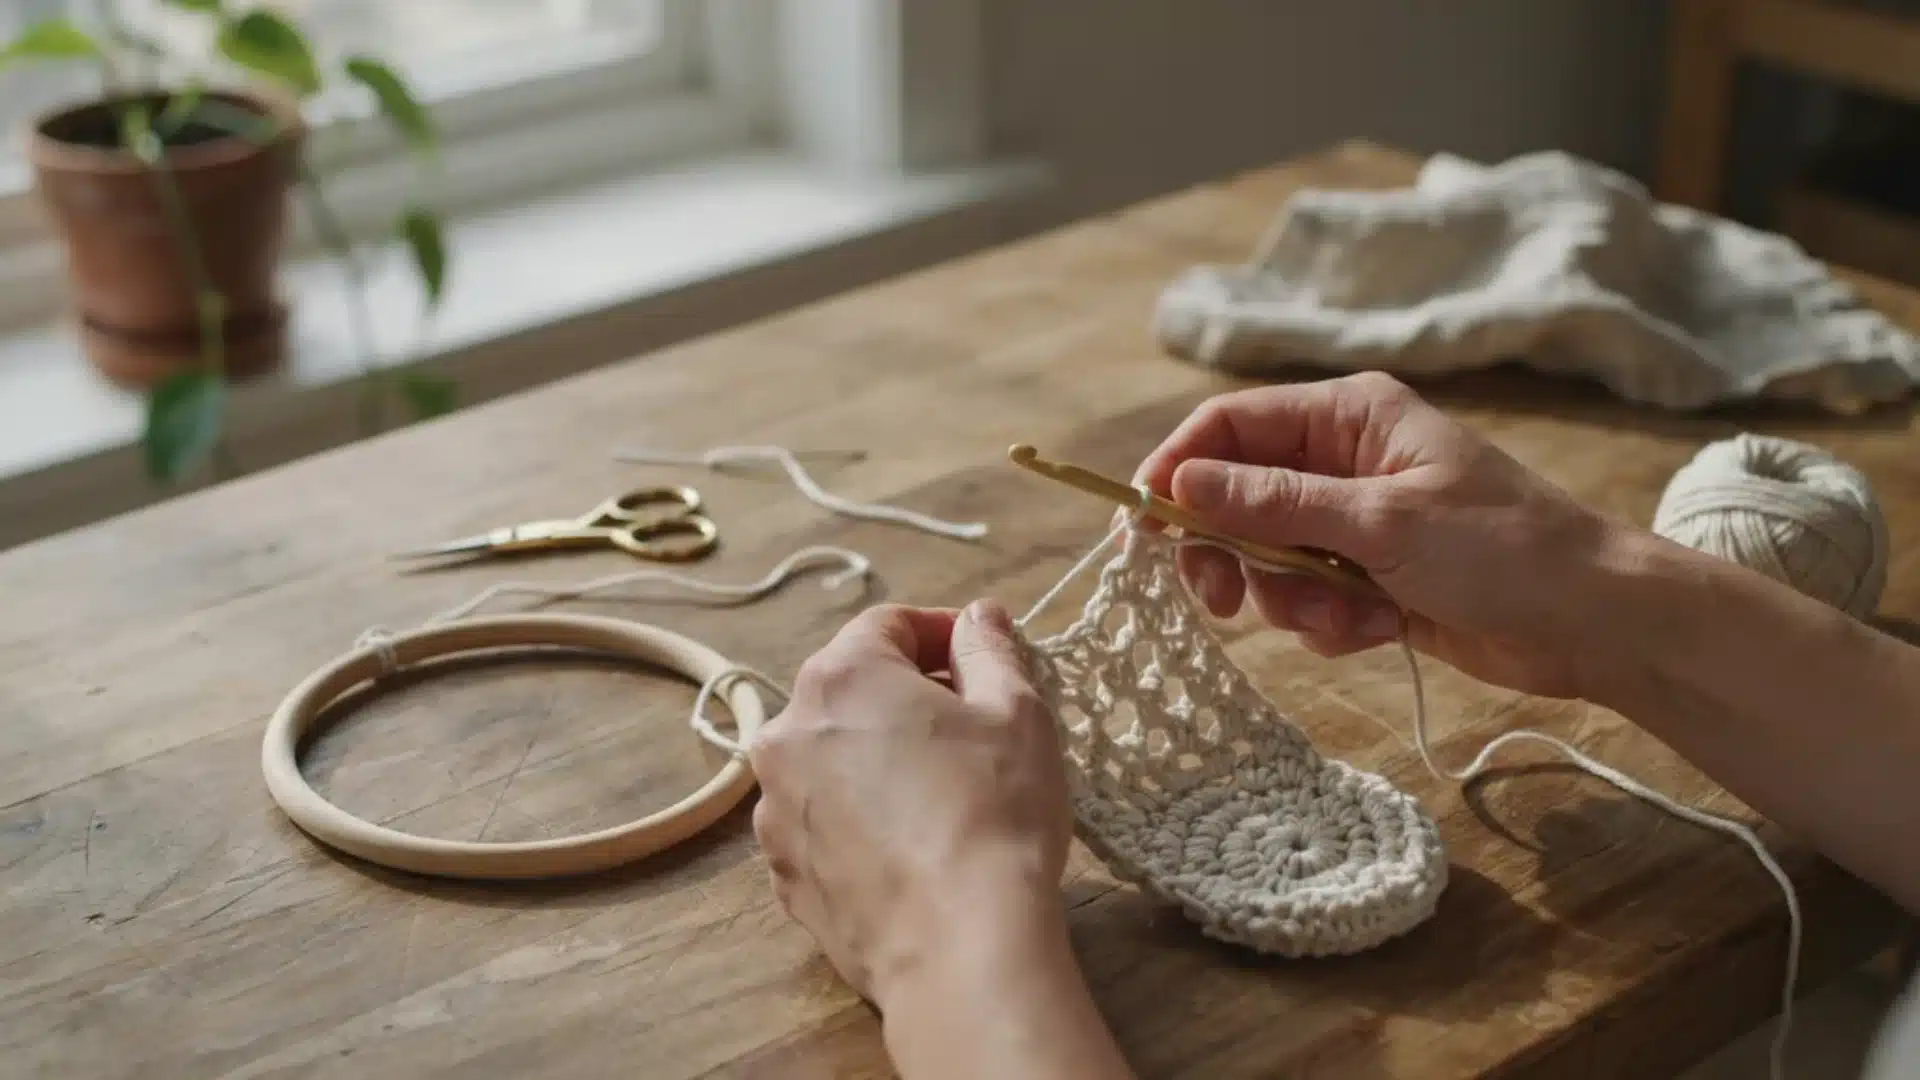
This crochet plant hanger pattern has three parts: the base, the mesh body, and the hanging straps.
Round 1 – Start the base: Make a magic ring and work 6 sc into it. Join with a sl st. You now have 6 stitches.
Round 2 – First increase: Work 2 sc into each stitch around. Join. You should have 12 stitches.
Round 3 – Second increase: Sc in the next st, then 2 sc in the following st. Rep around and join. You now have 18 stitches.
Round 4 – Begin the mesh: Ch 3, sk 1st, sc in the next st. Repeat this pattern around, then join to the first chain. This open, airy look is what gives the hanger its woven appearance.
Round 5 – Continue the mesh: Work 3 sc into each ch-3 space from the round below, sk the sc between spaces. Join.
Straps – Divide and chain: Mark 4 evenly spaced points around your last round. At each marked point, join yarn and chain 40 (longer for a bigger drop). Fasten off, leaving a 6-inch tail.
Assembly – Bring it together: Thread all 4 strap ends through your wooden ring. Tie a firm knot, then weave in every loose end with your tapestry needle.
Common Mistakes to Watch For
A few small errors trip up most beginners on their first crochet plant hanger pattern:
1. Miscounting stitches during increases: Use a stitch marker at the start of each round so you always know where you began.
2. Uneven strap lengths: Chain all four straps before fastening off any of them, counting out loud as you go.
3. Loose knots at the ring: Double-knot the strap ends, then add a dab of fabric glue if you’re hanging anything heavier than a small succulent.
4. Skipping a test fit: Slide your pot into the mesh body before you attach the straps, so you can catch a sizing issue while it’s still easy to add a round.
Resizing for Different Pots
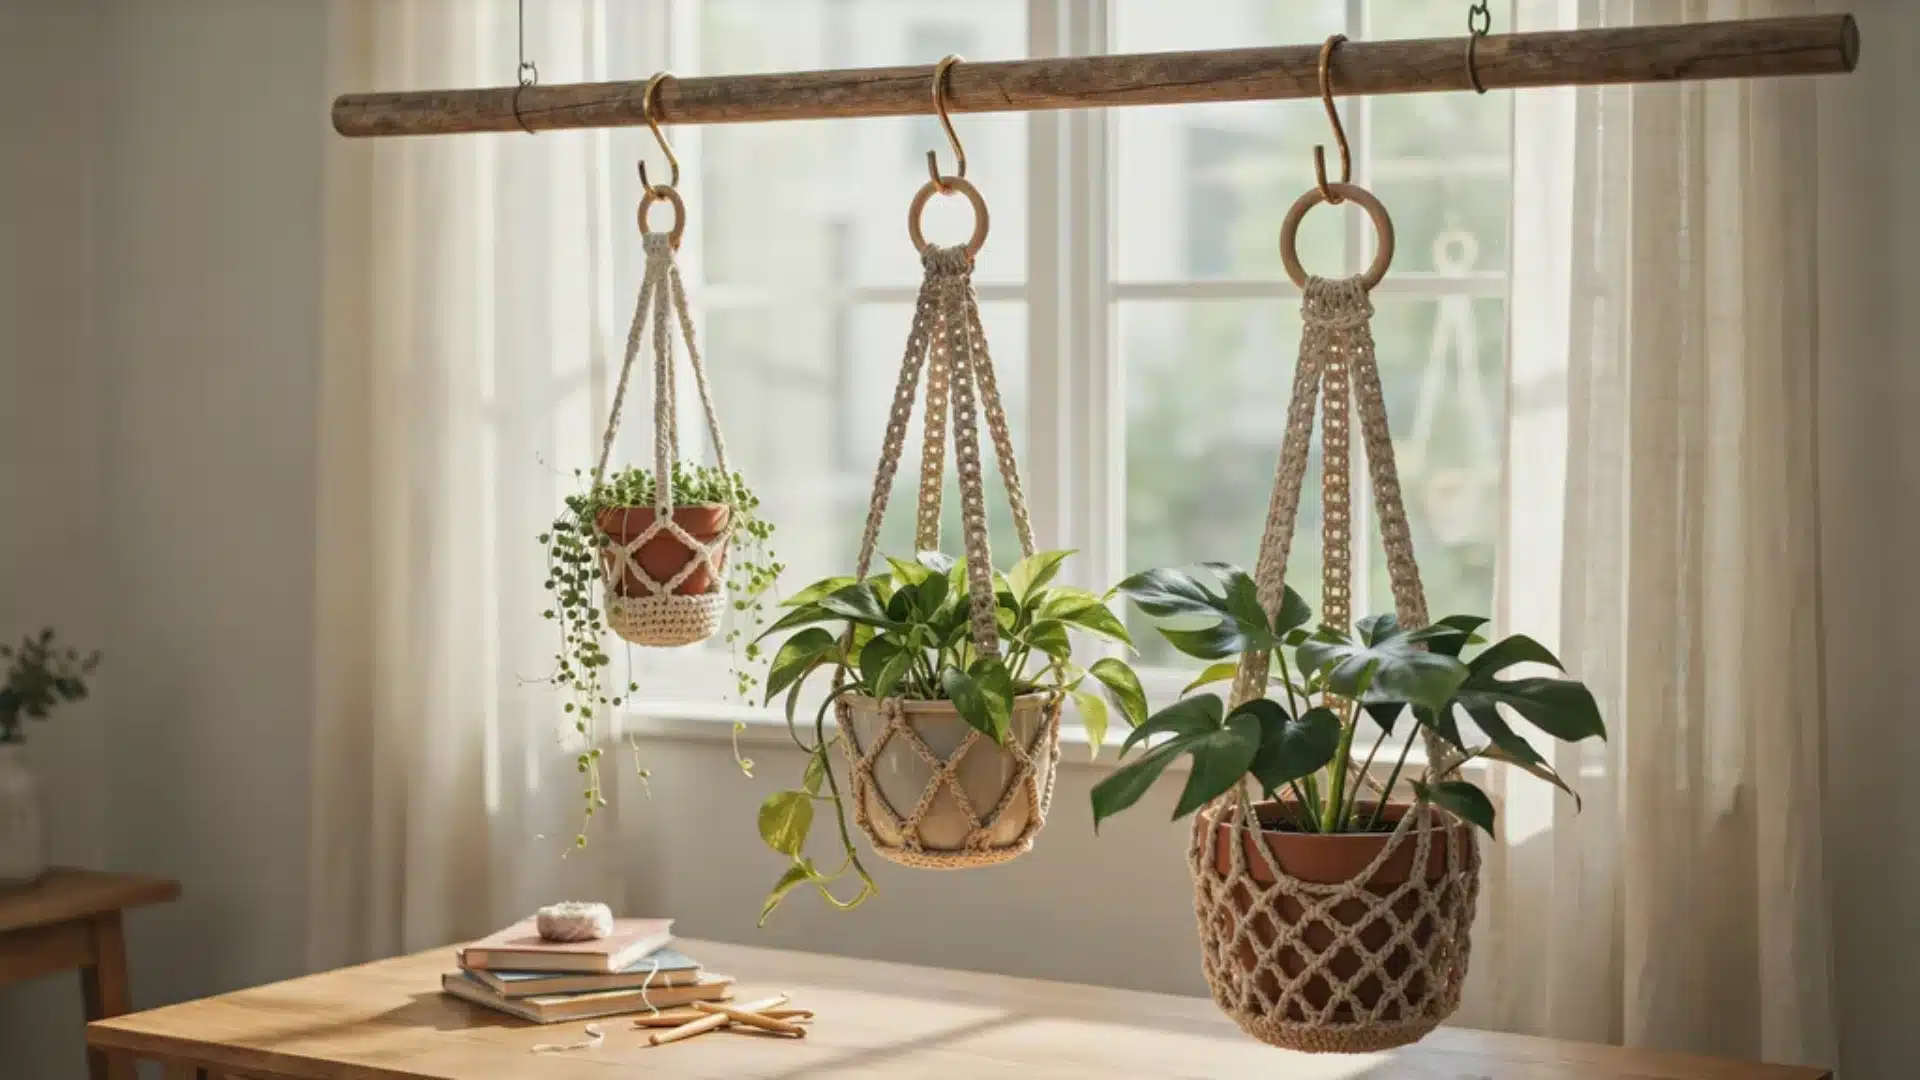
This crochet plant hanger pattern is written for a pot about 4 inches wide.
To size it up:
- Add one extra increase round for each additional inch of pot diameter
- Add roughly 6 inches of strap length for every 2 inches of extra pot height
- Use a bigger ring (2 to 3 inches) for pots over 8 inches wide, so the straps sit evenly
Always test the base against your actual pot before adding the mesh rounds. It’s much easier to fix sizing early than after the straps are attached.
How to Hang It Safely
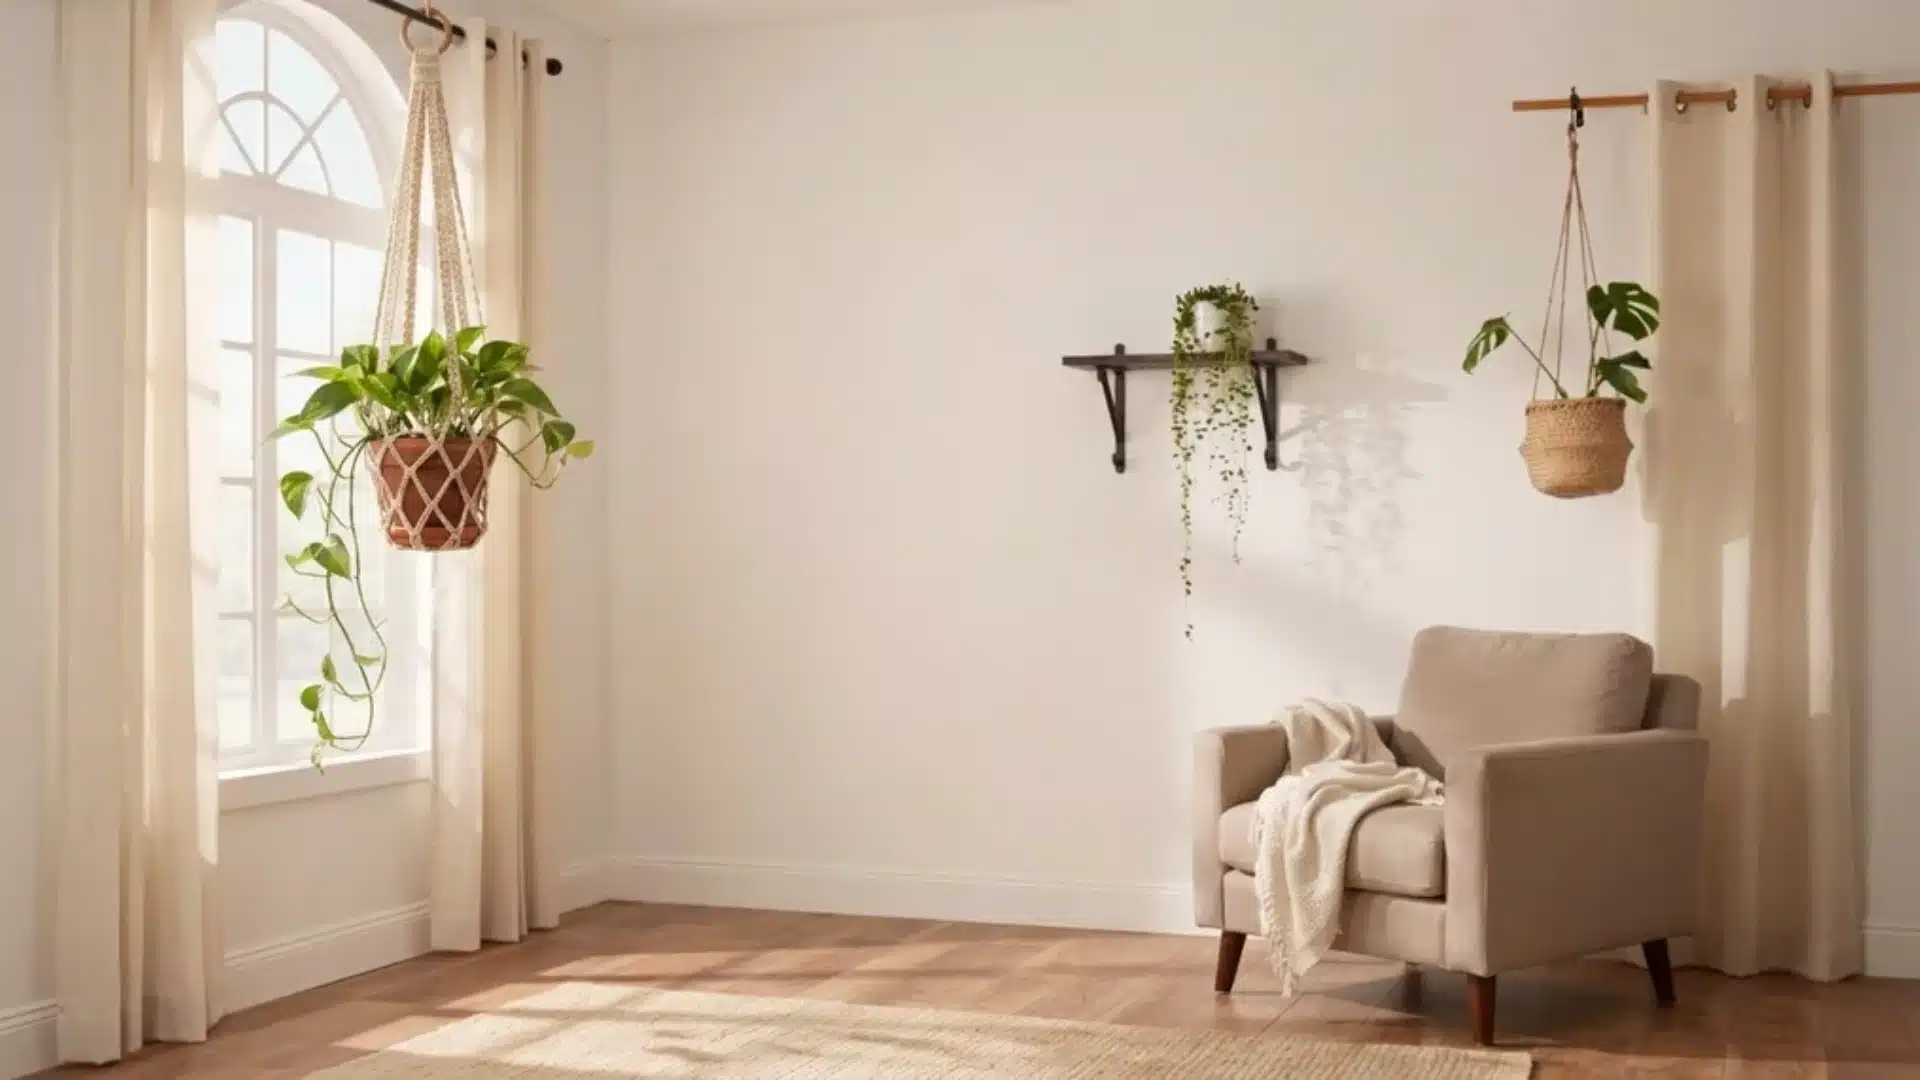
Once your crochet plant hanger pattern is finished, hanging it correctly matters as much as making it.
- Ceiling hooks work best for heavier pots. Screw into a joist when possible, not just drywall.
- Wall brackets suit lighter plants and air plants and are easier to install in rental spaces.
- Curtain rods are a low-commitment option if you’re not ready to drill anything.
For more on picking the right hook or anchor, see hanging plants from the ceiling, which covers stud-finding and weight ratings in more detail.
Keep in mind that wet soil adds real weight. A 6-inch pot can gain a pound or more right after watering, so choose a hook or anchor rated well above the setup’s dry weight.
Check the knot and the ring every few months, since cotton can loosen slightly with regular use.
Making It Your Own
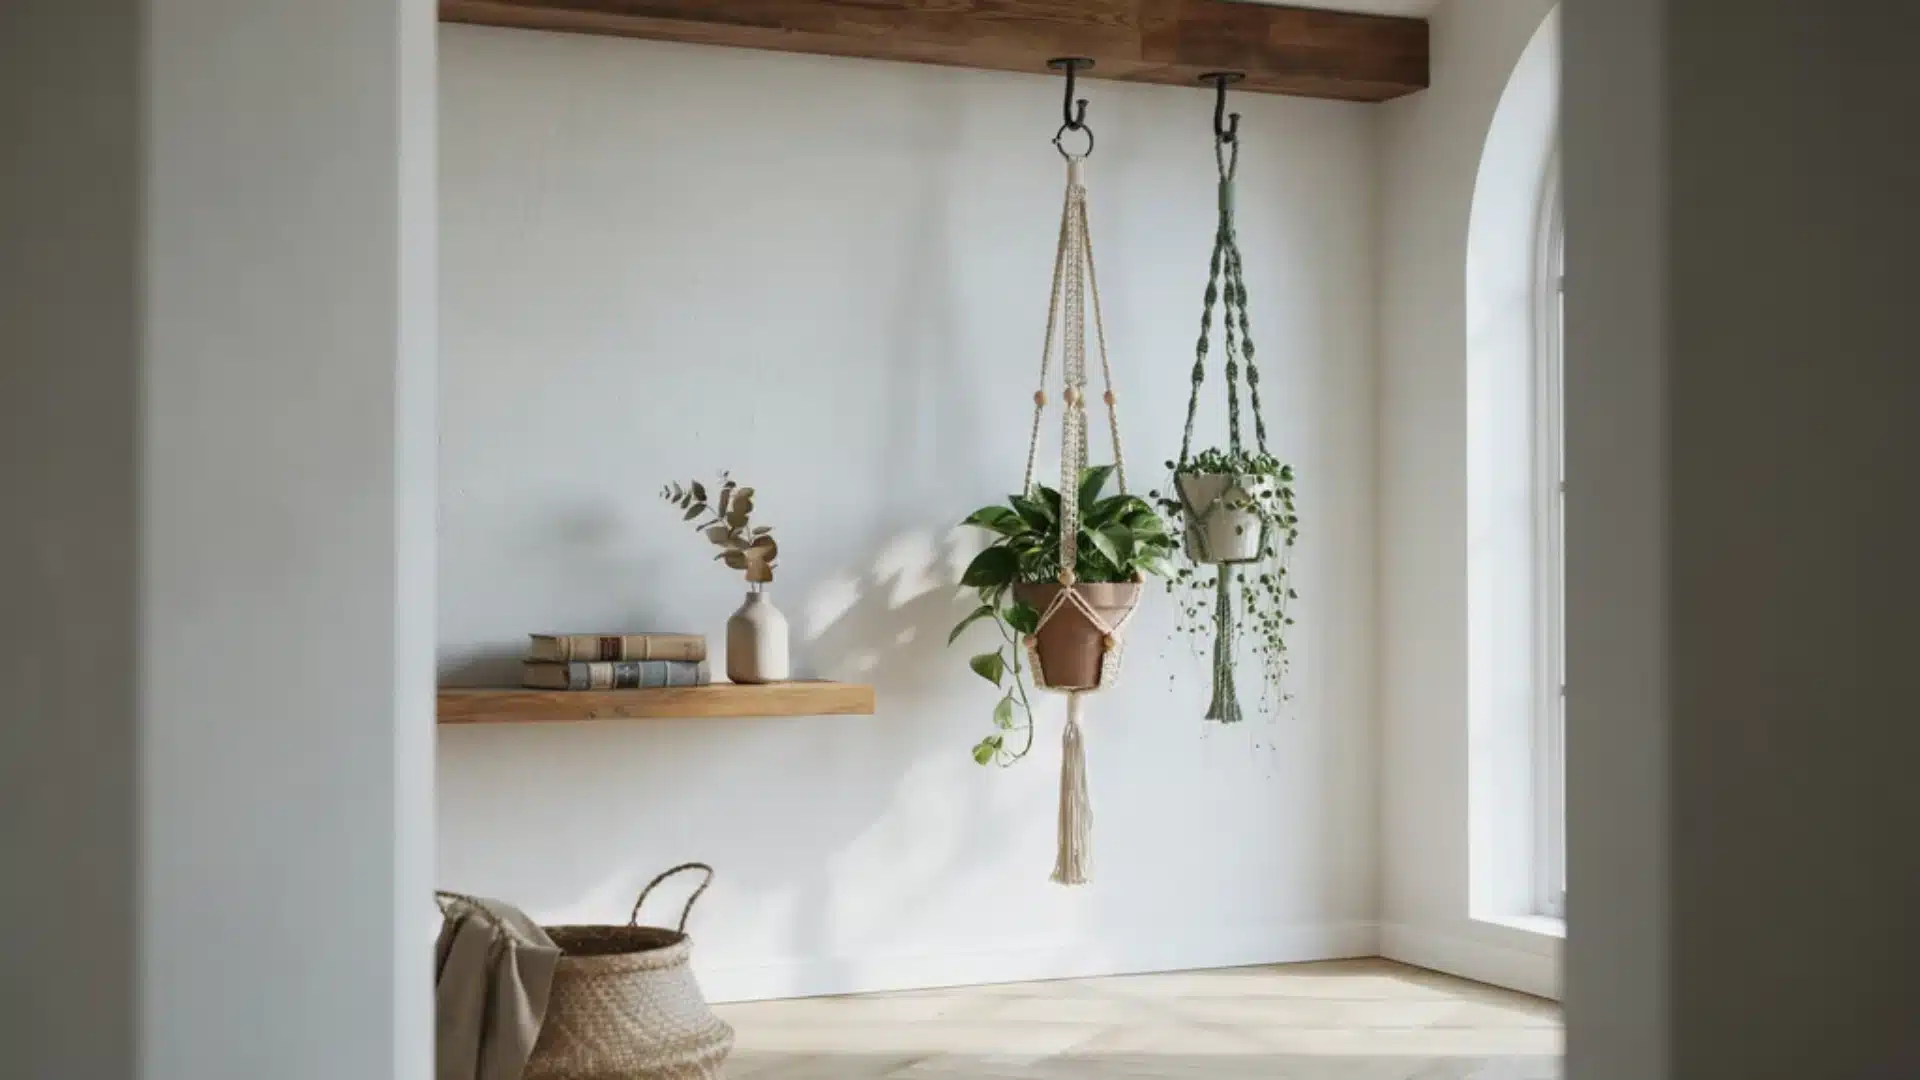
Once you’ve made the base pattern once, it’s easy to change things up. A tassel at the bottom of the ring adds a simple finishing touch. Wooden beads threaded onto the straps, or two straps braided together, work well too if you want more texture.
A cream or naturally colored cotton reads as more neutral, while a deeper terracotta or sage shade pairs well with a plain white wall.
If you’d rather skip stitches altogether, a DIY plant hanger made from macrame cord uses a similar hanging structure and might be worth trying alongside your crochet version.
Ready to Make Your Own
A crochet plant hanger pattern is one of the fastest ways to get more greenery into a small space without buying anything new.
Once you have made one, the rest go quickly, and resizing for different pots gets easier every time you try it.
I have made three of these for my own apartment this year alone, and each took less than an evening from start to finish.
The mesh rounds are the only part that takes a little practice, but after your first hanger, the spacing will make sense right away.
Grab your yarn, pick a pot that needs a home, and give the pattern a try. Let me know in the comments how your first hanger turns out, and feel free to share a photo once it’s hanging.
Frequently Asked Questions
Can I use acrylic yarn instead of cotton?
Acrylic stretches when wet, so a soil-filled pot pulls it out of shape fast. Cotton holds its structure and handles regular watering much better.
How much weight can a crochet plant hanger hold?
A cotton hanger made with worsted-weight yarn safely holds pots up to about 8 inches wide. Anchor to a stud or joist for anything heavier.
What’s the difference between a crochet and a macrame plant hanger?
Both create a hanging net for a pot. Crochet uses a hook and yarn, while macrame uses cord and hand-tied knots only.
What size crochet hook works best for a plant hanger?
A 4.5mm hook suits worsted weight cotton yarn well. Size up to 5mm if your stitches feel tight or you want a looser mesh.