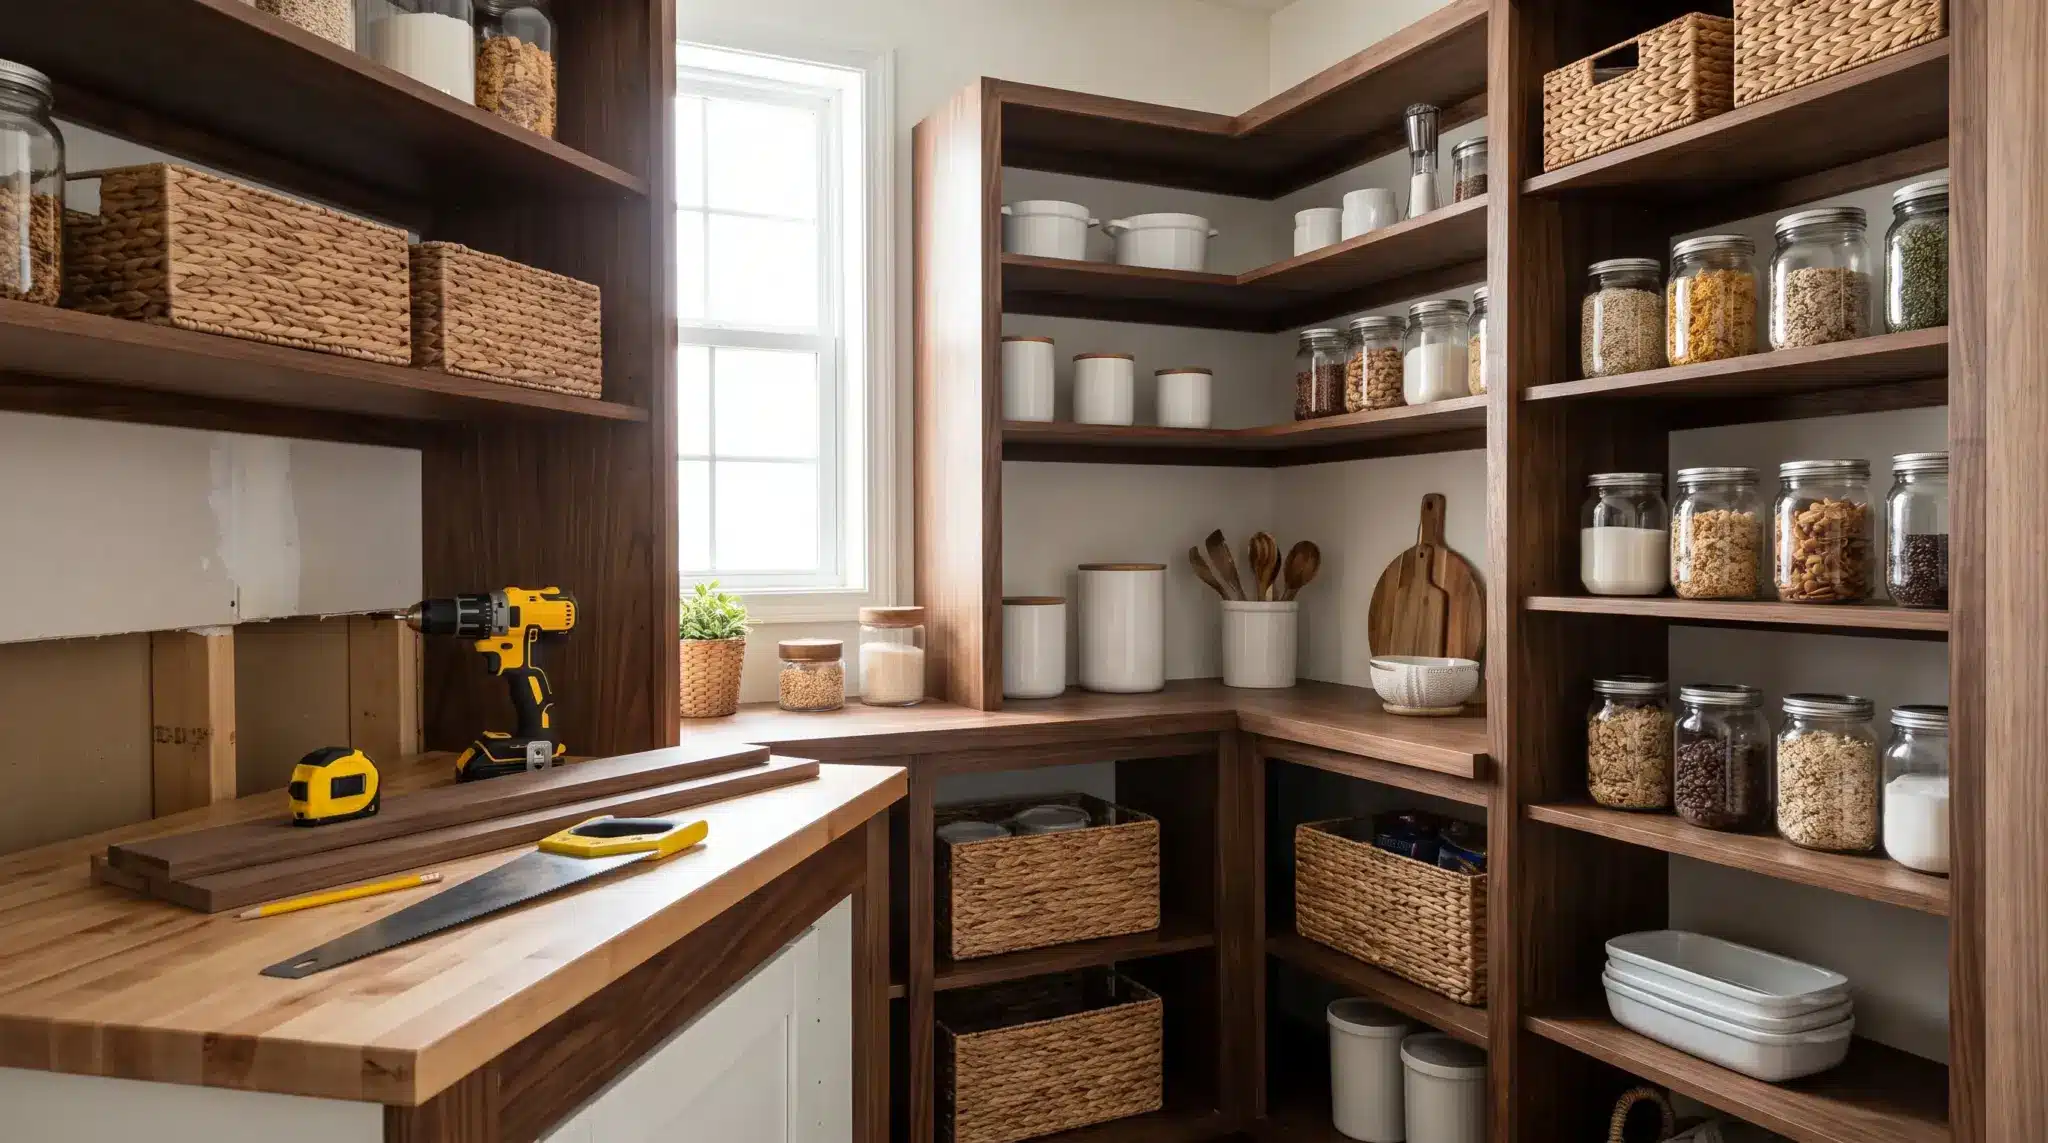
The shelves in your pantry can make the entire space feel useful. A few weak wire racks can turn a large pantry into a cluttered storage problem, with jars falling over, appliances taking up floor space, and unused gaps above every shelf.
Replacing them with DIY pantry shelves creates a setup that matches your storage needs instead of forcing you to adjust around it.
Building custom shelves is simpler than it looks. With basic tools, affordable materials, and a clear plan, you can create durable storage without taking on a complicated renovation.
This post explains how to measure your pantry, choose the right materials, and build shelves that keep everything organized for years.
What You Need Before You Start
Getting your supplies sorted before you touch a saw saves you a second trip to the store, which always seems to happen on the one project where you really don’t have time for it.
A basic shelving build like this doesn’t require a full workshop, just a handful of tools you likely already own.
Tools:
- Circular saw or table saw
- Power drill with driver bits
- Tape measure
- Level or laser level
- Stud finder
- Miter saw (optional)
- Clamps
- Sandpaper or palm sander
Materials:
- 3/4-inch MDF, plywood, or 1×12 pine boards for shelves
- 1×2 boards for cleats and shelf trim
- Wood screws
- Wood glue
- Wall anchors
- Spackle
- Primer
- Paint
- Stain
Keep this list handy while you shop. It’s a small thing, but having tools and materials separated like this saves you from wandering the aisles guessing what you forgot.
How To Choose Shelf Material For DIY
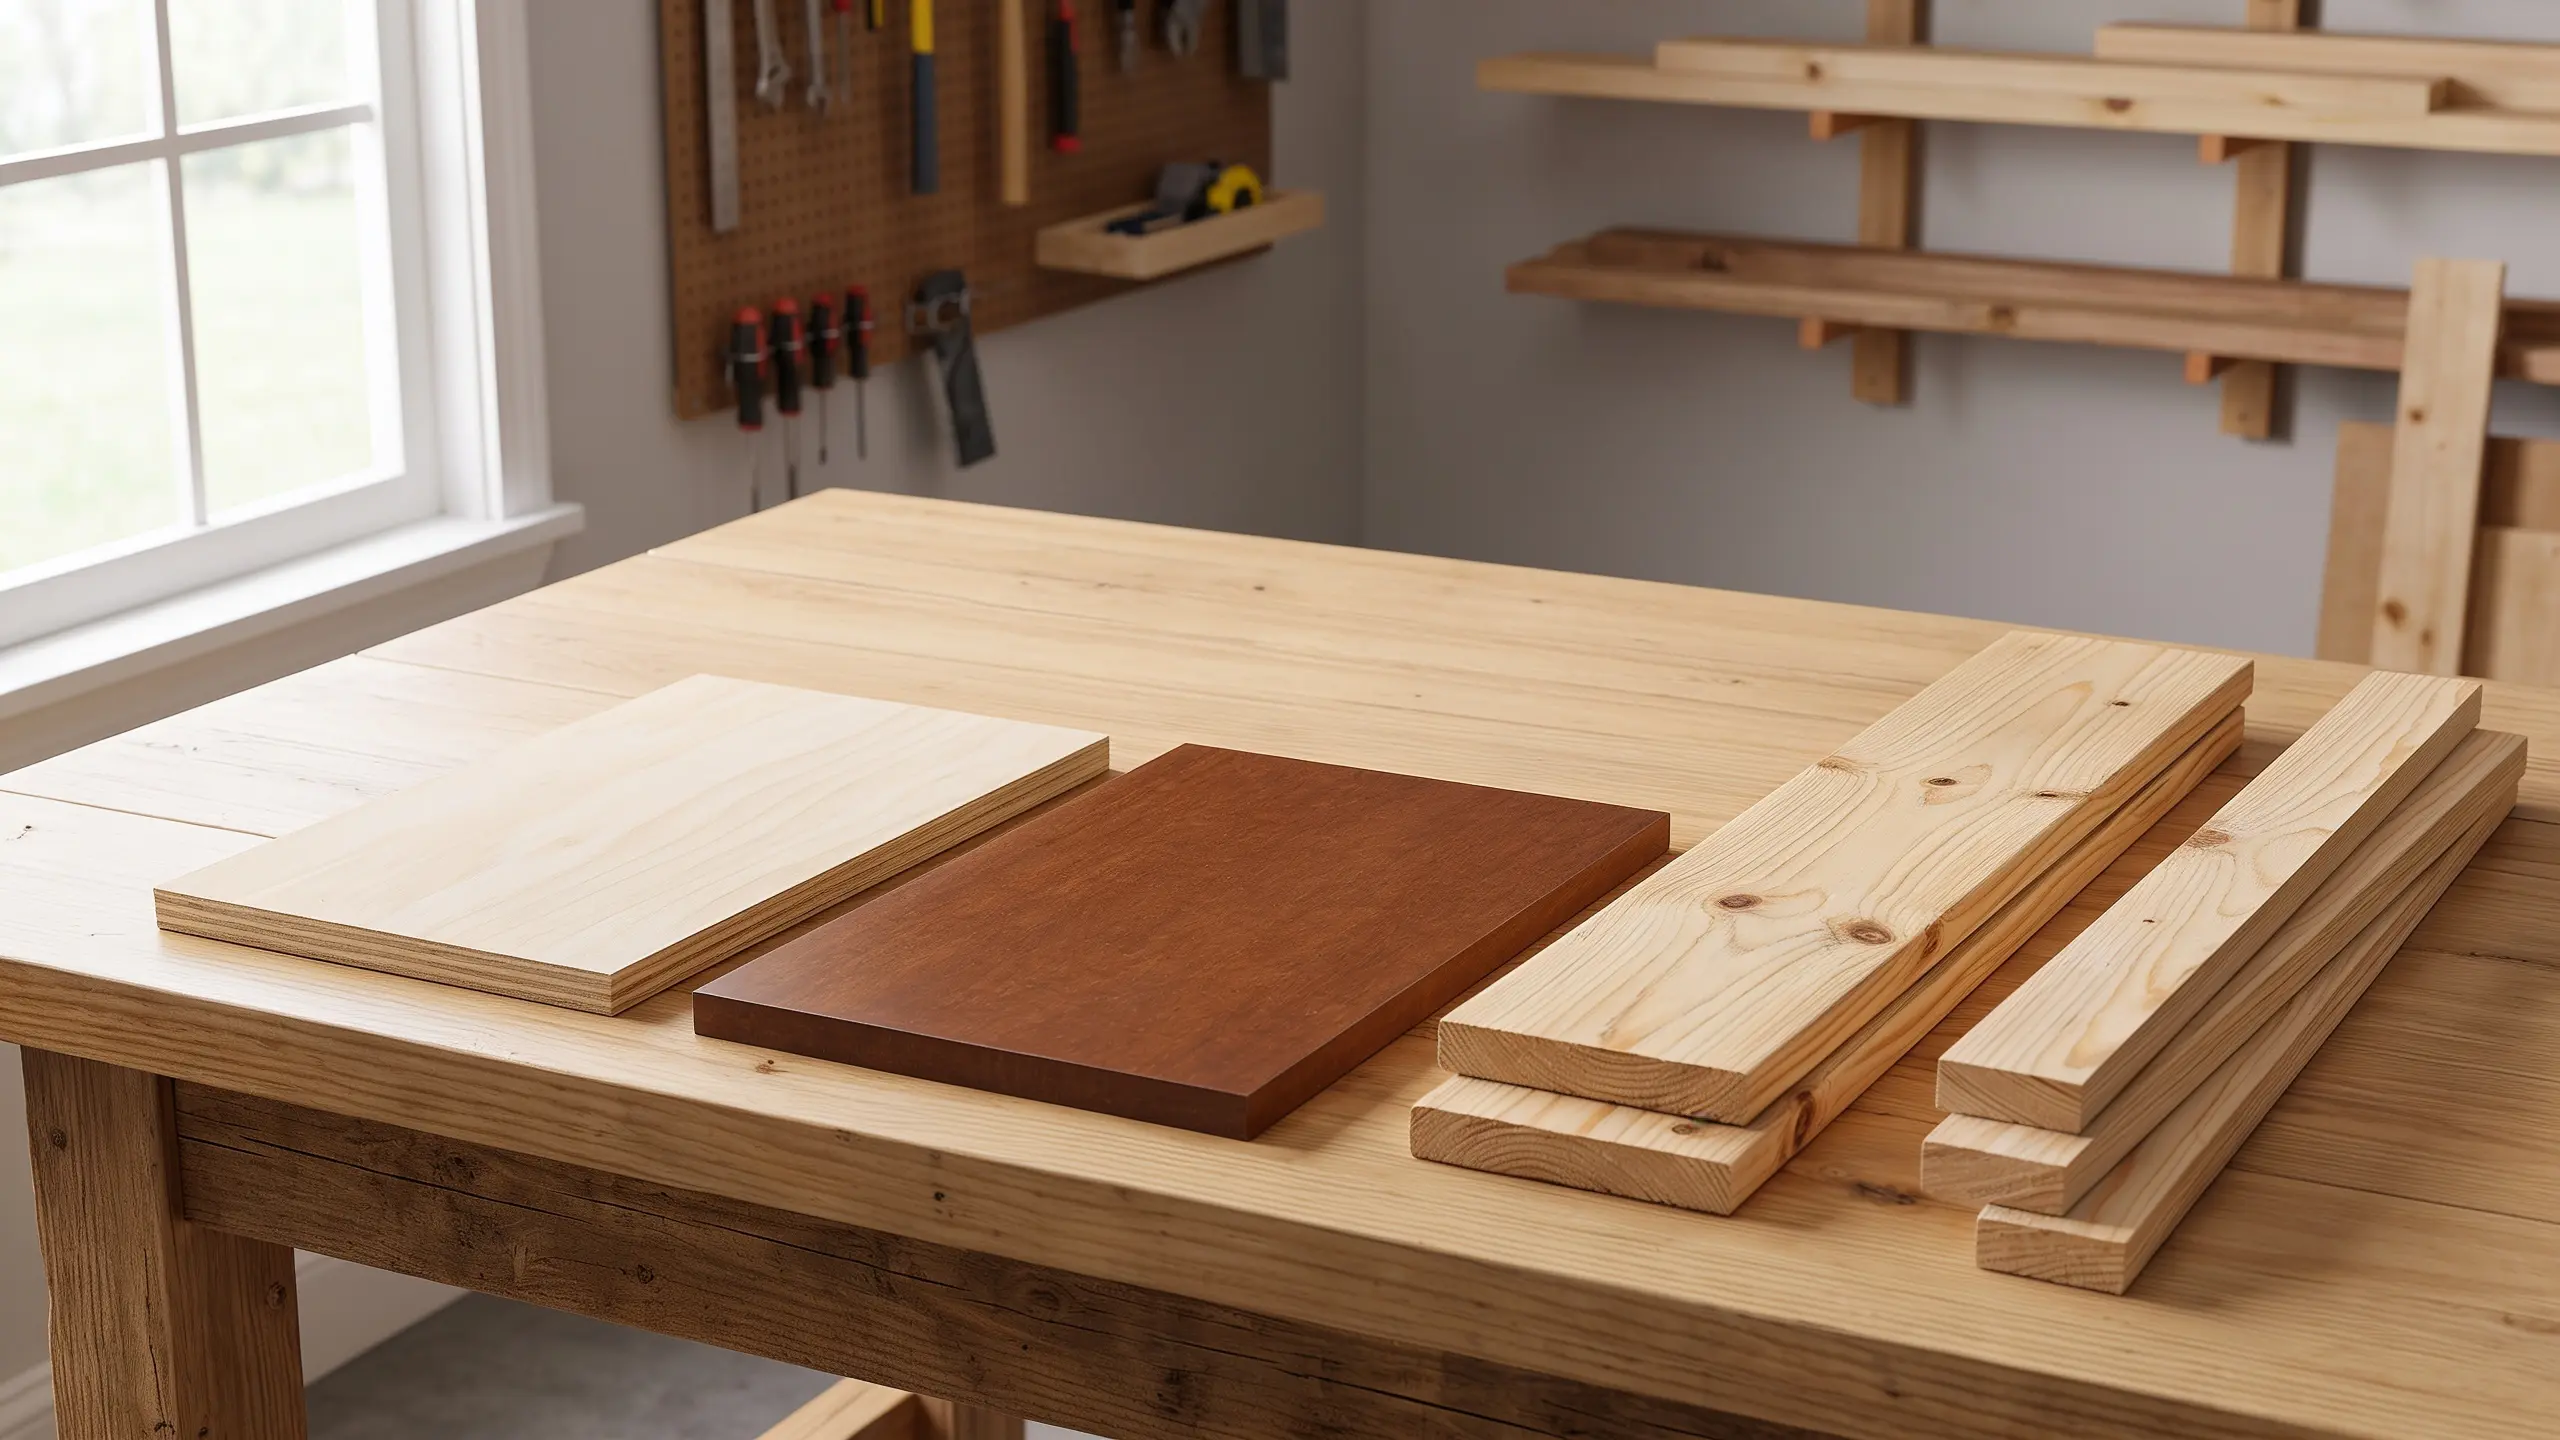
Not every material behaves the same way once it’s loaded down with canned goods and bags of flour, and picking the right one early makes the rest of your pantry shelf build much easier.
Here’s how the three most common options stack up.
| Material | Cost (per sheet/board) | Finish | Best For |
|---|---|---|---|
| MDF | $30-$45 | Must be painted | Smooth, budget-friendly builds |
| Plywood | $45-$70 | Paint or stain | Better moisture resistance |
| Solid pine (1×12) | $15-$25 per board | Stain or paint | Traditional look, easy to work with |
MDF is a solid choice if you’re painting your shelves anyway, since it finishes smoother than plywood and costs less. Plywood holds up better in humid climates.
Solid pine gives you that classic built-in look if you plan to stain rather than paint. Whichever you pick, thicker is always sturdier, so don’t go below 3/4 inch for anything holding real weight.
How to Plan a Pantry Shelves Layout
Getting the layout right before you cut anything is what separates pantry shelves that work from ones that just look nice on day one.
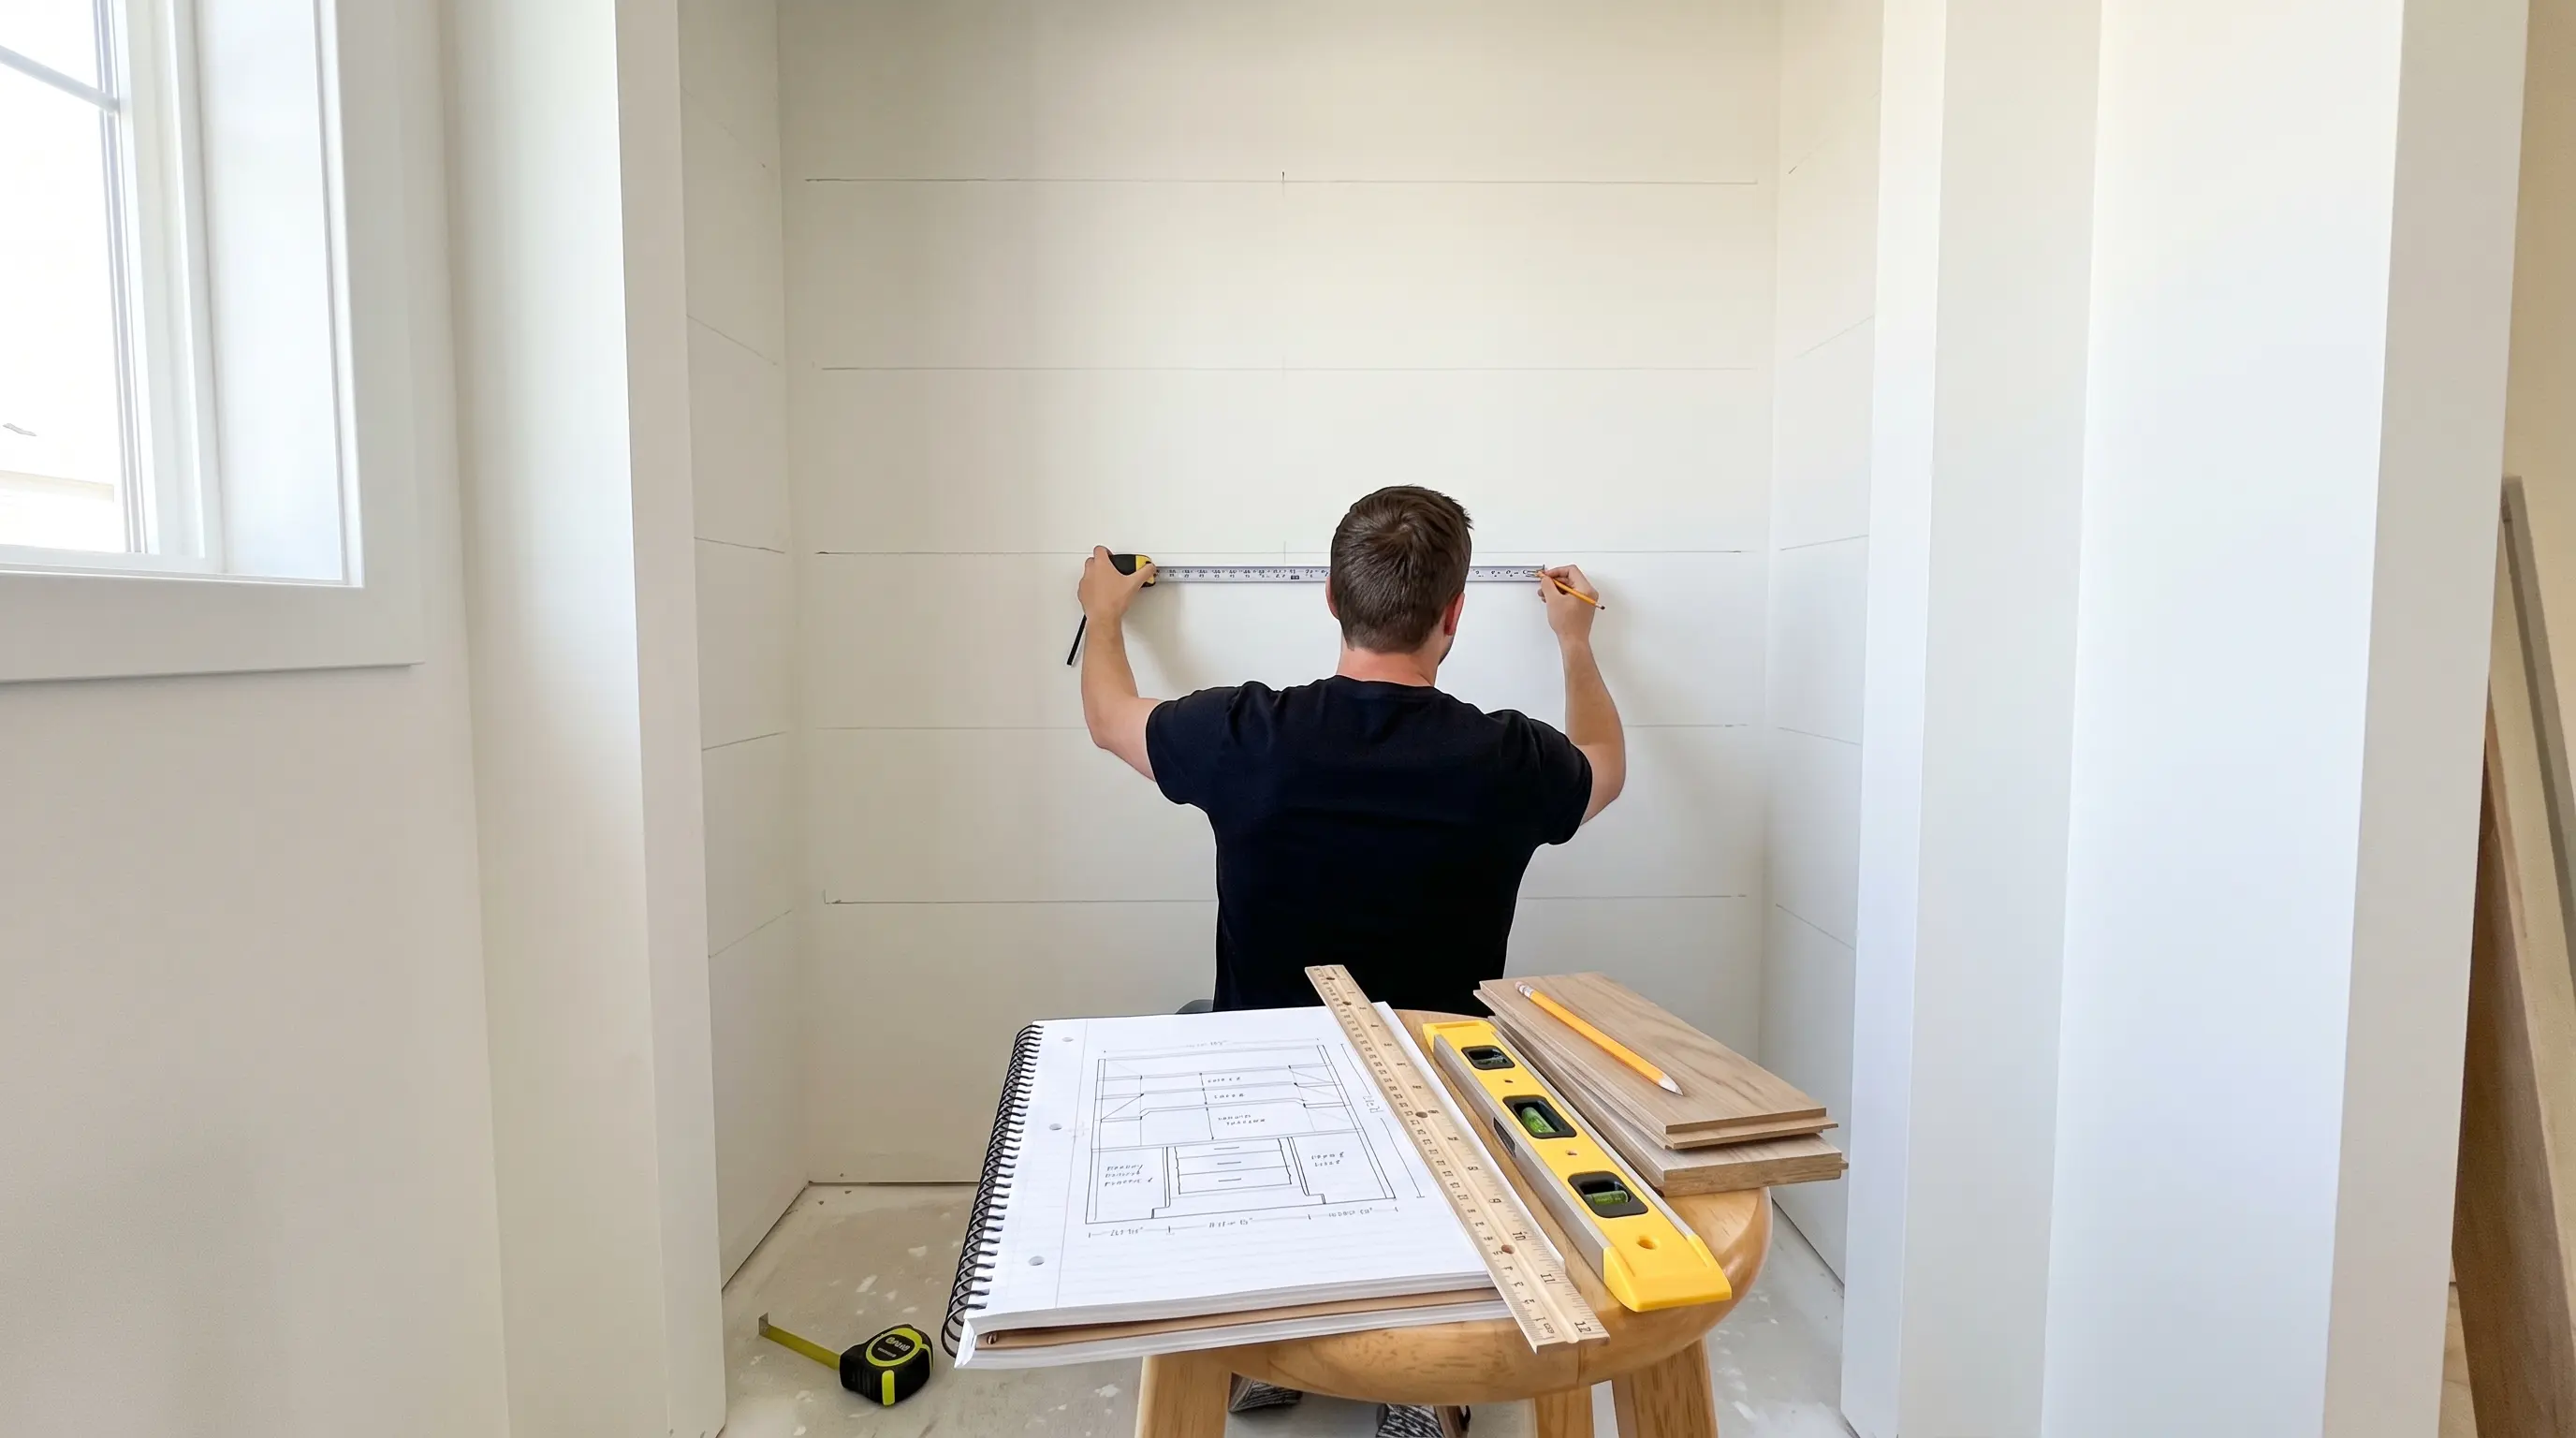
Before you cut a single board, bring a few of your bulkiest pantry items into the space and hold them up against the wall. It sounds unnecessary, but it takes the guesswork out of spacing completely.
| Shelf Position | Suggested Depth | Suggested Spacing | Good For |
|---|---|---|---|
| Top shelves | 10-12″ | 10-12″ apart | Cans, spices, light boxes |
| Middle shelves | 12-14″ | 13-14″ apart | Cereal boxes, snacks |
| Bottom shelves | 14-18″ | 16-20″ apart | Small appliances, bulk items |
A standard depth of 12 inches works for most single-row storage, but if you’re planning to store bulk items or appliances, go with 16 inches or more so nothing hangs off the edge.
How to Make DIY Pantry Shelves Step-by-Step
Creating your own pantry shelves is a beginner-friendly home project that improves organization and makes better use of available space. Follow each step to build durable shelves that match your pantry layout.
Step 1: Measure Your Pantry and Sketch a Plan
Once your materials are picked out, the actual build of your DIY pantry shelves starts with measuring, not cutting. Measure the width of each wall at the top, middle, and bottom, since older homes rarely have perfectly straight walls.
Step 2: Remove Old Wire Shelving and Patch the Wall
Pry out the existing wire shelves and brackets carefully. This part almost always leaves holes and gouges in the drywall, so don’t be surprised.
Fill everything with spackle, let it dry completely, then sand it smooth before moving on.
Step 3: Locate and Mark Wall Studs
Run a stud finder along each wall and mark the studs with painter’s tape so you can see them clearly once you start attaching cleats.
A laser level is worth the small investment here since it projects a perfectly straight line across the entire wall instead of you eyeballing it with a bubble level.
Step 4: Cut Supports (Cleats) and Attach to the Wall
Cut your 1×2 boards into cleats and screw them into the studs at your planned shelf heights, using 2.5-inch screws for a secure hold. Where a stud isn’t available, wall anchors will do the job just fine.
If your walls aren’t perfectly square, which happens more often than you’d expect, don’t force your cut boards to fit. Instead, cut a scrap piece to trace the wall’s actual curve or angle, then use that scrap as a template when cutting your real shelf boards.
Step 5: Cut and Install the Shelves
Cut your shelf boards to the depth you planned earlier, then rest each one on top of its cleats and secure the corners with short screws.
If you’d rather be able to change shelf heights later as your storage needs shift, adjustable shelf brackets are worth considering here instead of fixed cleats.
Step 6: Add Face Trim for a Finished Look
Nail a strip of 1×2 pine across the front edge of each shelf.
This single step does three things: it hides the raw cut edge of the board, conceals the cleat underneath, and makes the whole shelf look noticeably thicker and more finished.
Miter the corners for a cleaner look if you have a miter saw handy.
Step 7: Fill, Sand, Prime, and Paint
Fill any visible nail holes with spackle, sand everything smooth, then prime and paint or stain.
Some people prefer to prime and paint the boards before assembly since it’s easier to work with everything laid flat, though you’ll likely still need a touch-up coat once the shelves are installed.
Step 8: Style and Organize Your New Shelves
Once everything is dry, load your shelves with labeled bins, baskets, and jars. You can also add small decorative touches, like a DIY plant hanger with a trailing plant, to bring a little warmth and personality to open pantry shelves or nearby spaces.
Grouping items by category instead of placing them wherever they fit will keep the shelves organized while making the entire area feel more inviting.
Cost to Build DIY Pantry Shelves
Budget really does vary depending on the finish level you’re going for, and it’s usually the first question people ask once they’ve decided to build their own pantry shelves.
| Build Type | Estimated Cost | What’s Included |
|---|---|---|
| Budget build | $50-$100 | No-cut wire brackets, minimal materials |
| Mid-range wood build | $150-$200 | MDF or pine shelves, trim, paint |
| Built-in custom look | $200-$300+ | Higher-grade wood, tiling, cabinetry accents |
Choosing budget-friendly options like plywood or pine boards can help keep expenses low, while adding paint, trim, or stain may increase the final cost.
Even with these upgrades, building the shelves yourself can still be far more affordable than a custom-installed storage system.
Plus, you get the flexibility to design the shelf height, depth, and layout around the items you actually store, creating a setup that fits your pantry instead of adjusting to a pre-made system.
How Much Weight Can Your Homemade Shelves Hold?
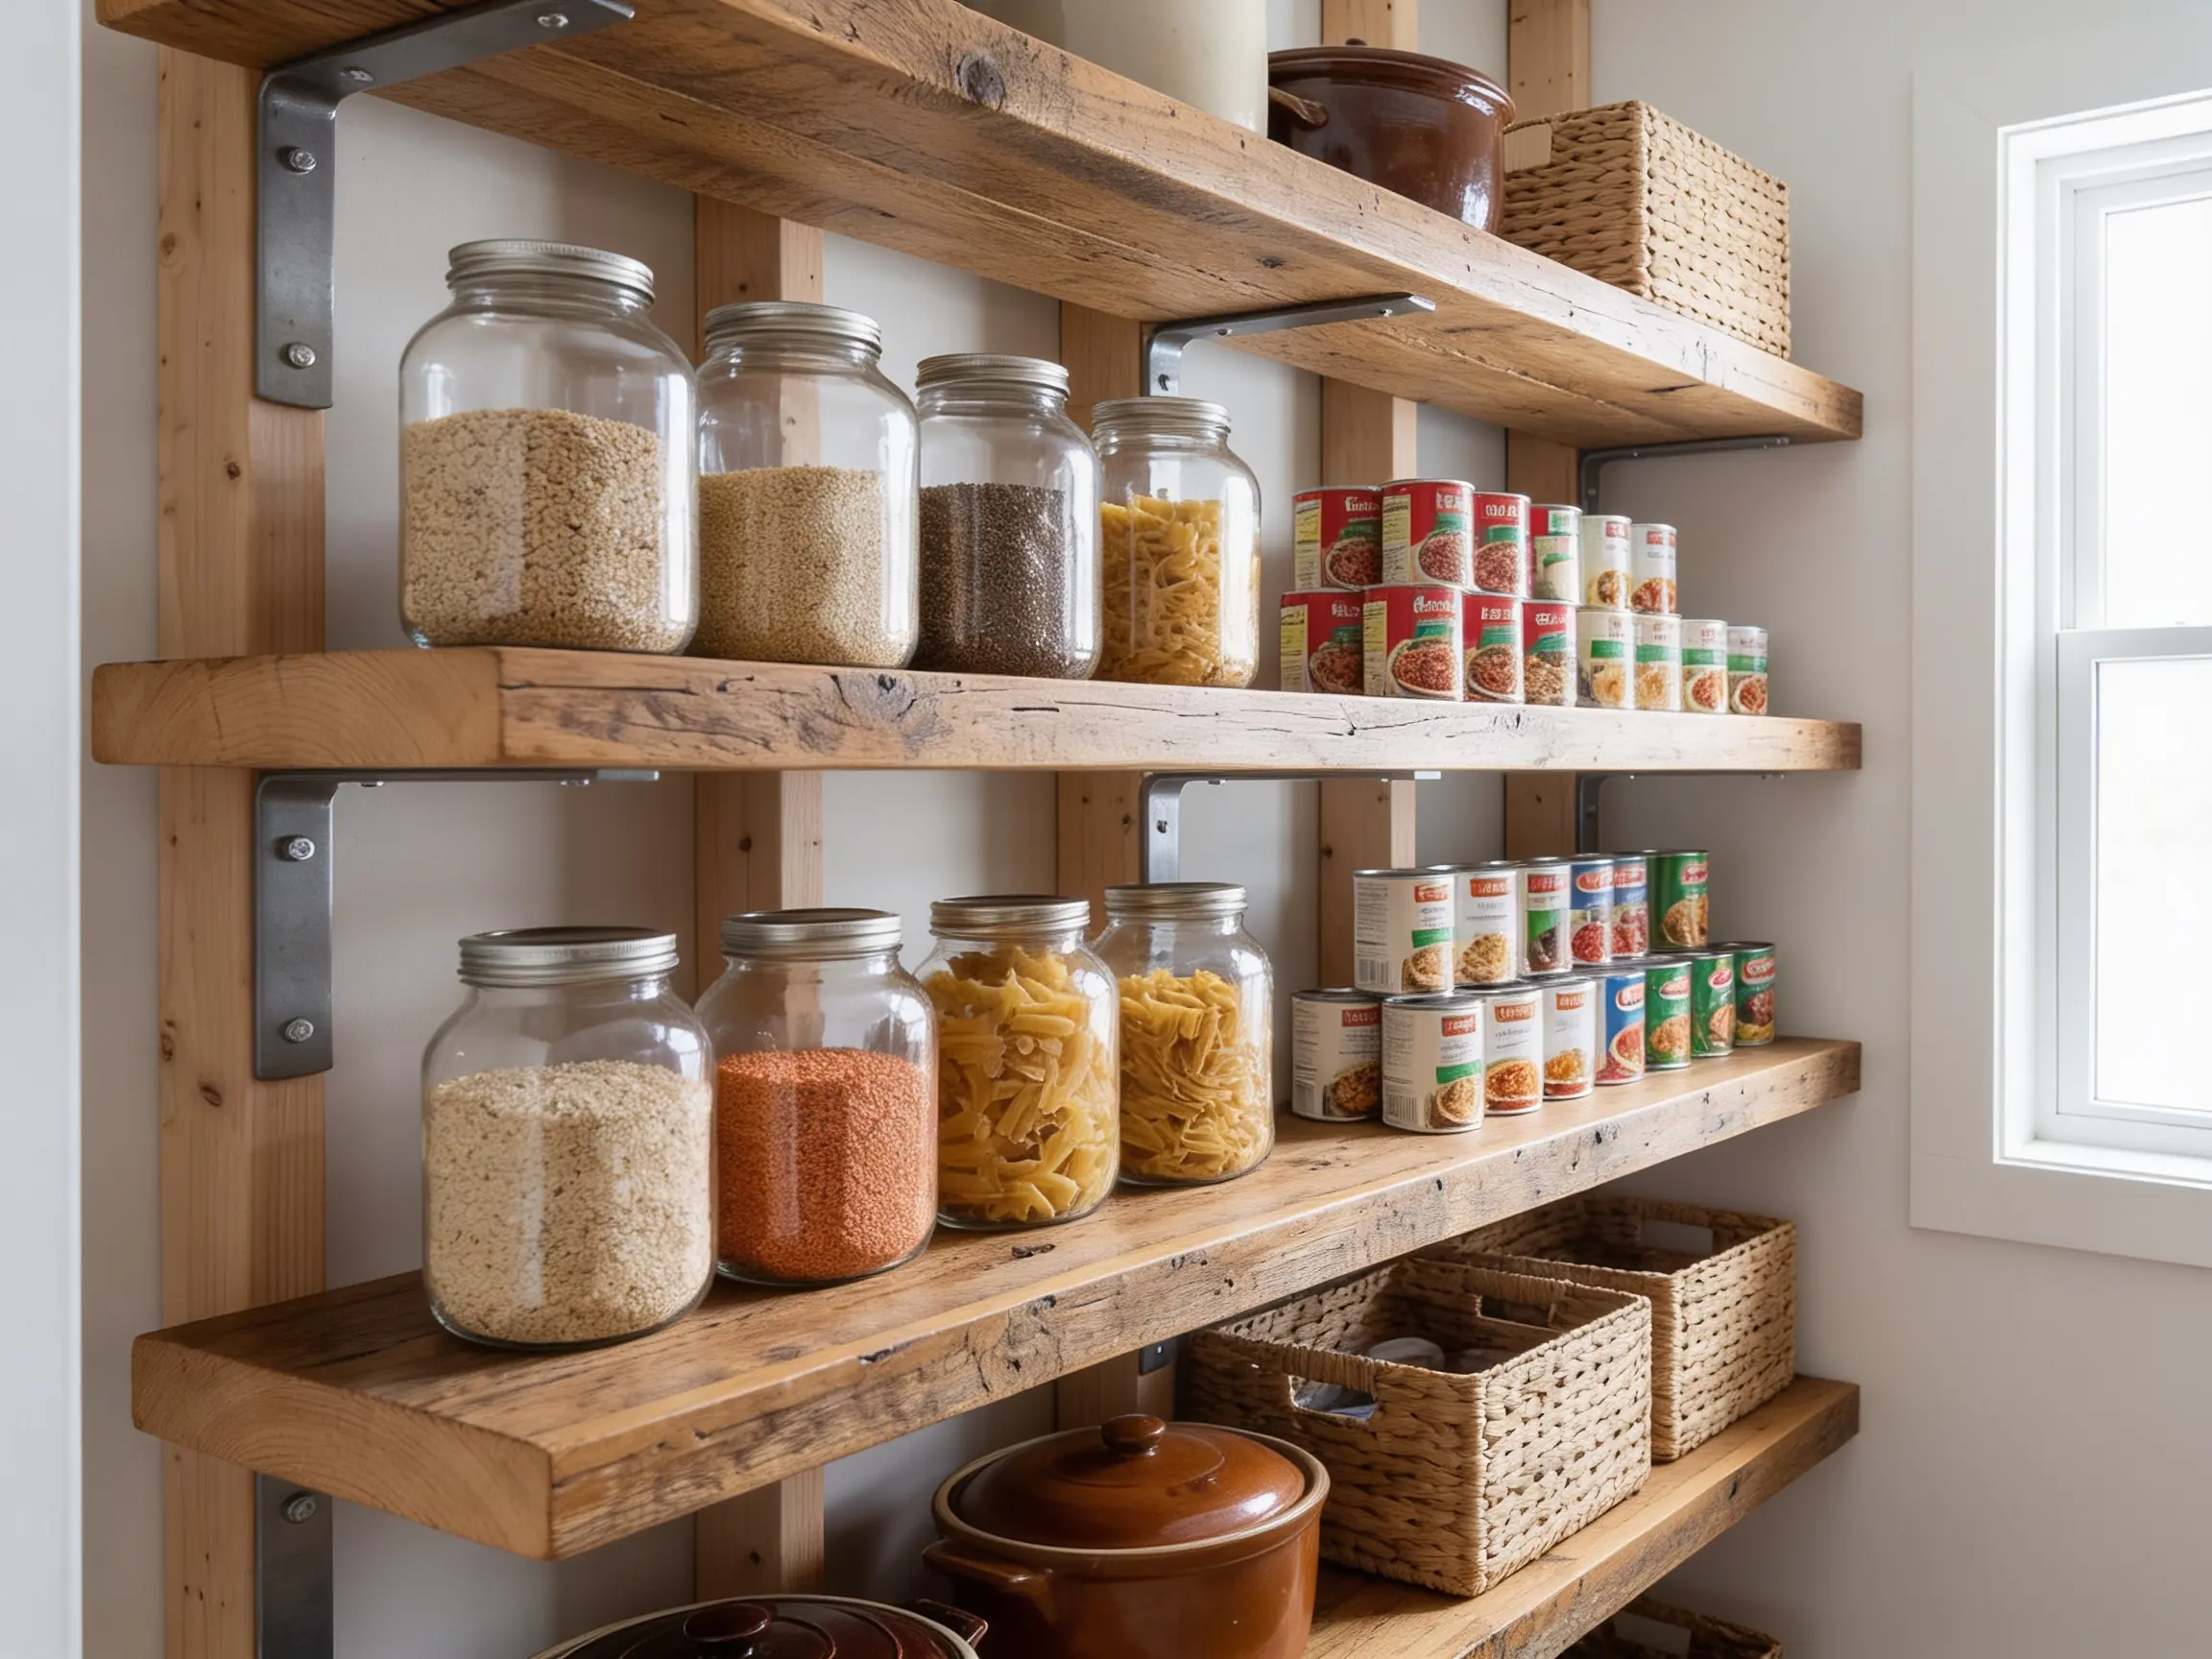
A 3/4-inch shelf with cleats spaced every 16 to 24 inches can generally hold 40 to 80 pounds without issue, but that number drops fast if your supports are spaced too far apart or your material is thinner than 3/4 inch.
If you’re storing anything genuinely heavy, like a stand mixer or bulk canned goods, add an extra cleat in the middle of that shelf rather than relying on the two end supports alone.
Completing Your Pantry Shelf DIY
Building your own pantry shelves is one of those weekend projects that keeps adding value every time you open the door.
Once you measure your space, choose the right materials, and plan shelf spacing around your storage needs, the construction process becomes much easier.
With a few boards, basic tools, and a fresh coat of paint or stain, you can create a pantry that feels organized and built for your kitchen.
Custom shelves help use every inch of available space while keeping everyday items within reach. A little planning upfront can turn a cluttered pantry into a practical storage area that lasts for years.
Frequently Asked Questions
Is It Cheaper to Build Your Own Shelves?
Yes, building your own shelves is usually cheaper than buying custom storage systems. The final cost depends on the materials, size, and finish you choose, but DIY can save money on labor and installation.
What Are Common Mistakes Installing Shelves?
Common mistakes include skipping wall stud checks, using weak materials, failing to level shelves, and choosing incorrect spacing. Poor measurements and insufficient support can lead to uneven or unstable shelves over time.
Can I Just Screw Into MDF?
Yes, but MDF has weaker screw-holding strength than wood. Pre-drill holes and use proper supports for heavier shelves.