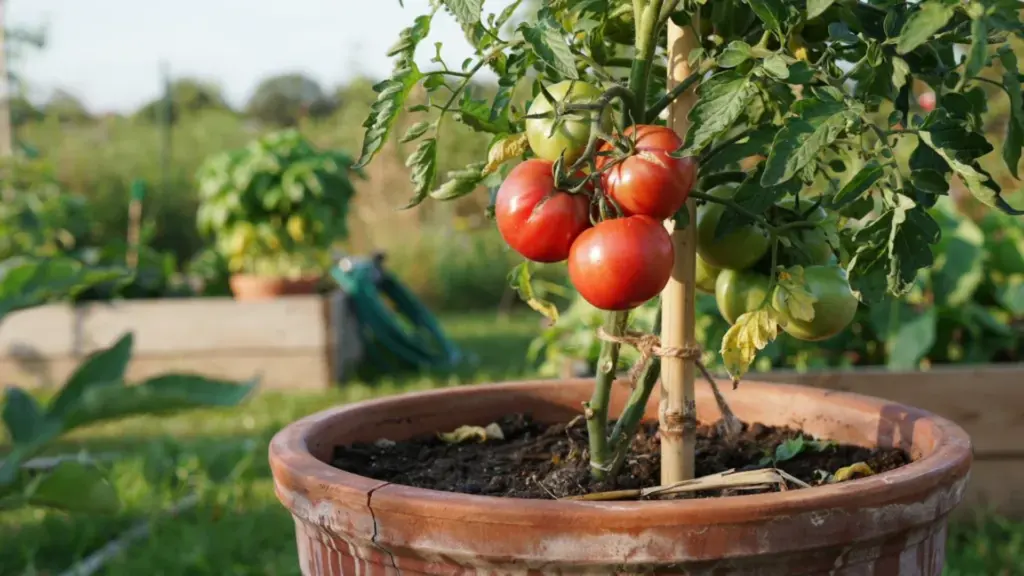
I’ve grown tomatoes in containers every season for the last decade, on decks, balconies, and one tiny cement patio a squirrel treated as a buffet. A 15-gallon pot with the right variety can outproduce a raised bed if you set it up correctly.
Growing tomatoes in containers works well on patios, balconies, and decks because you can completely control the soil, drainage, and sun exposure.
Containers also let you move plants to follow the sun or protect them from sudden weather changes, which helps when you’re timing outdoor transplants against your last frost.
If you’re not sure when to plant tomatoes outdoors in your zone, sort that out first.
This post walks through the pot sizes, soil, planting method, watering habits, feeding schedule, and fixes I’ve settled on after too many failed experiments.
By the last section, you’ll know what to do from planting day through your first harvest.
Why Container Tomatoes Work Better Than You Might Think
Container growing gives you one big advantage: control. You choose the soil, control the drainage, and move the pot as needed. That matters a lot for tomatoes.
Here’s what makes growing tomatoes in containers so practical:
- You can follow the sun: Tomatoes need 6 to 8 hours of direct sunlight. Pots let you move plants to the best spot as the season changes.
- You start with clean soil: No soil-borne diseases that might already live in your garden bed.
- You manage drainage better: Waterlogged roots kill tomatoes fast. A good container with drainage holes fixes that completely.
- One plant per container keeps airflow open and reduces the spread of disease.
What Size Pot Each Tomato Type Needs
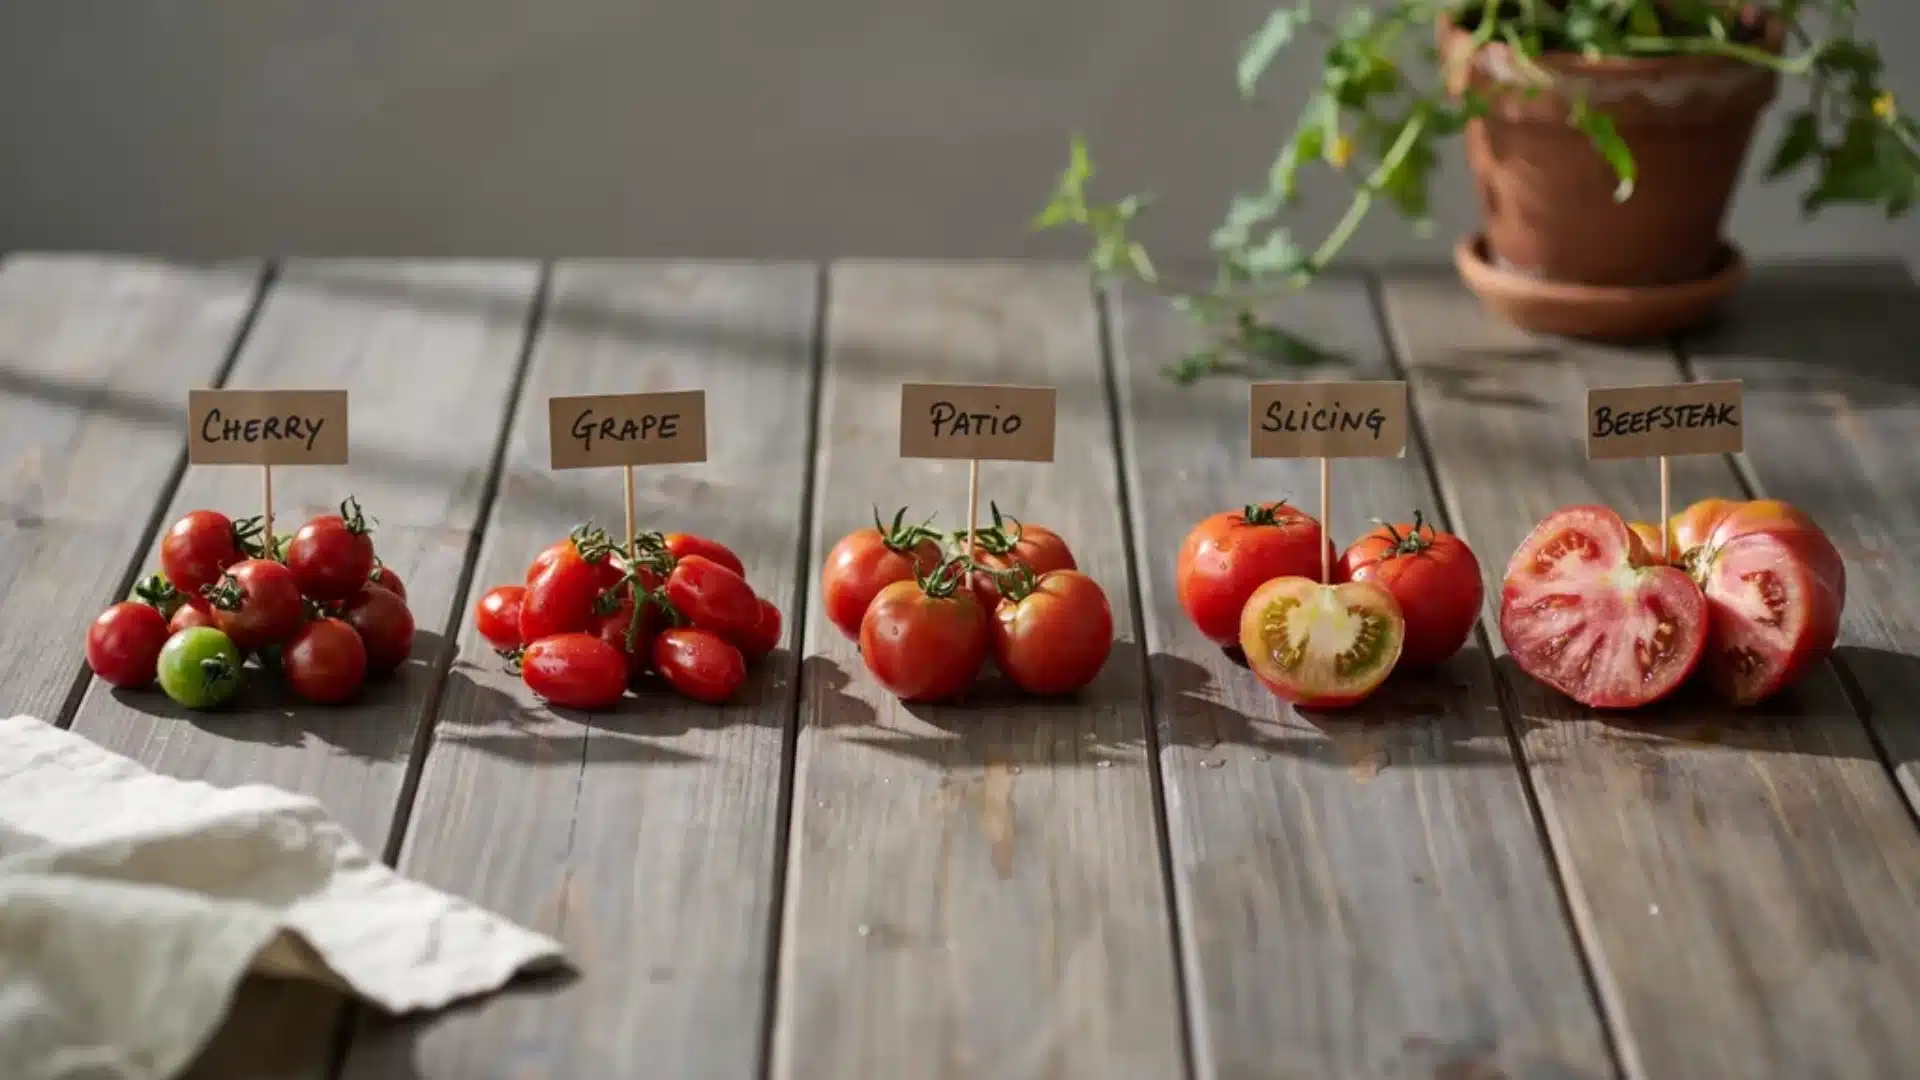
Pot size is the single decision that shapes everything else. Bigger pots hold more moisture, feed roots longer, and produce more fruit per plant.
| Tomato Type | Minimum Pot Size |
|---|---|
| Cherry / Grape | 2 to 3 Gallons |
| Compact Patio | 5 Gallons |
| Standard Slicer | 10 to 12 Gallons |
| Beefsteak / Large | 15 to 20 Gallons |
For each pot size, here are the varieties I keep coming back to:
- 3-gallon pots: ‘Patio Choice Yellow’, ‘Tiny Tim ‘, ‘Micro Tom ‘. All stay under 18 inches tall.
- 5-gallon pots: ‘Bush Early Girl’, ‘Better Bush’, ‘Bush Goliath’. These are compact determinate types that fruit heavily without a tall trellis.
- 10- to 12-gallon pots: ‘Celebrity’, ‘Roma’, ‘Sun Sugar’ cherry. Standard slicers and prolific cherries all do well here.
- 15 to 20-gallon pots: ‘Brandywine’, ‘Cherokee Purple’, ‘Big Beef’. Beefsteaks need the extra soil volume to size up their fruit fully.
All containers must be at least 12 inches deep. Shallow pots restrict root growth and force you to water constantly. A 5-gallon pot technically works for most tomatoes, but a 10 to 15-gallon container gives you noticeably better results, fewer watering problems, and more fruit per plant.
Choosing the Right Container Material
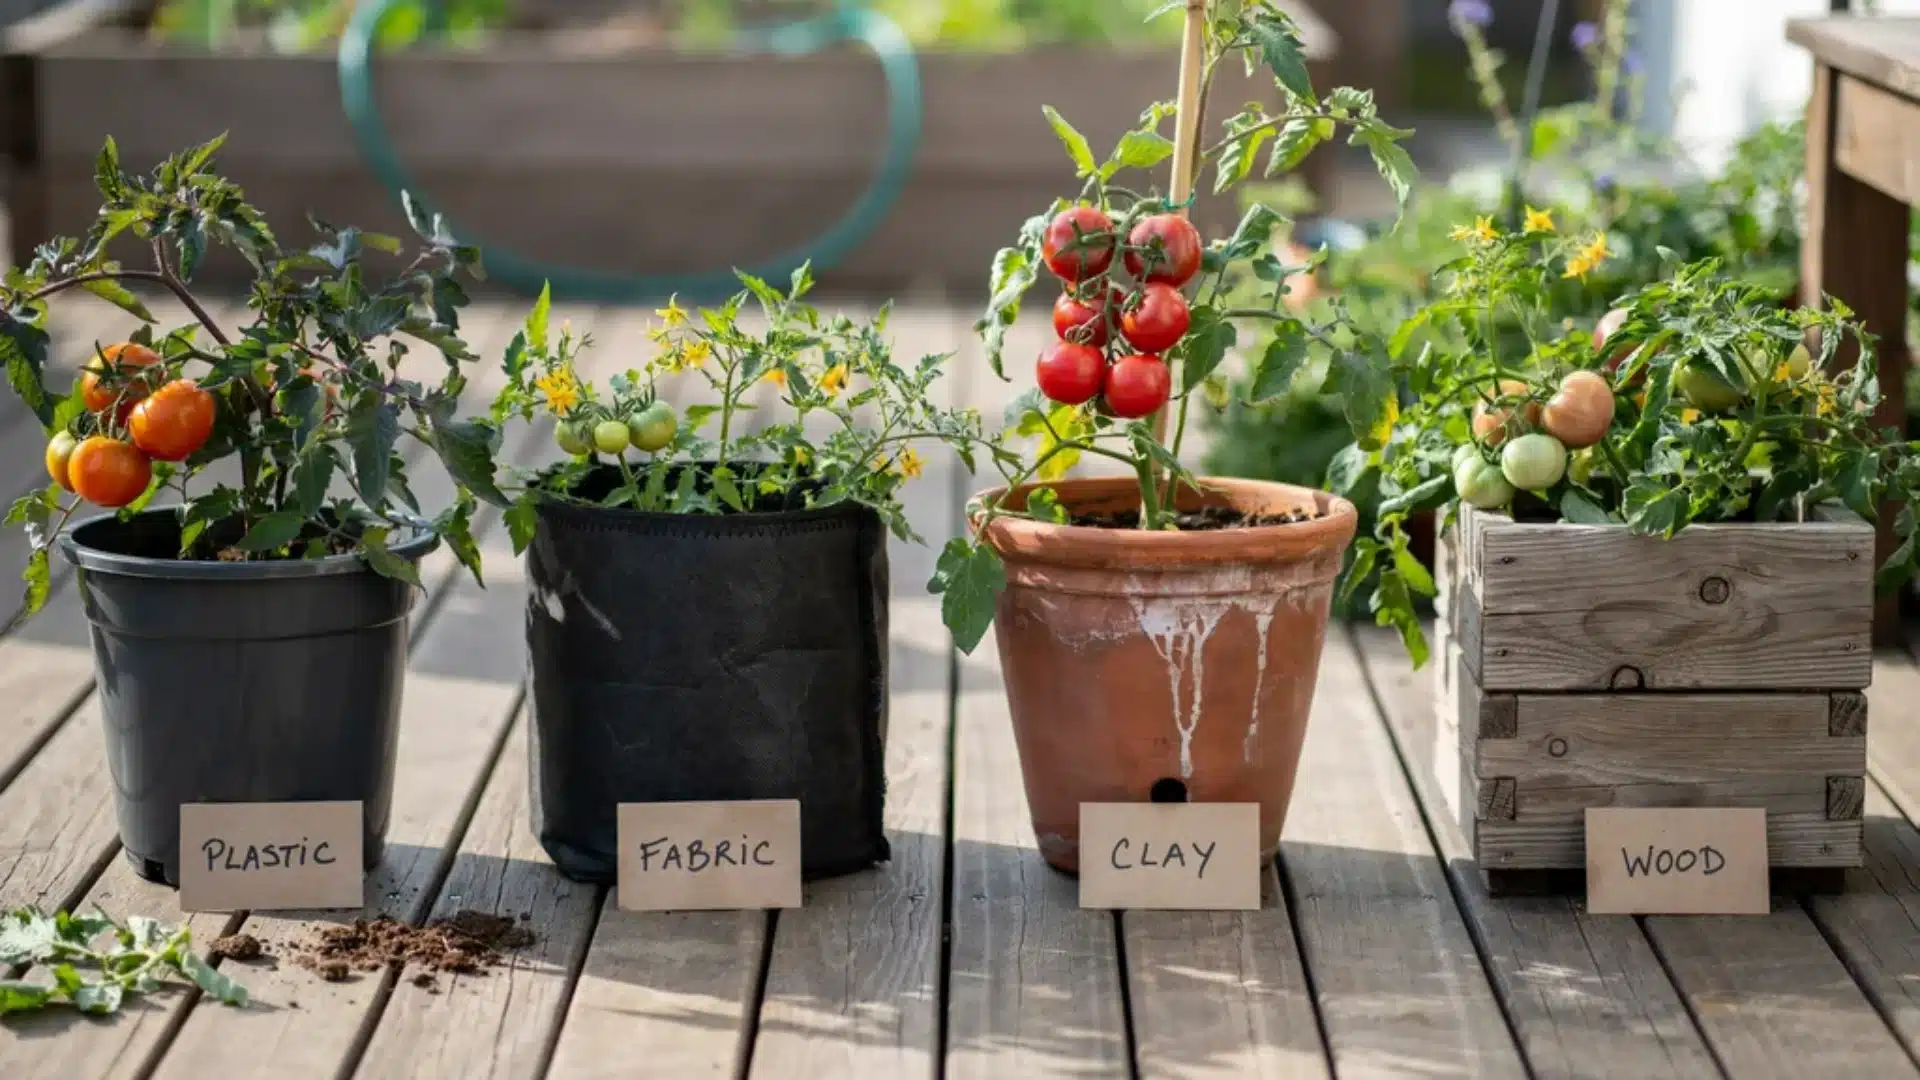
Container material affects how often you water and how healthy your roots stay.
1. Plastic pots hold moisture well, stay lightweight, and cost little. They work for most home growers.
2. Fabric grow bags give roots the best airflow. They prevent root circling, drain fast, and keep soil temperatures more stable. These are my default for beefsteak varieties in my Zone 7 backyard because summer temperatures can cook the roots inside black plastic pots.
3. Clay and terracotta pots look great but dry out fast. You’ll water more often, especially in summer heat.
4. Wooden planters insulate roots well and are suitable for decks. They’re heavier and cost more.
Whatever material you choose, the container must have drainage holes. Tomato roots sitting in soggy soil develop root rot quickly. No drainage holes mean no tomatoes.
Right Soil for Growing Tomatoes in Containers
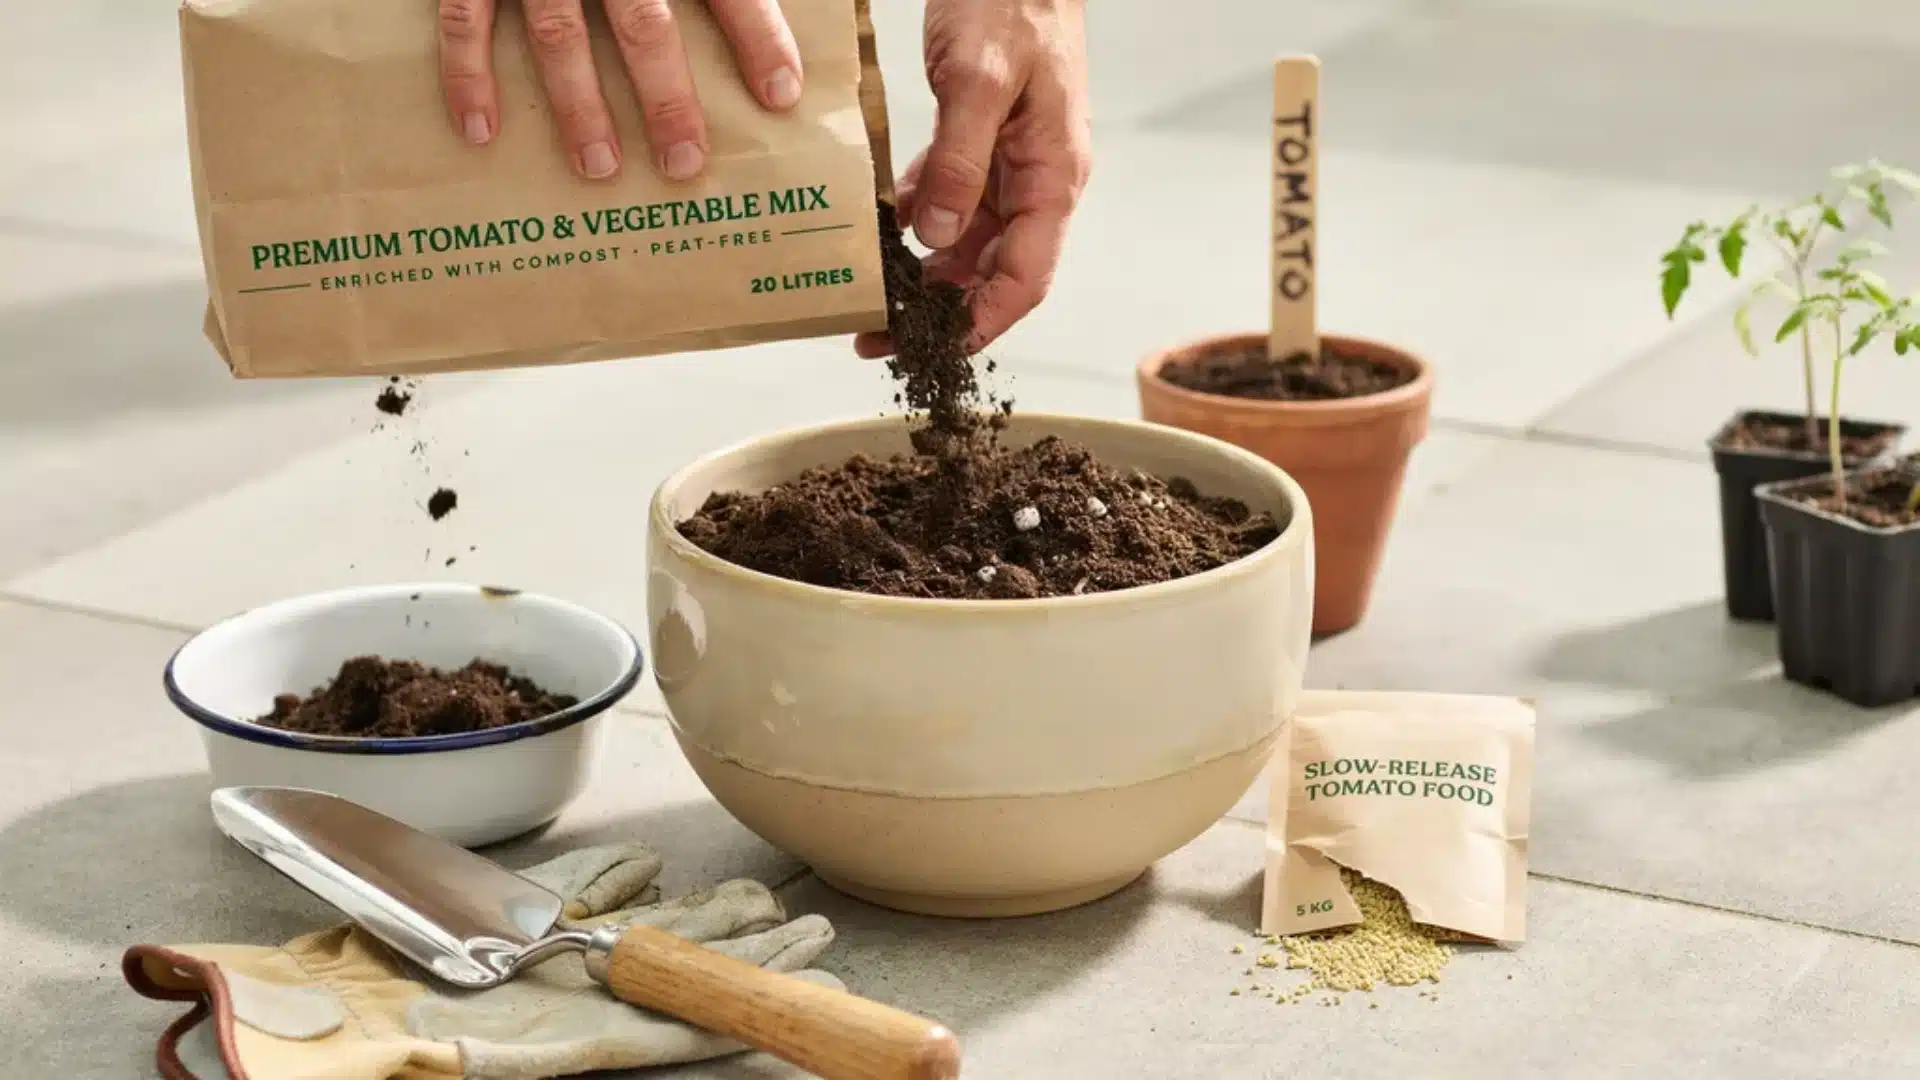
Never fill a container with soil from your garden. Garden soil compacts in pots, blocks drainage, and can attract pests and diseases.
Use a high-quality potting mix made for containers. It stays loose, drains well, and holds enough moisture between waterings.
Mix in compost to add nutrients and improve soil structure. Fill the pot to about 2 inches below the rim. That gap lets you water without overflow.
You can also add a slow-release granular fertilizer to the soil at planting time. This gives the plant a steady nutrient base for the first few weeks.
How to Plant Tomatoes in a Container
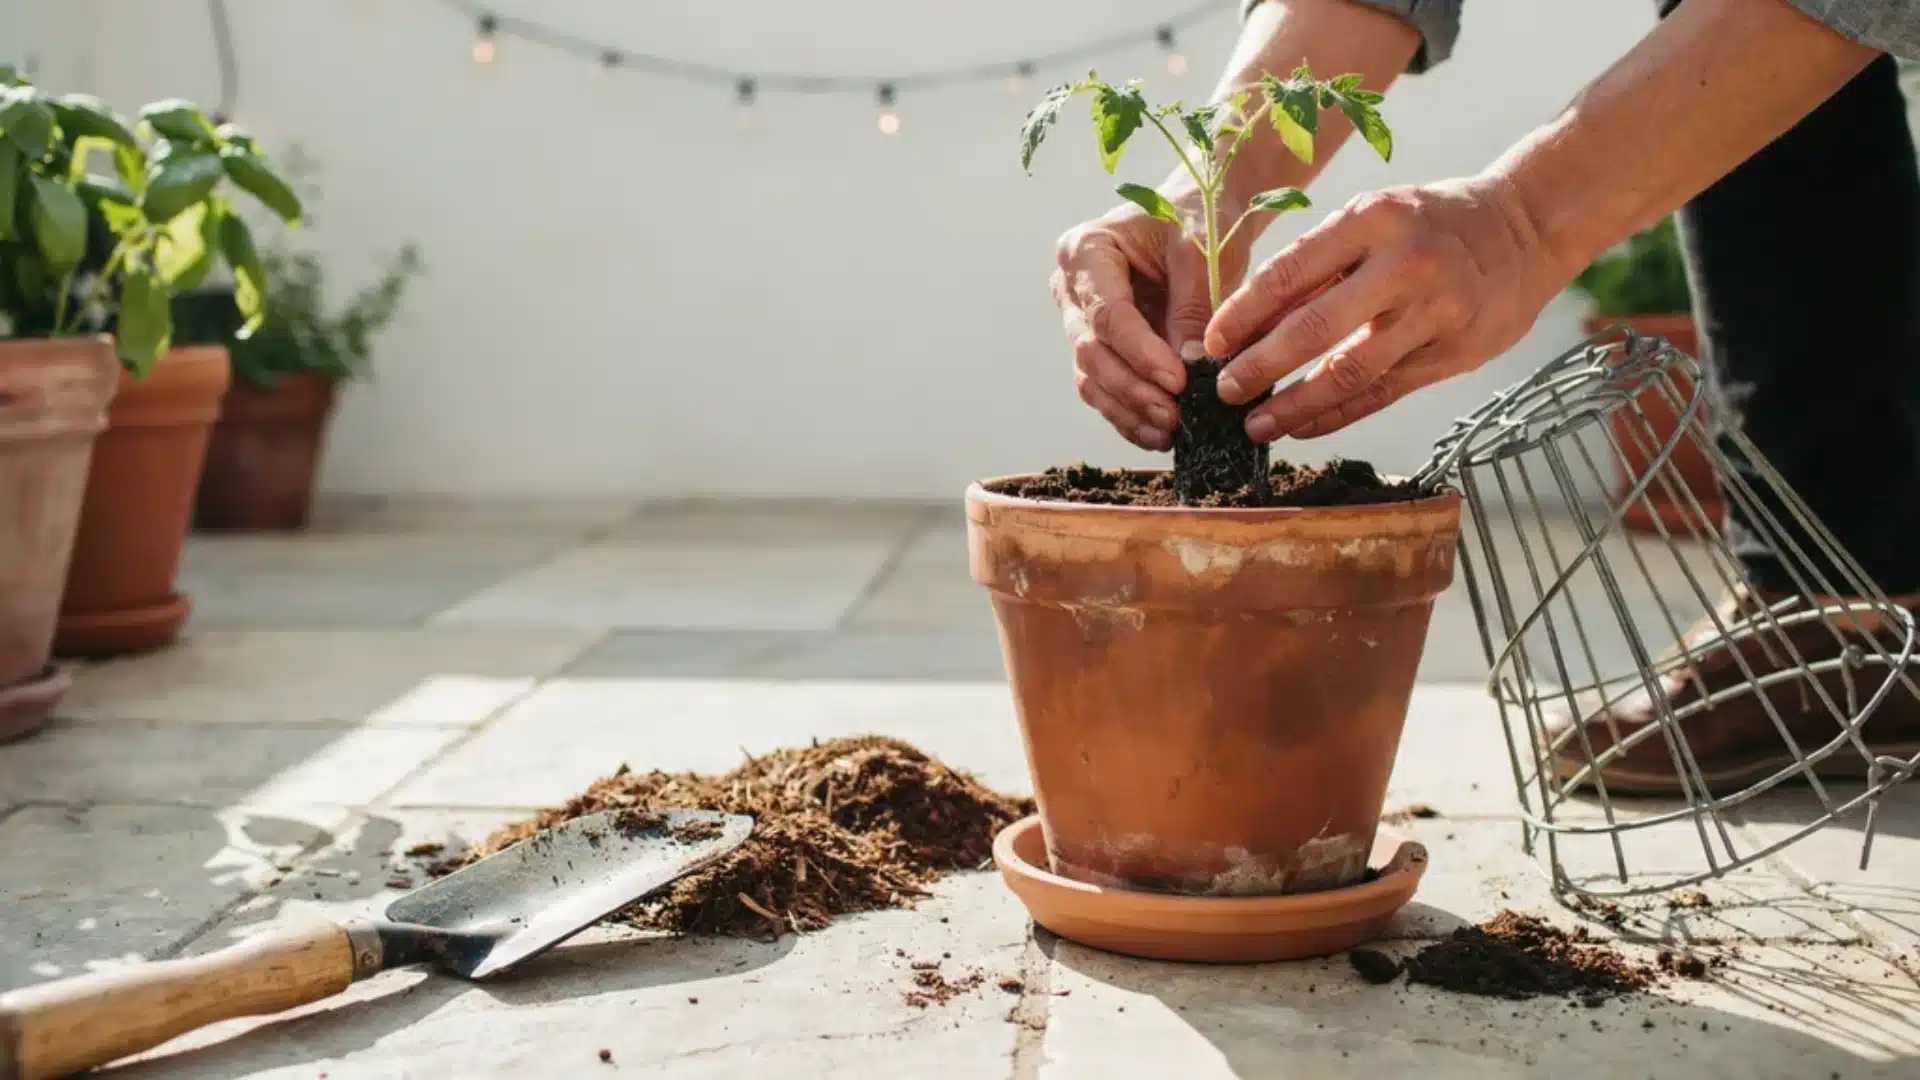
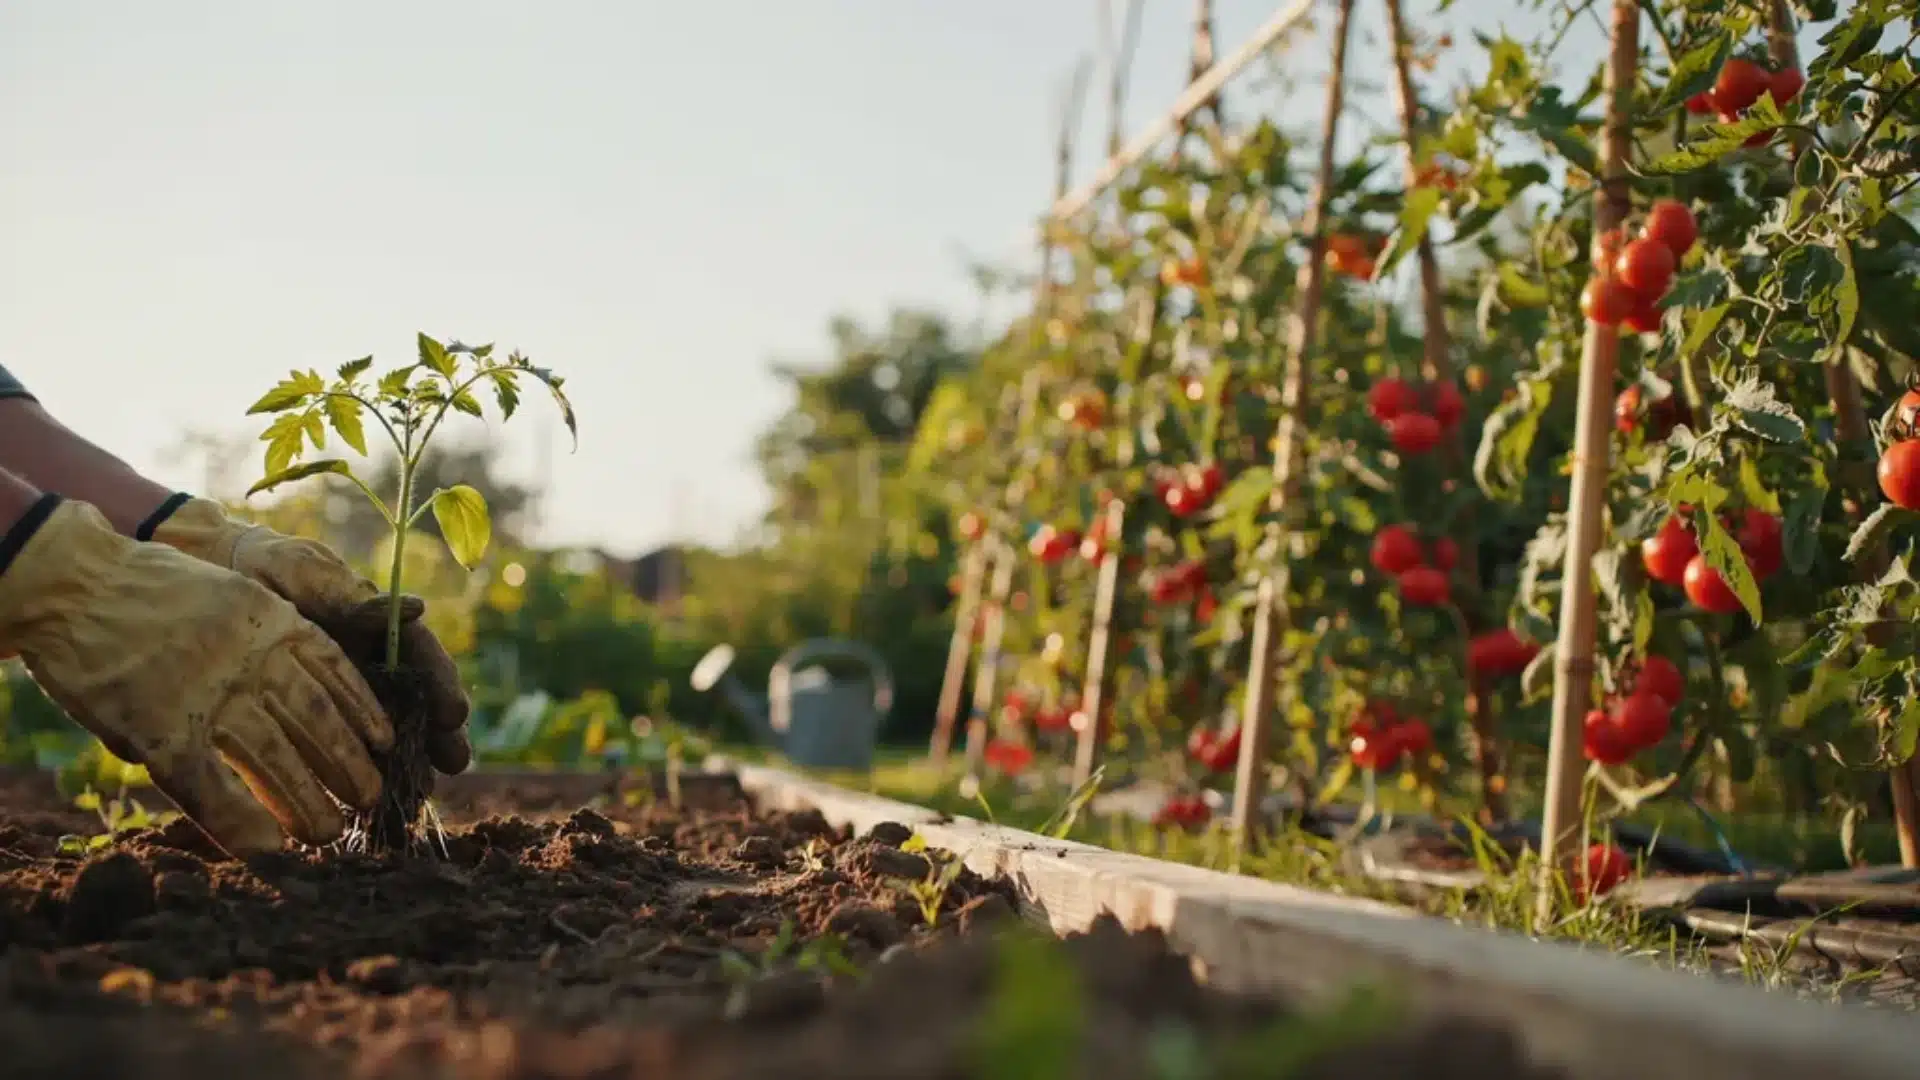
The planting method matters more for tomatoes than for almost any other vegetable. Tomatoes grow new roots along their buried stems. Planting them deep creates a stronger root system.
Here’s how to do it right:
Step 1: Fill the container two-thirds full with potting mix.
Step 2: Remove all leaves from the lower two-thirds of the stem.
Step 3: Dig a deep hole and place the plant so only the top third of the stem and leaves sit above the soil line.
Step 4: Backfill around the stem and gently firm the soil.
Step 5: Add one inch of mulch around the base. This keeps moisture in and roots cooler.
Step 6: Water slowly and deeply until water drains out the bottom.
Burying two-thirds of the stem sounds excessive the first time you try it. It works. New roots grow along the buried nodes, and the plant ends up sturdier than any shallow transplant. More on planting depth for tomatoes in a separate guide.
Set up your support system the same day you plant. Stakes and cages disturb roots when added later. For indeterminate varieties, attach the stake to a wall or fence. A heavy plant loaded with fruit can tip a container over.
How to Water Container Tomatoes
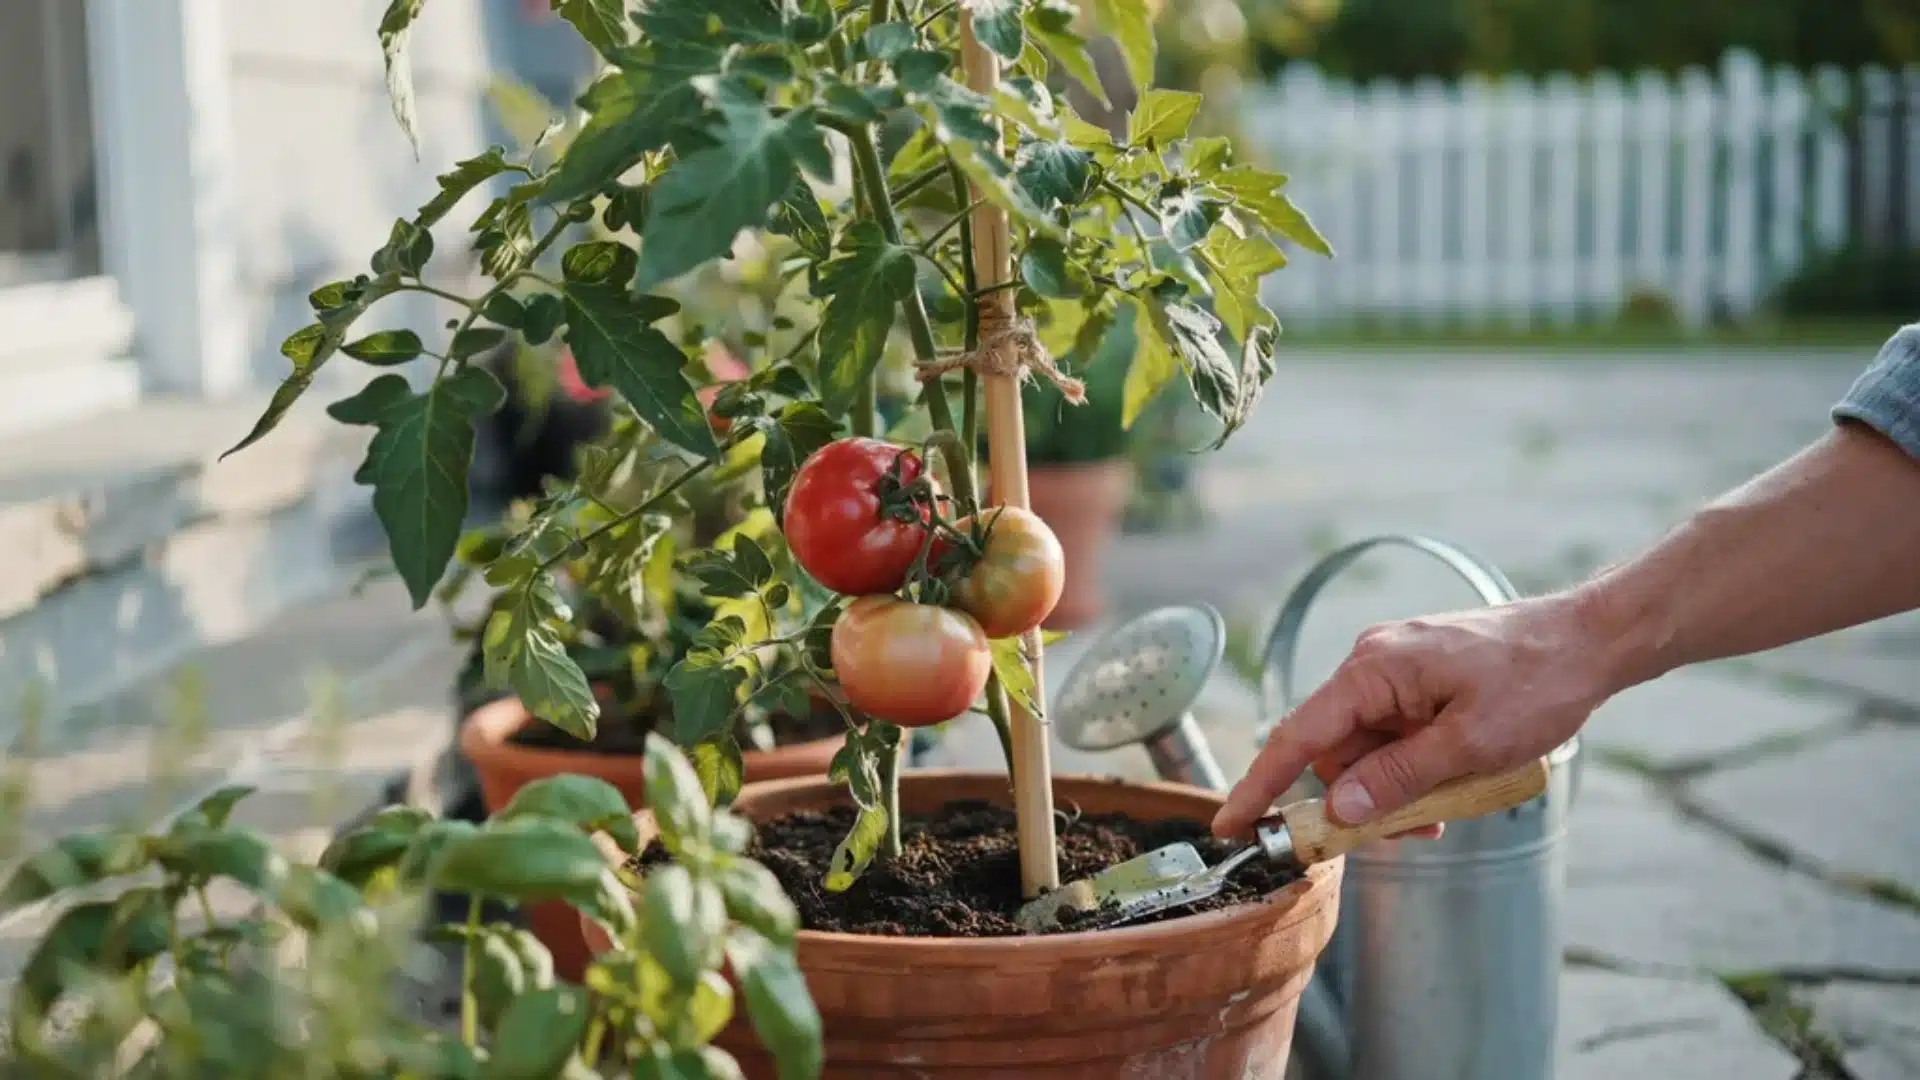
Inconsistent watering is the leading cause of death for container tomatoes. Every case of blossom-end rot I’ve dealt with in my own pots traced back to a dry-then-drenched cycle.
Water deeply, not frequently: Every time you water, water until it drains out the bottom. Shallow watering only wets the top few inches of soil. The roots lower in the container stay dry and stressed.
Check daily: Push your finger one inch into the soil. If it feels dry, water. In summer, this may mean watering every day. On very hot days, twice-a-day watering is not unusual for containers.
Water at the base, not the leaves: Wet foliage invites fungal diseases and worsens pest problems. Keep water aimed at the soil.
Inconsistent watering, going from bone dry to soaking wet and back again, is the main cause of blossom-end rot and fruit cracking. Both problems are frustrating and entirely preventable with steady watering habits.
Feeding Your Container Tomatoes
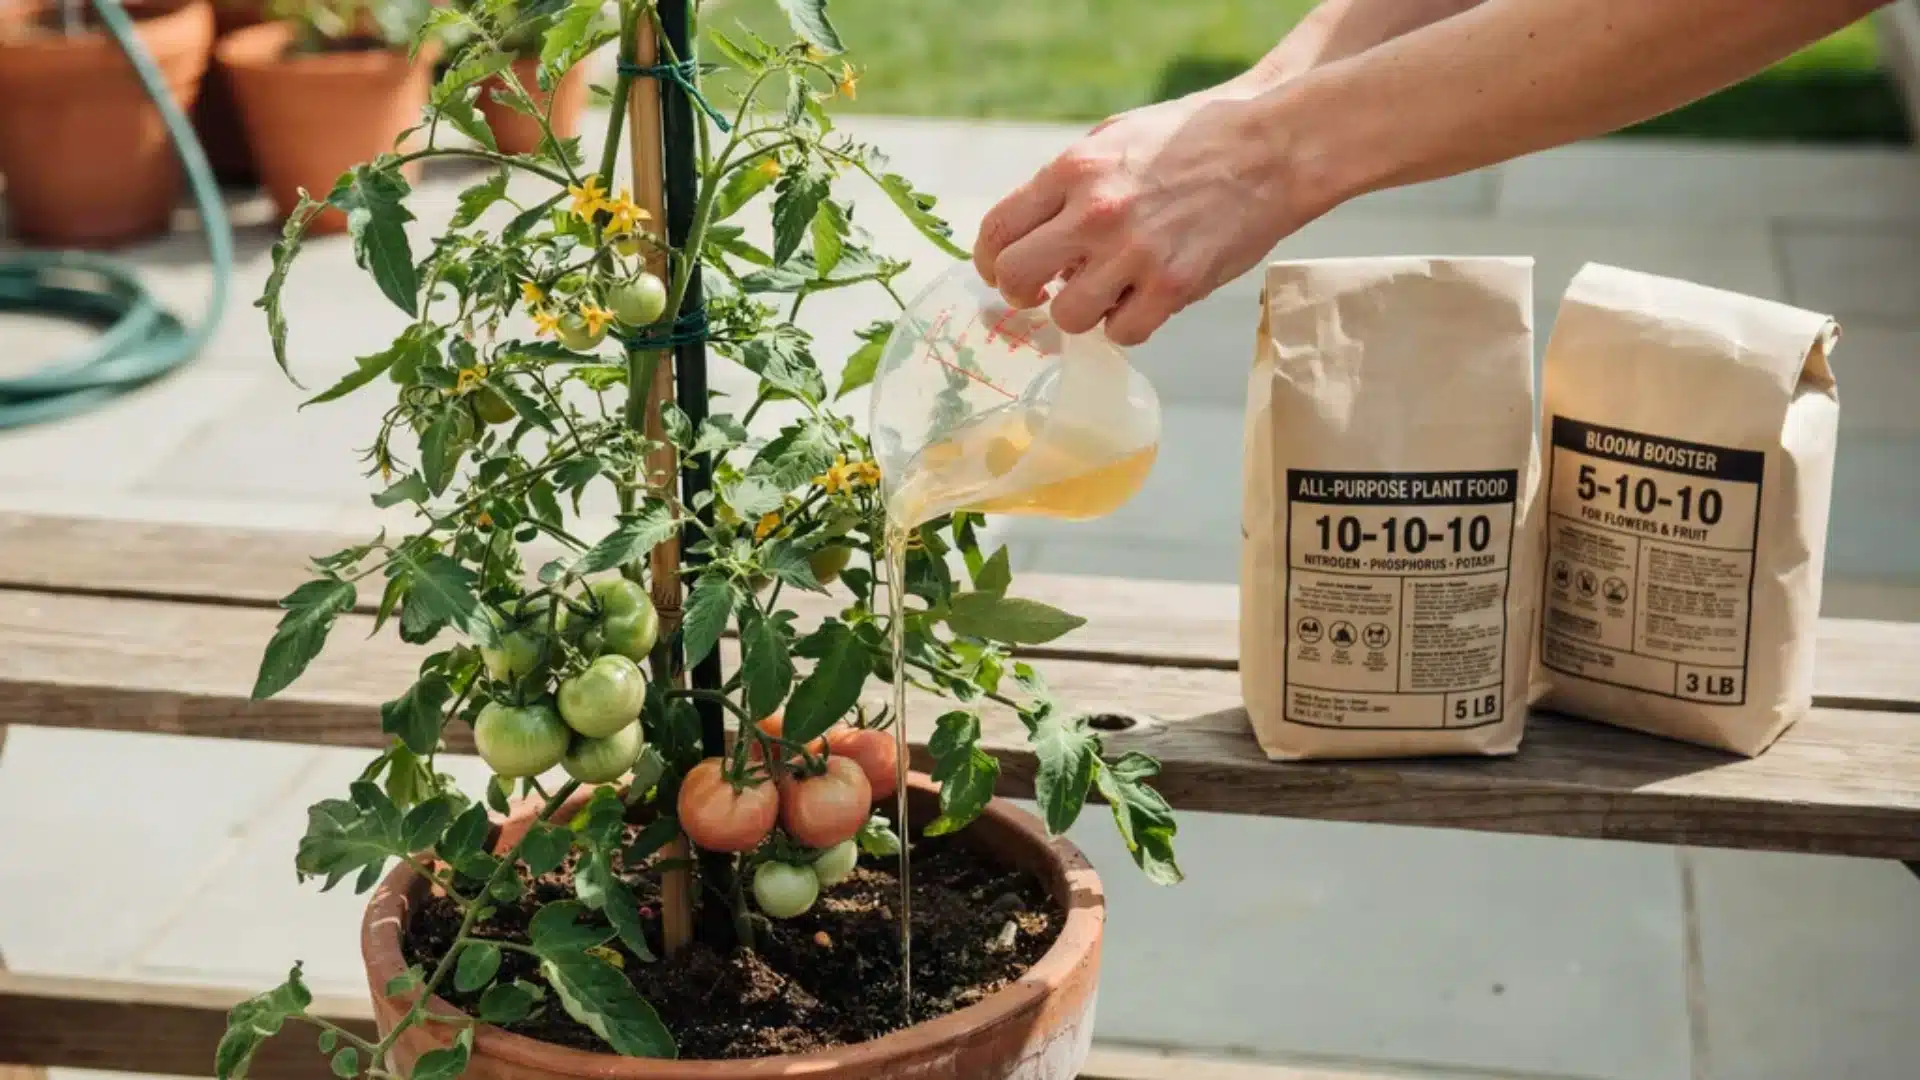
Nutrients wash out of containers faster than from in-ground beds. You need to fertilize more often.
During early growth, use a balanced fertilizer such as 10-10-10 or 5-5-5. This supports root and stem development.
Once flowers appear, switch to a low-nitrogen, high-phosphorus formula like 5-10-10. High nitrogen at this stage produces lush leaves but very little fruit.
Feed every one to two weeks with a liquid fertilizer. Slow-release granules added at planting give a steady base, but they won’t carry the plant through the full season alone.
Avoid overfeeding. More fertilizer does not mean more fruit. It often means the opposite.
Supporting Your Tomato Plants
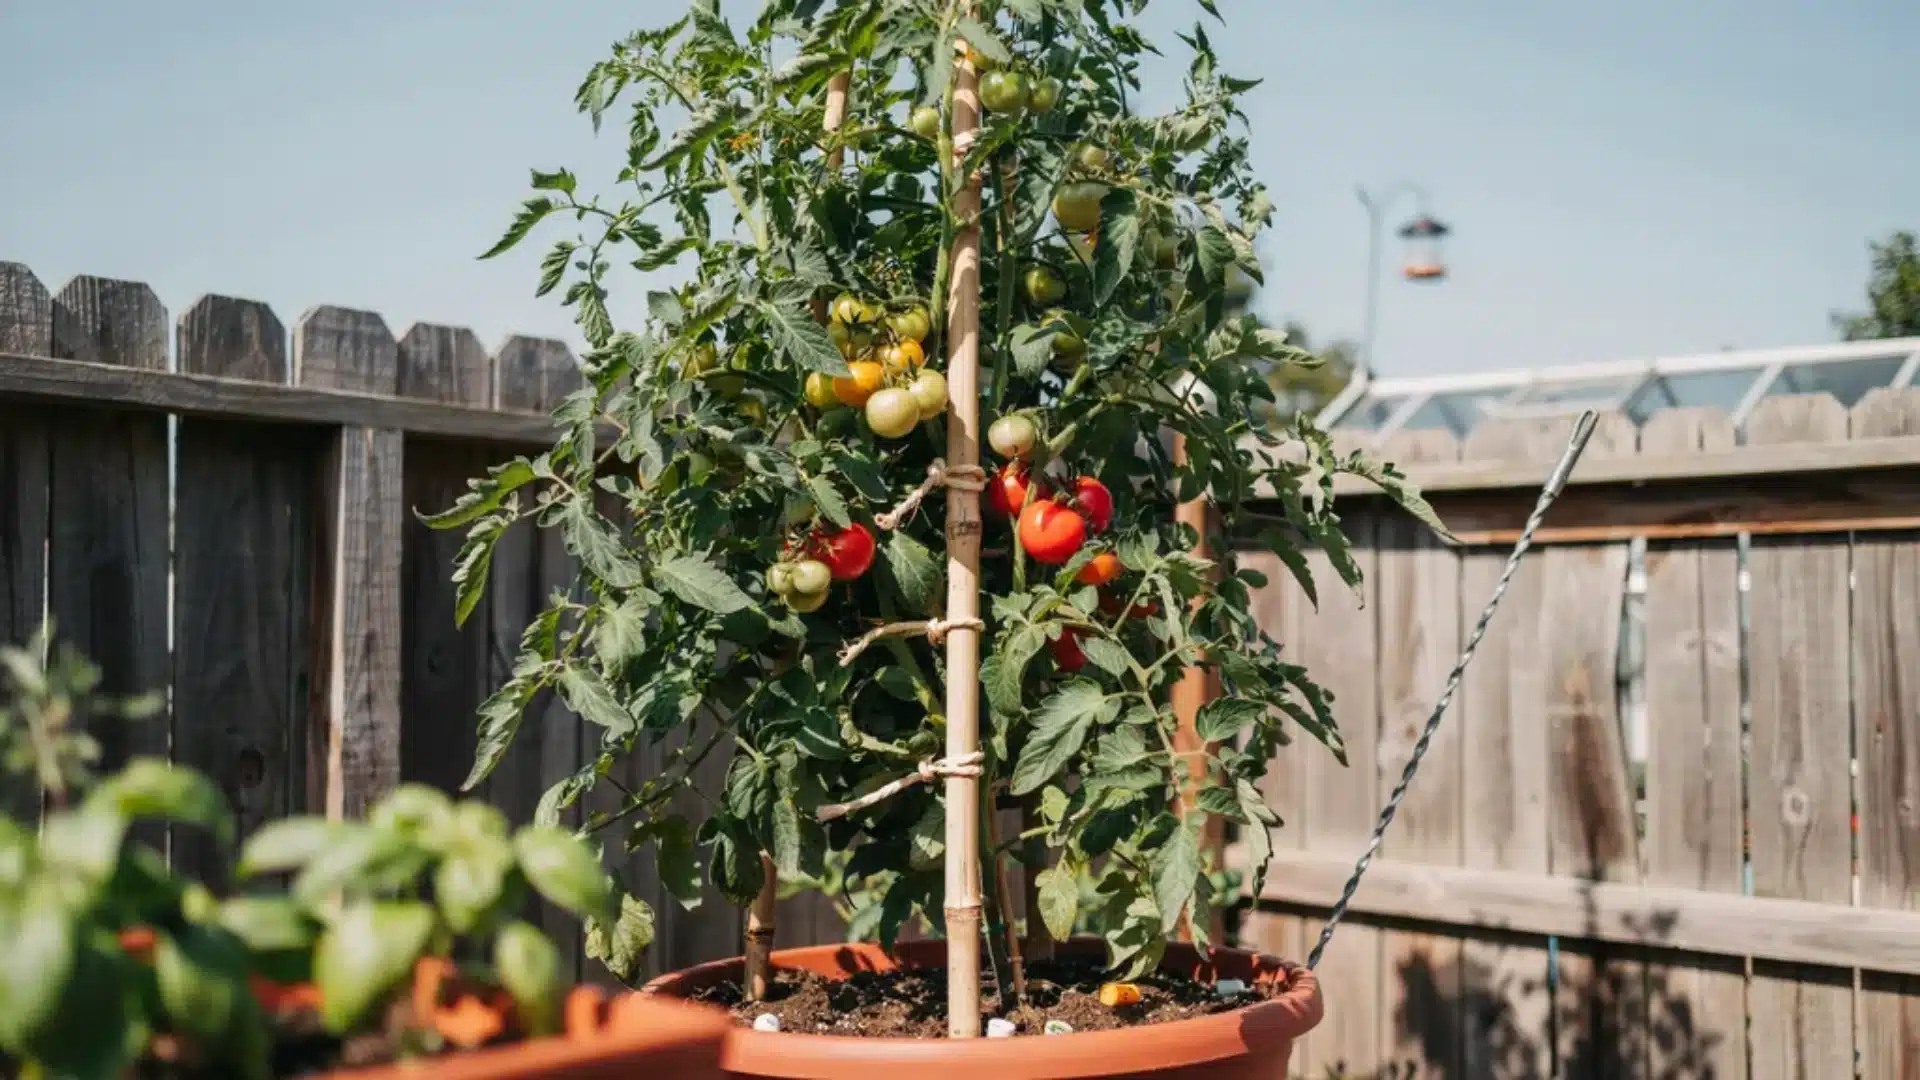
Almost every tomato plant grown in a container needs physical support. This is especially true for indeterminate types.
Bamboo stakes, wire cages, and tomato towers all work as methods for staking tomato plants. The method you pick depends on your pot size and how tall the variety grows.
Set up support structures at planting time. Adding them later disturbs roots and can damage established plants.
For large containers with beefsteak types, secure the stake or cage to a solid surface, such as a fence, wall, or railing. A tomato plant loaded with full-grown fruit is heavy enough to tip a 10-gallon pot in a light breeze.
Common Problems and How to Fix Them
Container tomatoes run into fewer issues than in-ground plants, but problems still show up. Here’s what to look for and what to do.
1. Blossom-end rot: The bottom of the fruit turns black and soft. This happens because of inconsistent watering, not a calcium deficiency. Water more regularly to fix it.
2. Fruit cracking: The skin splits open. This comes from overwatering after a dry period. Keep moisture levels steady.
3. Leggy plants: Stems stretch out and get weak. This means the plant needs more sun, or pruning tomato suckers has fallen behind. Move the container to a brighter spot and pinch off suckers weekly.
4. Wilting in afternoon heat: If your plant droops during the hottest part of the day but looks fine by evening, this is normal. Persistent wilting that doesn’t recover means the plant needs water right away.
5. Aphids and spider mites: Check leaves regularly, especially the undersides. Treat early with organic insecticidal soap or neem oil. Potted plants are slightly less prone to pests than in-ground ones, but problems still show up.
6. Root rot: Caused by soggy soil with no drainage. Use containers with drainage holes and never let pots sit in standing water.
Getting to First Harvest
Container tomato success comes down to habits, not gear. Deep planting, steady watering, weekly feeding once flowers set, and a support system in place from day one. The rest is observation.
Check your plants daily, catch problems early, and pick ripe fruit often to keep production going.
Which variety are you starting with this year? Drop it in the comments.
Frequently Asked Questions
Why Sprinkle Baking Soda Around Tomato Plants?
Baking soda doesn’t sweeten tomatoes despite the popular myth. It may slightly deter slugs by drawing moisture, but steady watering and full sun do more for flavor than any soil sprinkling.
Do Coffee Grounds Help Tomato Plants?
Yes, coffee grounds help tomato plants, but they must be used correctly. When composted, they provide nitrogen, potassium, and magnesium.
What Should Never Be Planted Near Tomatoes?
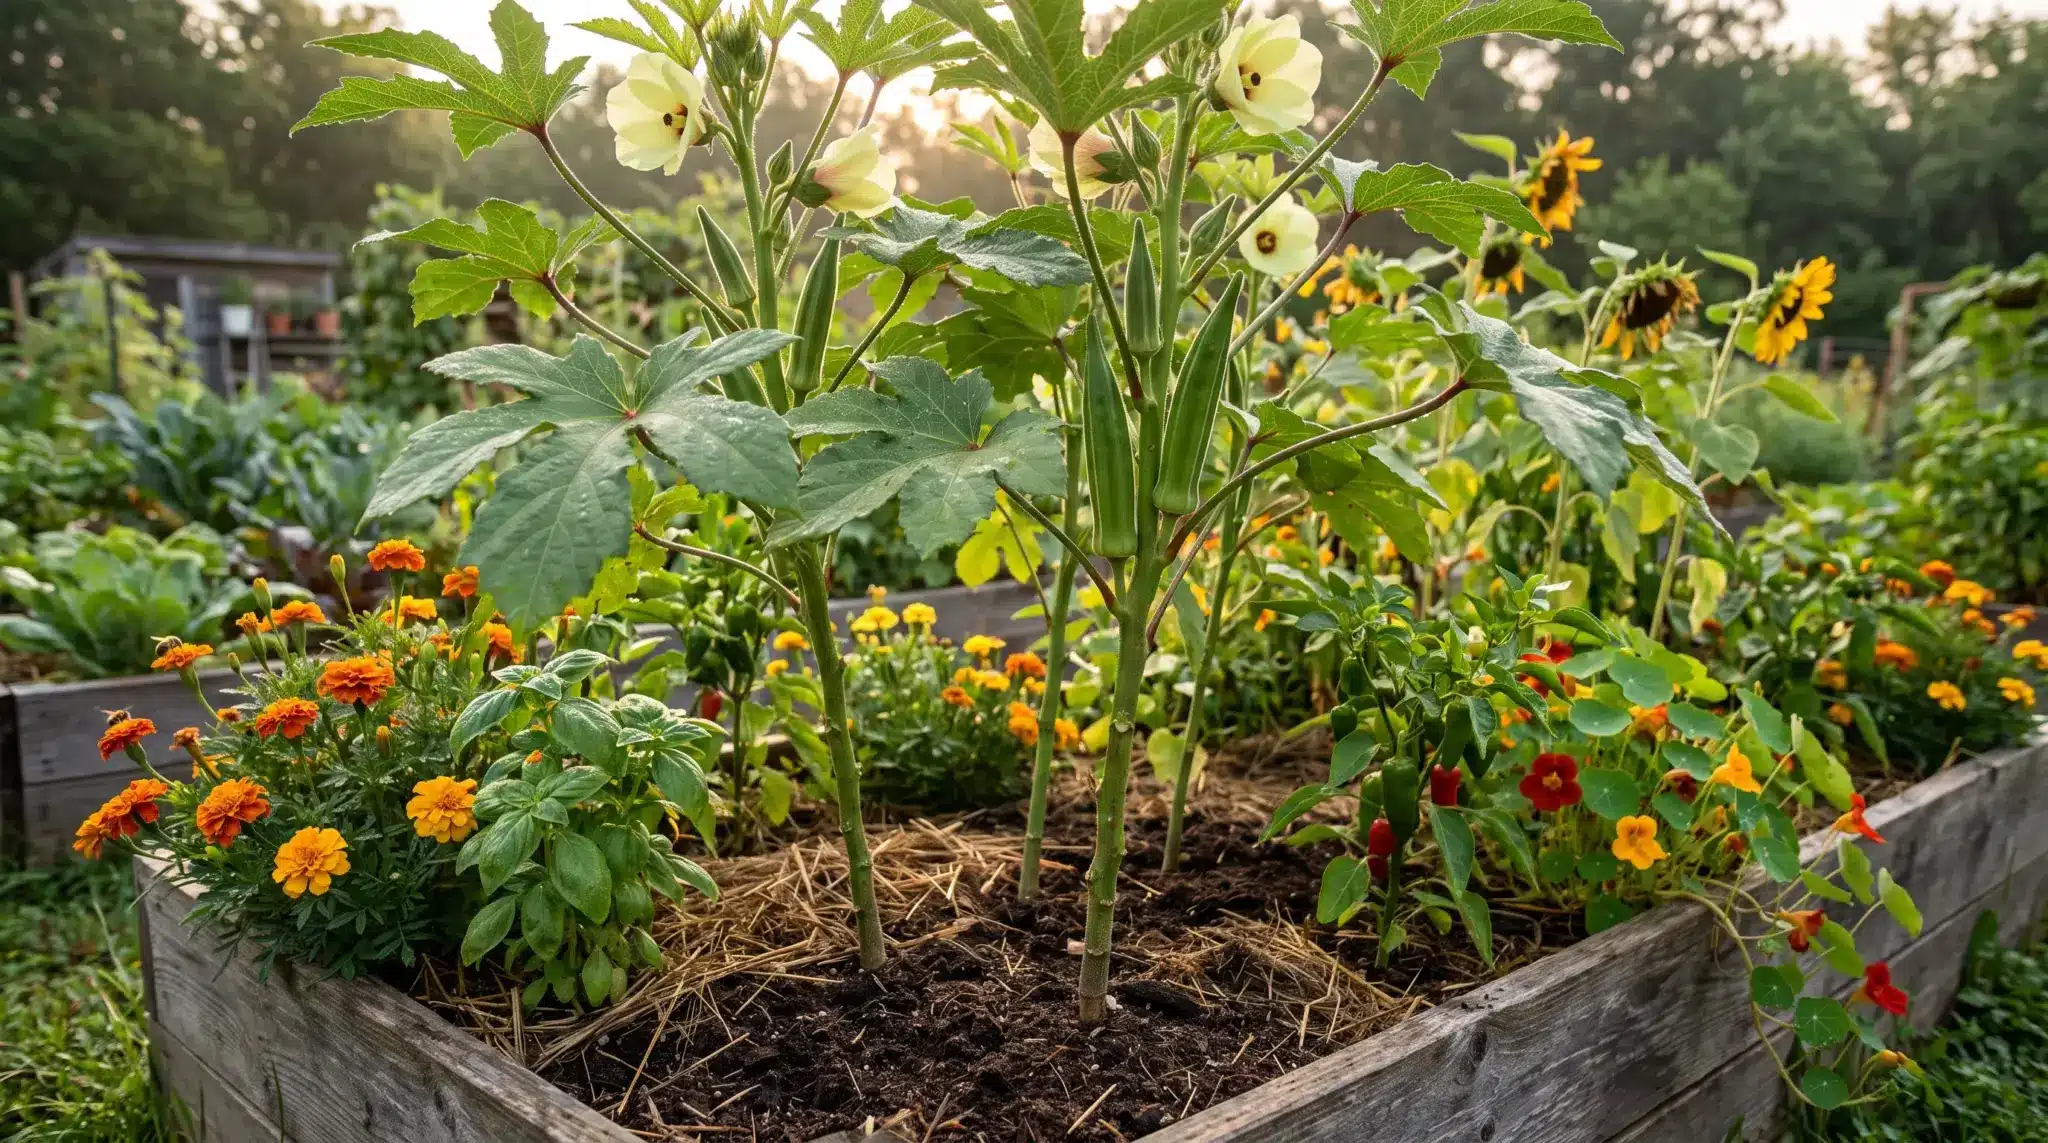
Skip potatoes, eggplants, brassicas, fennel, and walnut trees near tomatoes. Some share diseases; others release growth-inhibiting compounds. Basil, marigolds, and carrots make far better tomato companion plants.